

What makes bread a bagel? Is it the shape? The texture? Where they come from? Yes, yes, and no. Let’s start with the last question: I emphatically believe that you can make or get a damn good bagel anywhere in the world… provided you can source the correct ingredients that is.
Now a disclaimer – I’m not from NYC, nor have I spent a crazy amount of time there (but I have eaten NY style bagels). But, I’m excellent at research, both book research and hands on experimenting. And a lack of good locally available bagels has led me to do a lot of bagel baking over the years. And these bagels have been tested on people from NY.
Plus, the recipe is adapted from Peter Reinhart, and would he steer us wrong? No. As for the first two questions: the shape and texture of a bagel are related, you wouldn’t be able to get that quintessential bagel texture without the hole in the center. The hole allows for the entire bagel to have a chewy crust, without would lead to a soft and tender center.
What a bagel comes down to is (1) flour: bagels should be made with a super high protein white flour. For most of us at home, that means bread flour (I believe it’s called strong flour in the UK), which has a protein content ranging from 11.5 – 13.5%.
In bagel shops they use a high-gluten flour that has an even higher protein content than bread flour. High protein flours do a couple of things: they make a denser, chewier bread than all purpose flour can (which has a protein content ranging from 10-12%) and they absorb more water.
As a note, my preferred brand of flour is King Arthur Flour and their bread flour is 12.7% protein, while their all purpose is 11.7% protein. If you’ve been following me you know I’m into my bread baking, and I find it makes a huge difference that you use high quality and consistent flour.
I also really like Bob’s Red Mill flour (which has a bread flour with 13.8% protein and an all purpose flour with 11.4% protein), it’s just not as readily found at my local grocery stores. Now as you can imagine, using flour with a different protein content can affect how much water is needed to get the correct hydration of the dough. This is why it’s important to work with the dough at least a little by hand (and practice helps you develop a feel for the dough!).
This comes to the second item (2) water content: the hydration of dough can vasty affect the final product. If you don’t use enough water, the dough will harder to develop and more difficult to shape (specifically it will not want to smooth out or have the ends connect and you’ll end up with some lumps in your final product) and might not get the same rise/inner crumb texture.
If you use too much water, the dough can be difficult to shape as it’s too sticky and slack, it can more easily over proof, and you’ll most likely end up with a flatter bagel. Bagels are a low-hydration dough, this means that they use a lot less water than a lot of traditional breads.
This include my overnight artisan walnut bread which has 80% hydration (hydration = mass of water / mass of flour x 100). This recipe clocks in at 55% hydration. As you can see, that alone would result in extremely different dough and final product.

The third thing I want to focus on in bagel making is (3) barley malt. Barley malt syrup is the unrefined sugar from sprouted barley and gives bagels a lot of their flavor. I use it in two places in the recipe, some in the dough, for which you can use either the syrup (which I’ve had good luck finding at natural foods grocery stores) or diastatic malt powder (which you can order online or possibly find at a specialty baking store).
I also use the barley malt syrup in the poaching solution, which gives some extra color and a lot of flavor to the dough. If you really can’t find barley malt syrup you can substitute agave nectar in a pinch, but you won’t end up with that bagel-flavor. In this situation, my preference would be to order some diastatic malt powder online to use in the dough and substitute agave in poaching liquid.
Which brings us to possibly the most important part of bagel making, (4) boiling the dough before baking. This step is essential to a proper bagel, and the skipping of this step is what is wrong with most mass produced bagels out there (they’re typically steamed as it’s easier to automize and therefore faster/cheaper).
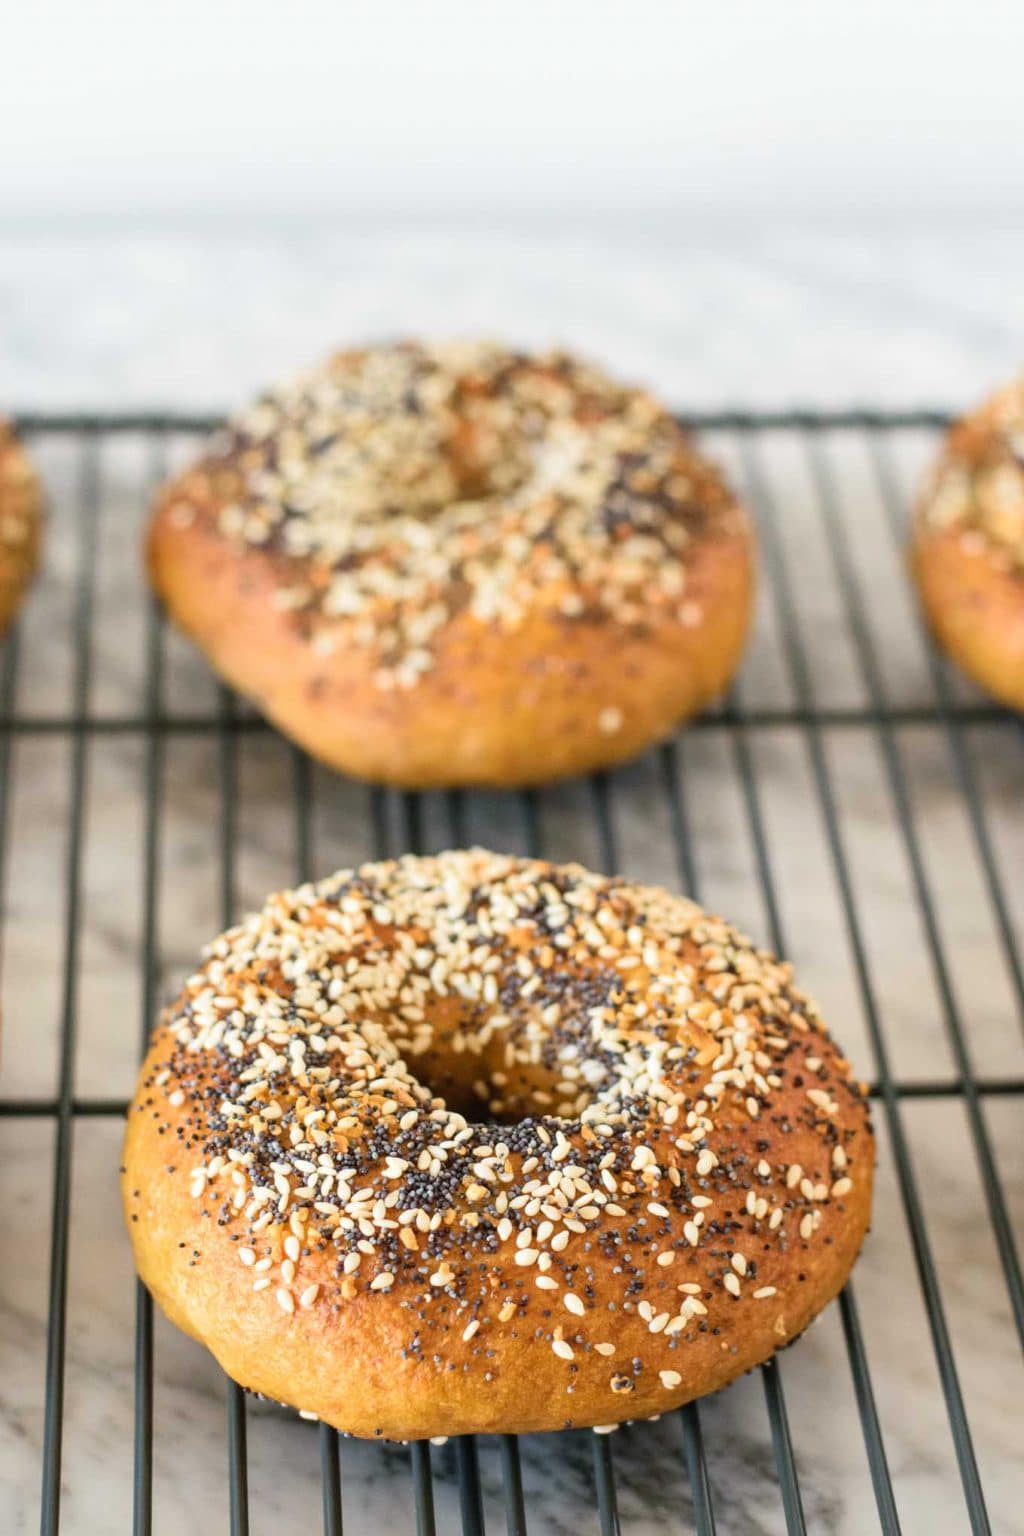
Boiling the fully proofed dough creates that thick and chewy crust all around the outside of the bagel (that includes the inner ring of course). It seals in the moisture inside the center of the bagel and expands the dough, making it nice and puffy, while it gelatinizes the starches on the surface of the dough for that shiny and chewy exterior. I like a good 60 second boil on each side, but if you want a denser bagel go for as short as a 30 second boil per side.
Last but not least we should consider (5) the slow fermentation of the dough. The shaped dough is proofed in the fridge overnight (at minimum) for maximal flavor. Refrigerating the dough retards the fermentation, meaning the yeast slows down it’s proliferation. This process increases the flavorful compounds produced by the yeast for a better tasting end product.
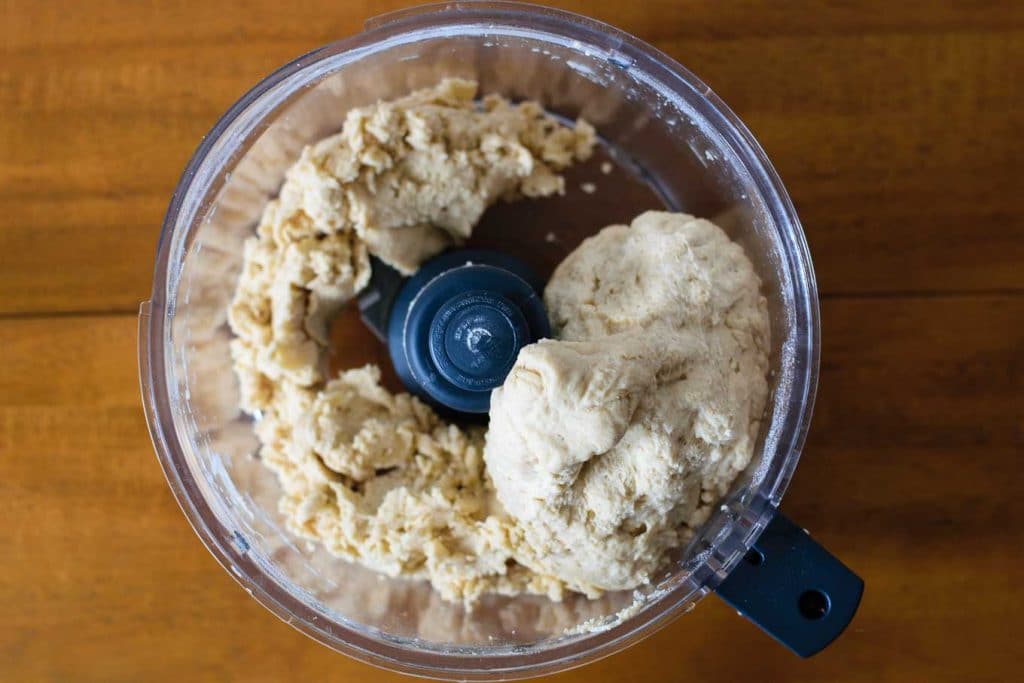

The basic method is to mix your ingredients together and knead (either in a food processor, stand mixer, or by hand) until you have a supple and stiff dough that is barely tacky to the touch. Spend one minute at the end working the dough on the counter by hand to adjust with water or flour as necessary to achieve this texture. Let rise for 45 minutes to 1 hour to double in size, then divide and shape the dough into bagels. Refrigerate overnight or up to 48 hours. Boil the bagels, then bake them at a high temperature.
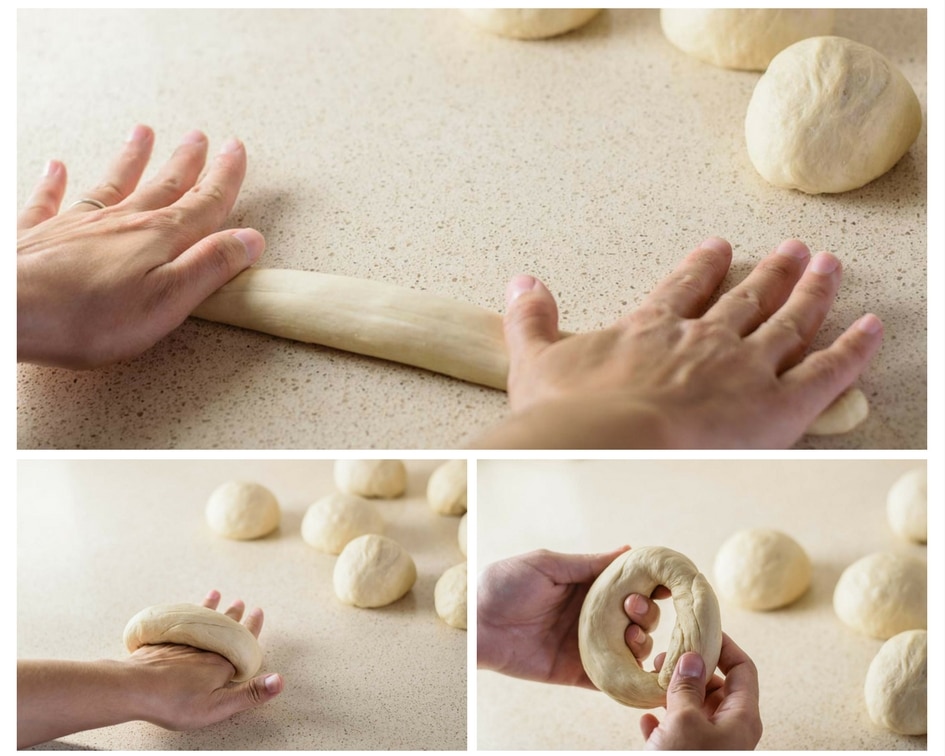
As far as shaping your bagels go, you have two options: the first is the traditional method of rolling the dough into a rope, then twisting the ends around your hand to overlap, then roll them under your palm to seal them together. The second option is easier, form a ball from the dough, poke your finger through the center, then stick a couple fingers or a thumb from each hand and rotate it in a circle, gently stretching the dough out as you do so.


I hope that my long bagel-making essay is helpful to all the bagel baker-wannabes out there. I find understanding the process helps a lot with how successful my baking is!
I hope you guys enjoy your bagels as much as we do! If you try the recipe, or have any questions about it, let me know! Leave a comment and/or rate the recipe below, tag me on Instagram (or #thecuriouschickpea), or share with me on Facebook! Good luck in your baking endeavors! <3

Notes:
- If you’re serious about the science and the why behind making bagels, read the whole post, I get into a lot of helpful details and probably answer most of your questions!
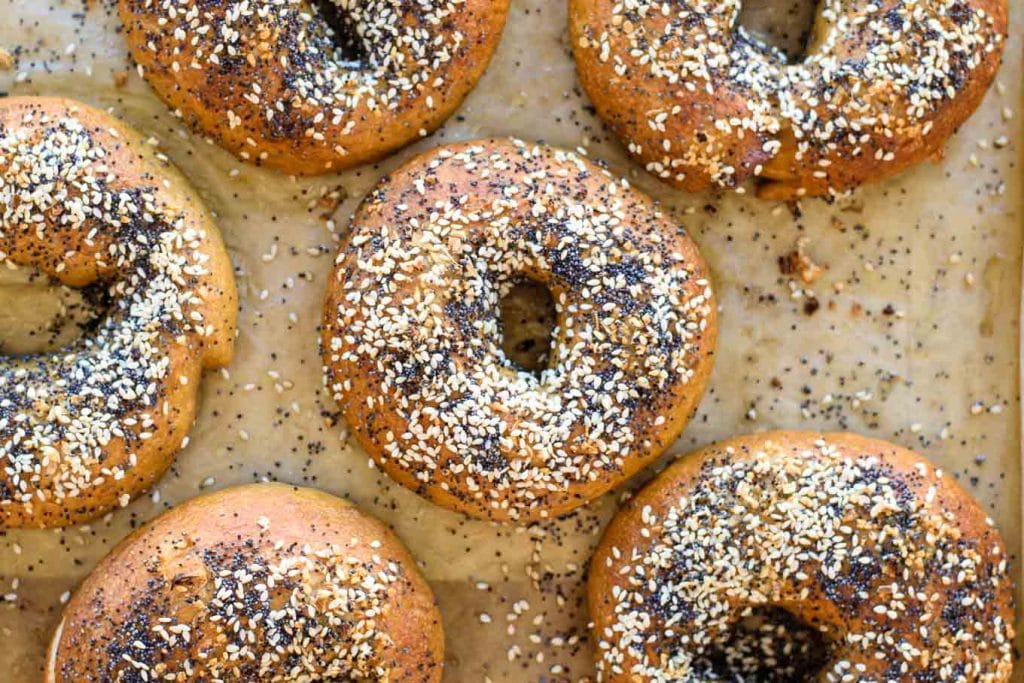
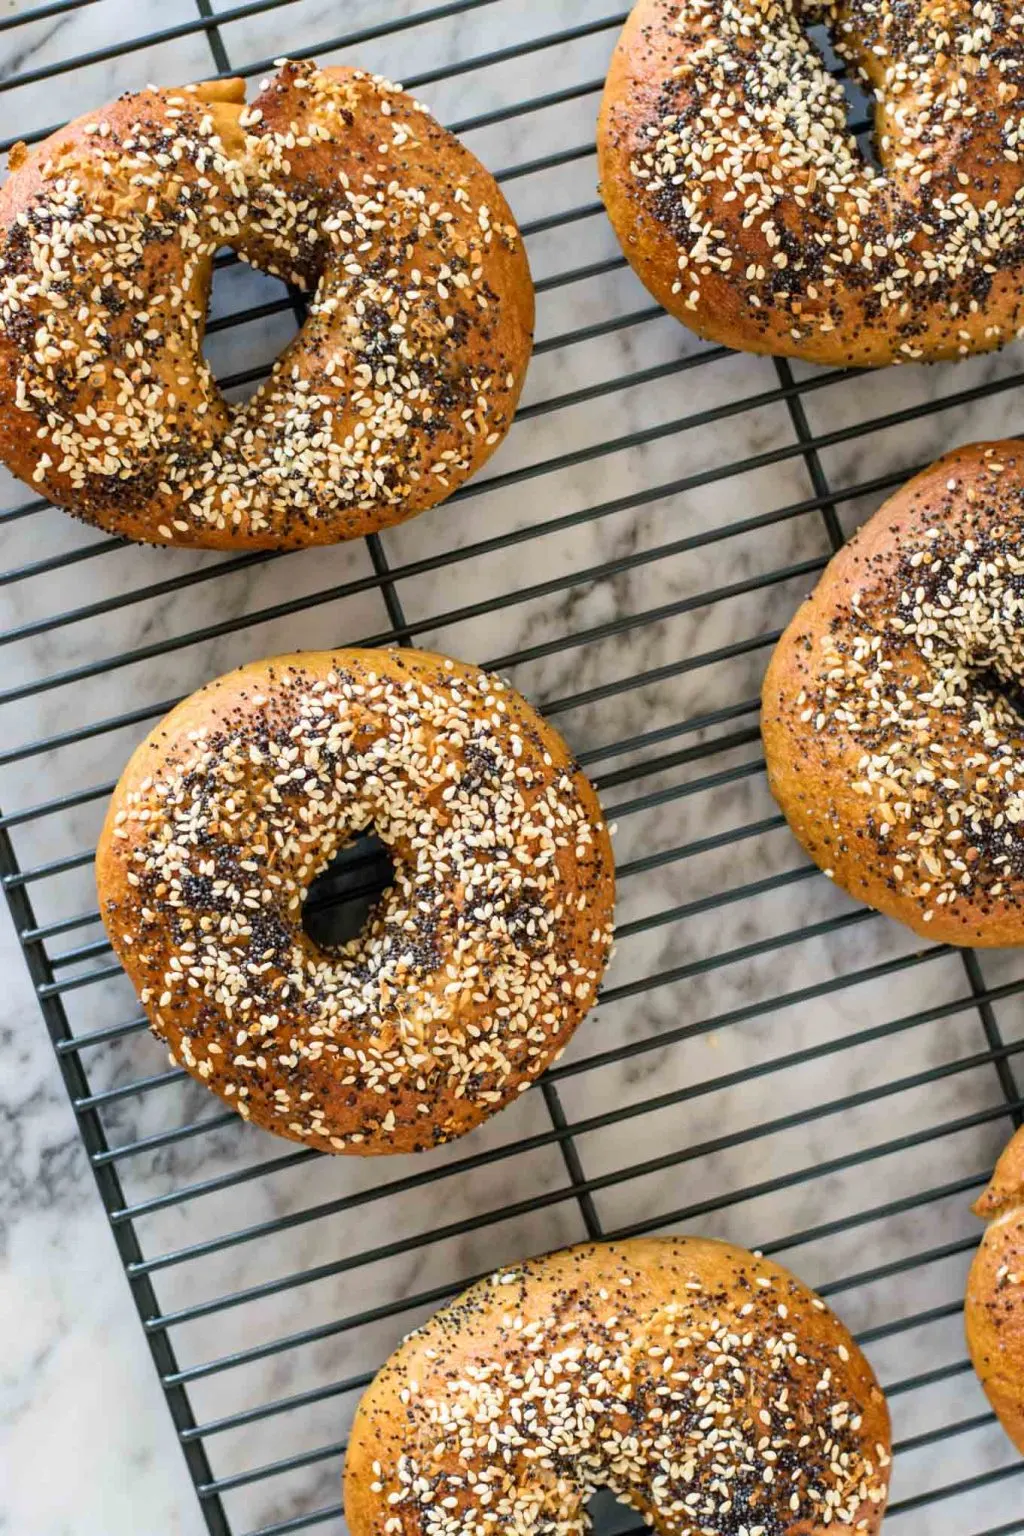
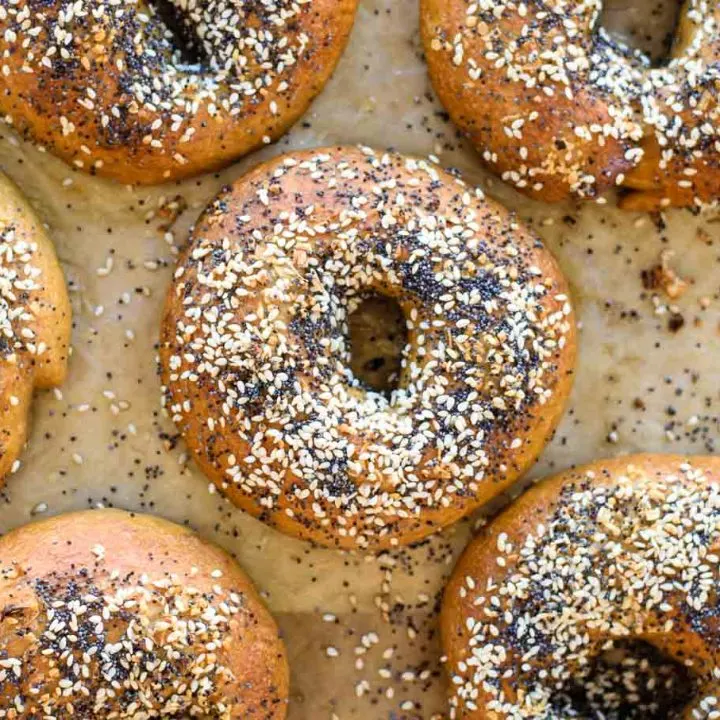
- You can top your bagels with whatever you’d like, I’m providing the method for everything bagels, but it’s easy to do all poppy seed or sesame seed or onion or garlic, or whatever. They’re also really good with my roasted jalapeño cheese *hint hint*
- I’ve provided instructions for making the dough with a food processor, a stand mixer, or completely by hand. It’s up to you! I’ve done it all, though I find the stand mixer easiest for effort & clean up.
- You can double the recipe if you want more bagels (I often do this), but if you’re using a food processor or a smaller stand mixer you’ll want to do it in two back-to-back batches.

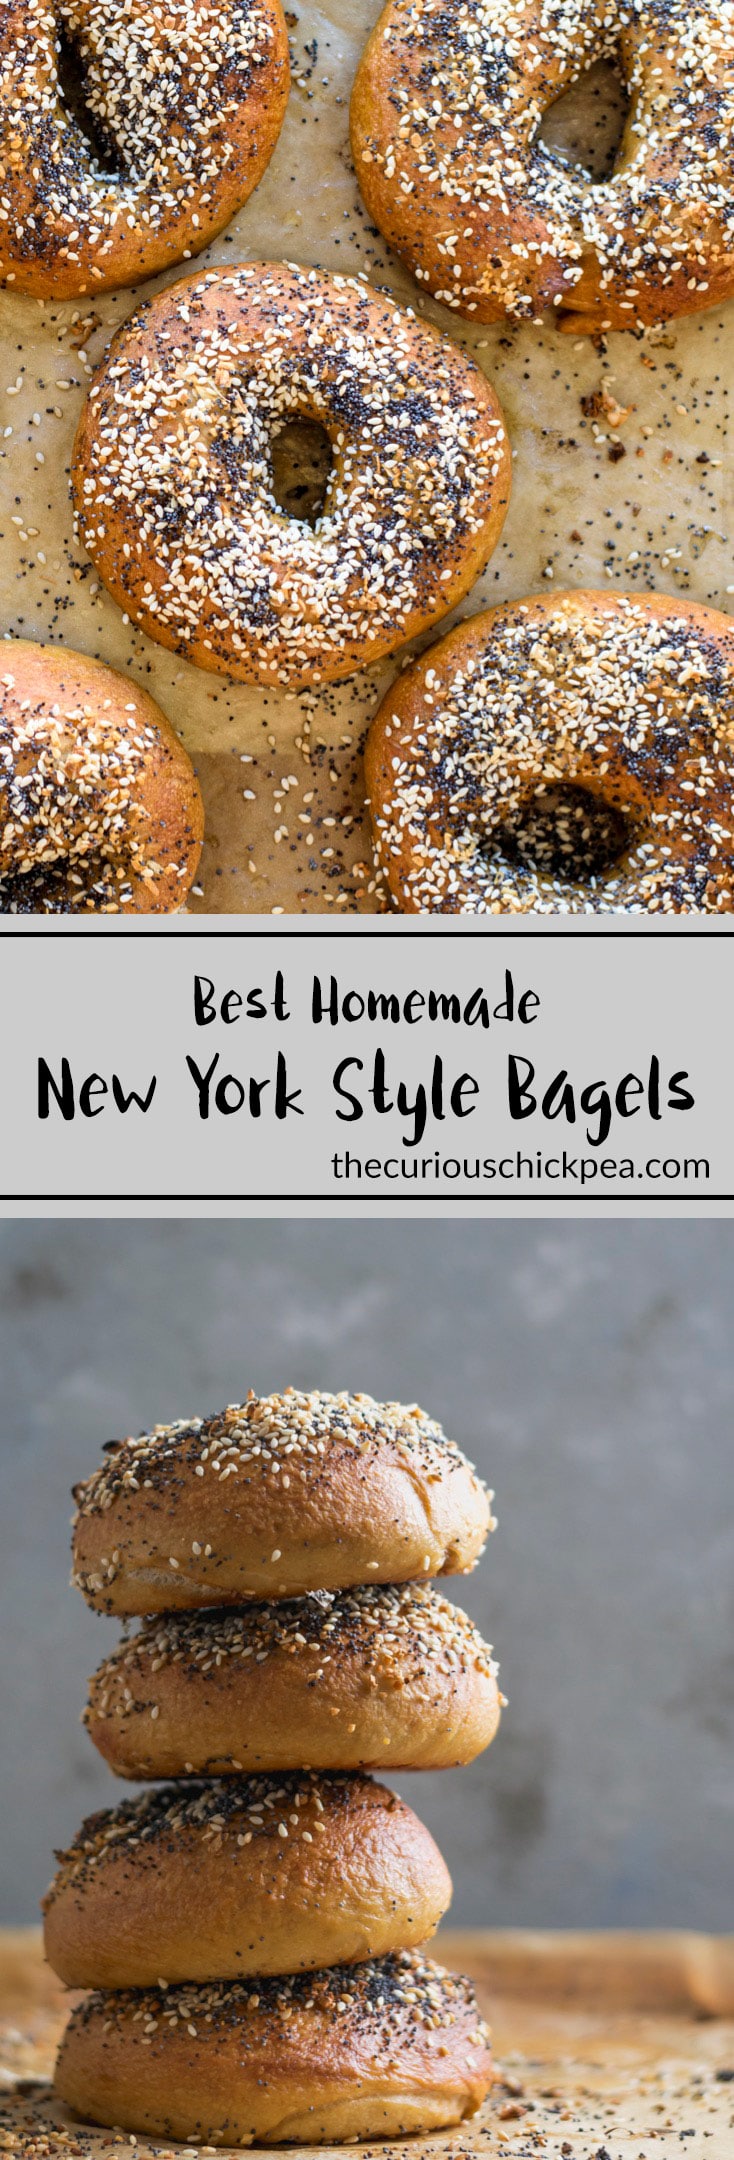
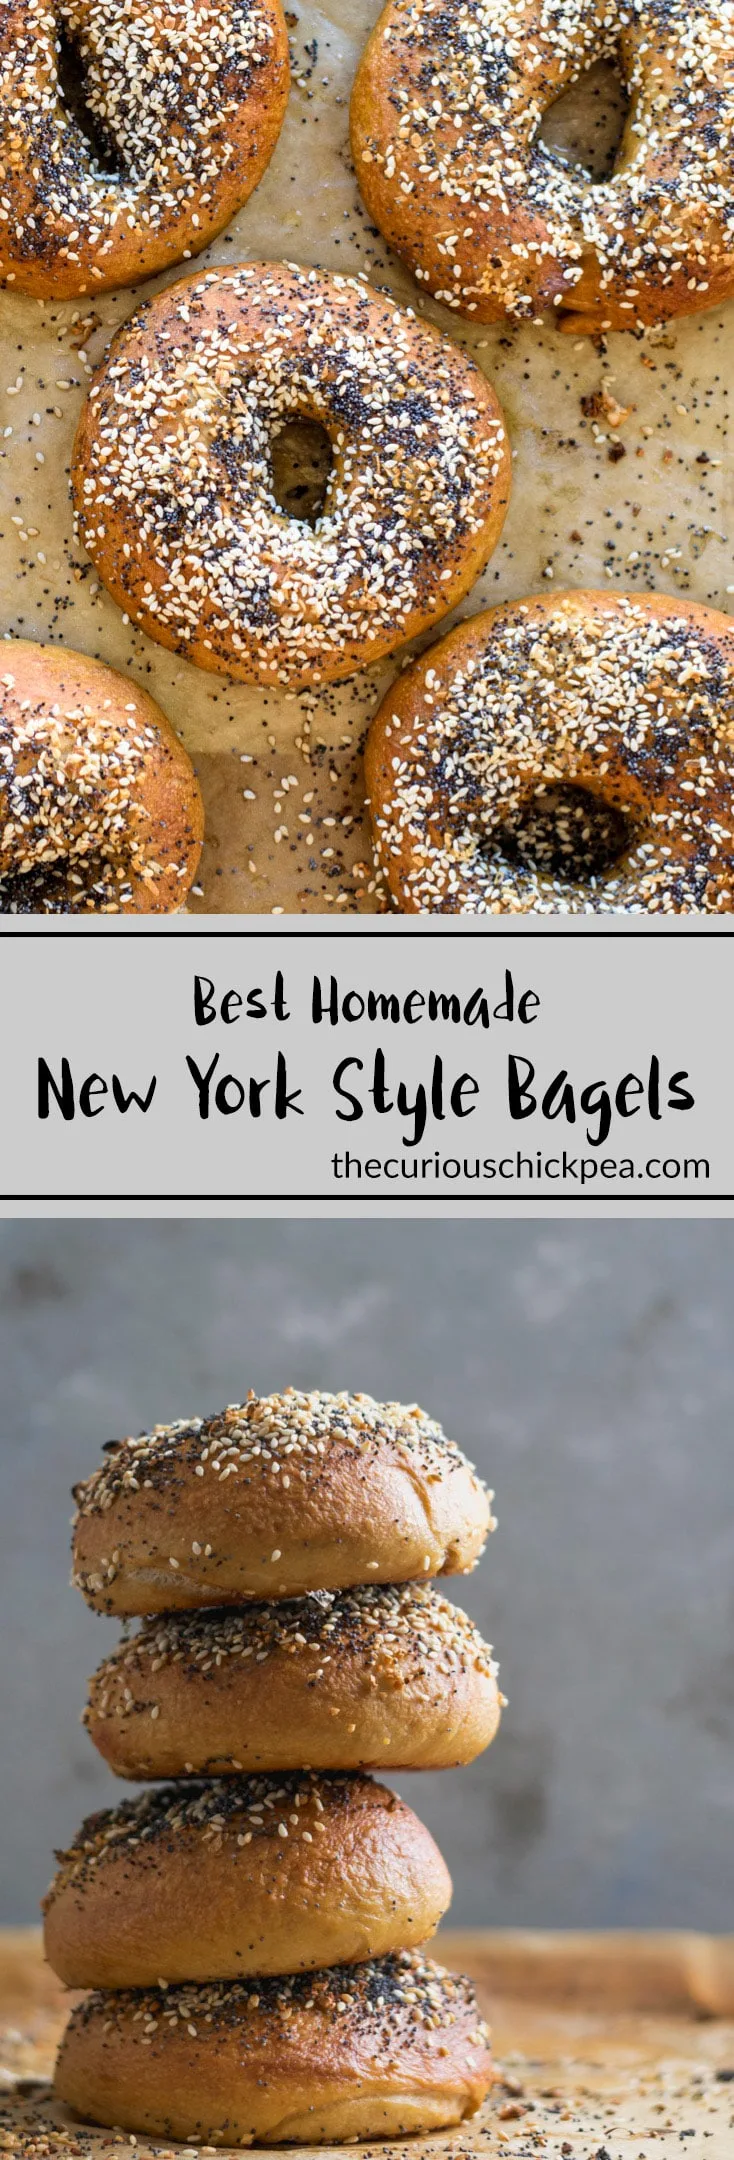
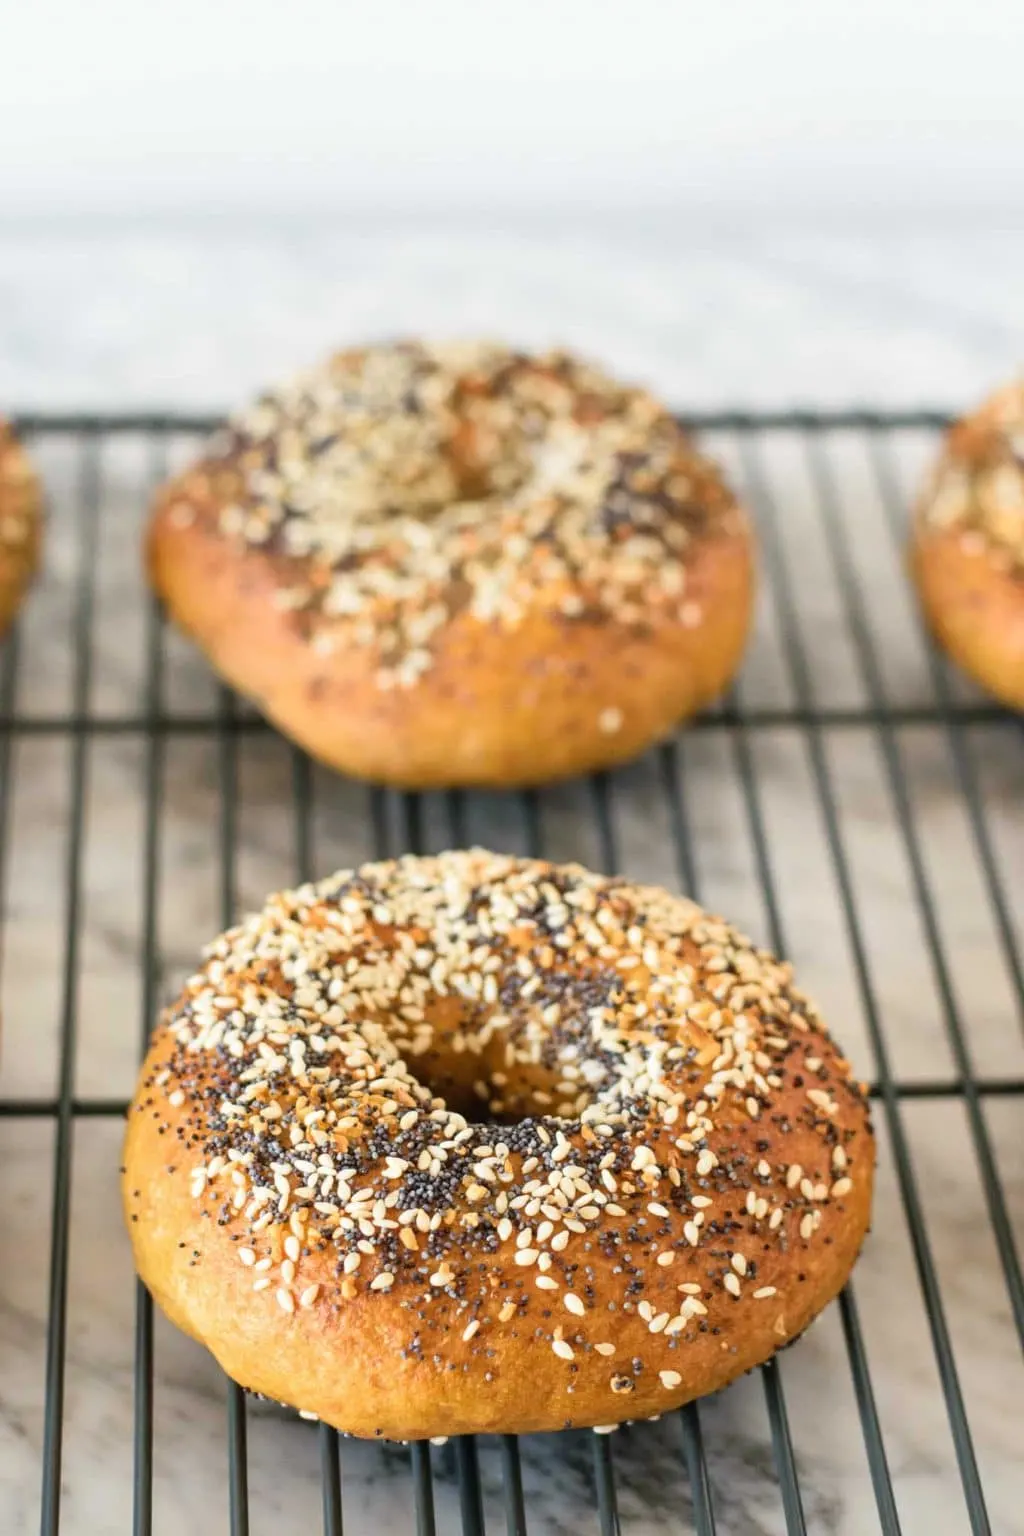
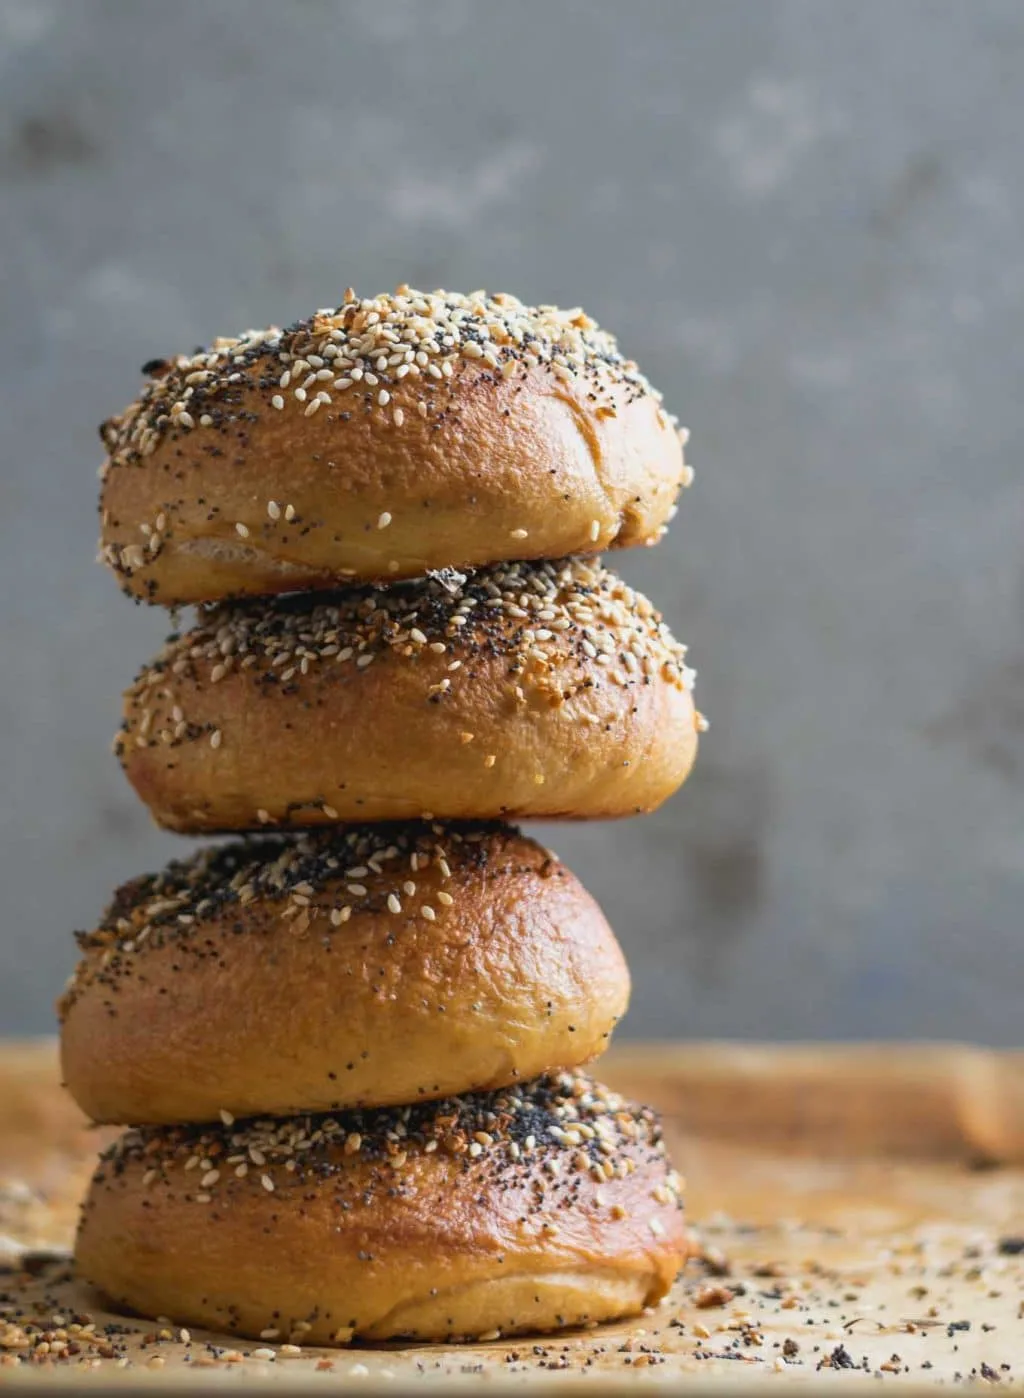
Homemade New York Style Bagels
Chewy bagels are made with barley malt and boiled for a traditional New York style bagel.
Ingredients
Bagel dough
- 600 g / 5 cups bread flour
- 4.5 g / 1 1/2 tsp instant yeast
- 14.5 g / 3 tsp fine sea salt
- 350 g / 1 1/2 cup water (90-95 ºF)
- 28 g / 1 tbsp + 1 tsp barely malt syrup -OR- 10 g / 1 1/2 tsp diastatic malt powder
Poaching liquid
- 8 cups water
- 1 tbsp barley malt syrup
- 1 tbsp baking soda
- 1 1/2 tsp salt
Toppings for everything bagels
- 2 tsp minced dehydrated garlic
- 2 tsp minced dehydrated onion
- poppy seeds
- sesame seeds
- flaked salt (optional)
Instructions
Make the bagel dough
- In the food processor: Add dry ingredients into the food processor and pulse to combine. In a separate bowl combine the warm water and barley malt syrup and stir to dissolve the syrup. Then add the water mixture to the flour. Process until the dough comes together into a ball. Let rest for 10 minutes.
In a stand mixer or by hand: Add dry ingredients and wet together in a large mixing bowl or the stand mixer bowl, and mix with a wooden spoon or with a damp hand until it forms a rough, shaggy dough. Then knead for 3 minutes, either in the stand mixer on lowest speed using the dough hook or by hand on a clean and floured counter. Let the dough rest for 5 minutes, then mix or knead again for an additional 3 minutes. - At the end of either kneading method, turn the dough onto a clean, floured counter and knead for 1 minute, adjusting the dough by adding more water or flour if necessary. {If kneading by hand, do these adjustments in an additional minute at the very end of kneading}. You should end up with a barely tacky dough. Form it into a smooth dough ball.
- Place seam side down in a lightly oiled bowl and cover with plastic wrap or a damp towel. Let rise for 45-75 minutes until around doubled in size.
- After the rise it's time to shape the dough. Prepare a baking sheet by covering it with parchment paper or a silicon mat and spray with oil. Divide the dough into 8 equal pieces (~120 g each) and roll each into a ball. To shape the bagels you can either (a) poke a hole in the middle of the dough ball and gently stretch the hole until it's an inch or two wide or (b) roll until 8-10" long then wrap around your hand and roll the two ends under your palm to seal [see photos in post for visuals]. Place shaped bagels on the greased baking sheet. When all are shaped spray with more oil and then cover with plastic wrap. Place in fridge and leave overnight, or up to 48 hours.
- On baking day: test dough to determine if it's fully proofed by placing it in a bowl of water. If it floats it's ready to go, if not, leave it out on the counter to finish rising at room temperature, retesting regularly until ready.
- Preheat the oven to 500 ºF.
- If making everything bagels, place the dehydrated granulated onion and garlic in two small heat proof bowls and cover them with boiling hot water to rehydrate so they don't burn while the bagels bake.
- Bring a 8 cups of water in a large pot to a boil. Turn heat to medium high to maintain a steady boil and add the salt, baking soda, and barley malt syrup. Boil the bagels 2-3 at a time, taking care not to over crowd the pot, for 60 seconds then flip and boil an additional 45-60 seconds. Strain and place bagels back on the baking sheet. Top with your desired toppings while they're still hot and wet for optimal sticking. If using seeds, gently press them into the dough after topping. Repeat with remaining bagels.
- When the oven is pre-heated and bagels are all boiled and toppings added, place the baking sheet into the oven on the center rack and turn the heat down to 450 ºF. Bake for 10 minutes, then rotate the baking sheet and bake an additional 8-10 minutes until the bagels are a dark golden brown. If you didn't use barley malt syrup in the poaching liquid, they will not brown as darkly or richly.
- Let the bagels cool at least 15-20 minutes before cutting into them. For long-term storage cut the bagels first, then place in a freezer safe ziplock bag and freeze until ready to eat. Just take them to partially defrost, ~15-20 minutes, before toasting them.
Notes
*recipe adapted from Peter Reinhart's Artisan Breads Every Day
Nutrition Information:
Yield: 8 Serving Size: 1Amount Per Serving: Calories: 352Total Fat: 3gSaturated Fat: 0gTrans Fat: 0gUnsaturated Fat: 2gCholesterol: 0mgSodium: 1867mgCarbohydrates: 68gFiber: 3gSugar: 4gProtein: 12g
Richard Baum
Monday 21st of August 2023
I’ve had trouble with my bagels coming out kind of flat even though they taste good. Am I using too much water? Or not kneading and shaping enough/properly? How do I get them to not slump down when in the fridge overnight?
Linda
Saturday 12th of August 2023
I made these bagels and have to say they are great! I’m from NY and moved out of state a year ago and could not find a decent bagel. So I figured I give these a try. “Wow” is all I can say everyone loved them. These are better than some bagels in NYC. Now my motto is ‘If you can’t find it you make it.’ Thanks so much for the recipe.
Kamica Jones
Sunday 15th of January 2023
I researched many recipes found online and landed here as the best option to try. It did not disappoint. I did leave it in the fridge overnight and it overproofed. I just flattened it to push out the air and reshaped and rested it again 30-40 minutes and it was ready to boil and bake. Just wow. Crispy thin crust exterior and soft chewy interior. Thanks for a great and straight forward recipe. I did use the weight in grams for accurate measurements. Spot on, even when I compare to bakers percentages for what’s typical in a bagel recipe.
Thom Foster
Monday 12th of December 2022
You mentioned bageliers use a higher protein % than what you'd find in the grocery. Do you know how much? I couldn't find anything online, though I doubt I used very good terms in the search engine. I've got some vital wheat gluten taking up space in the cupboard, so I thought I might try to match whatever they do
Janet Thompson
Monday 7th of March 2022
This is my go-to recipe for bagels. I love them and so does everybody who has tried them.