
I’m going to say something that’s possibly a bit controversial: sandwiches are only as good as their bread. You can have the most delicious filling but if the bread sucks, the sandwich will always fall short of good. And you can’t beat freshly baked bread. The crust is more tender, the insides perfectly soft but sturdy enough to hold up to the filling. And if you’re looking for the perfect flavorful white sandwich rolls, then this is your recipe!
These homemade sandwich rolls are versatile, you can stuff them with whatever sandwich fillings you want! They make good hoagie rolls/subs/hero/grinder, tortas, buns, po’boy, you name it! You can shape them a little flatter and wider, or longer and narrower depending on what end result you’re going for.
The ingredient list for these rolls is quite simple: all purpose flour, sugar, yeast, salt, warm water, oil, an optional barley malt syrup, and optional plant milk of your choice. Most sandwich bread has a little sugar in it. This does a few things: it creates a slightly softer bread, helps the outside of the rolls brown, helps enhance the flavor (without making the bread taste sweet), and gives the yeast a little jump start.
I add barley malt syrup as a second sweetener to my bread. I mostly add it for the flavor it provides, but it also helps to give the bread a little color. Feel free to leave it out if you don’t have it, or buy some and then make my New York style bagels (highly recommended!).
For the yeast, I love using instant yeast because you do not need to dissolve the yeast in water first. It can be mixed right into the flour! If you have active dry yeast it’s a good idea to first proof the yeast in the warm water (go ahead and add the sugar and barley malt syrup to help it out). Active dry yeast might also need an extra 15 minutes or so of rising time for the first rise (the bulk rise), so keep an eye on it. Active dry and instant yeast can be used interchangeably 1:1. You can get more information on the King Arthur website.

These sandwich rolls are slightly enhanced dough, meaning they have sugar and some fat. Fully enhanced doughs often have more sugar and fat, as well as milk/butter/eggs (or the vegan counterparts). I kept it simple and used olive oil in these rolls (any neutral flavored oil would work as well). You could also use melted vegan butter.
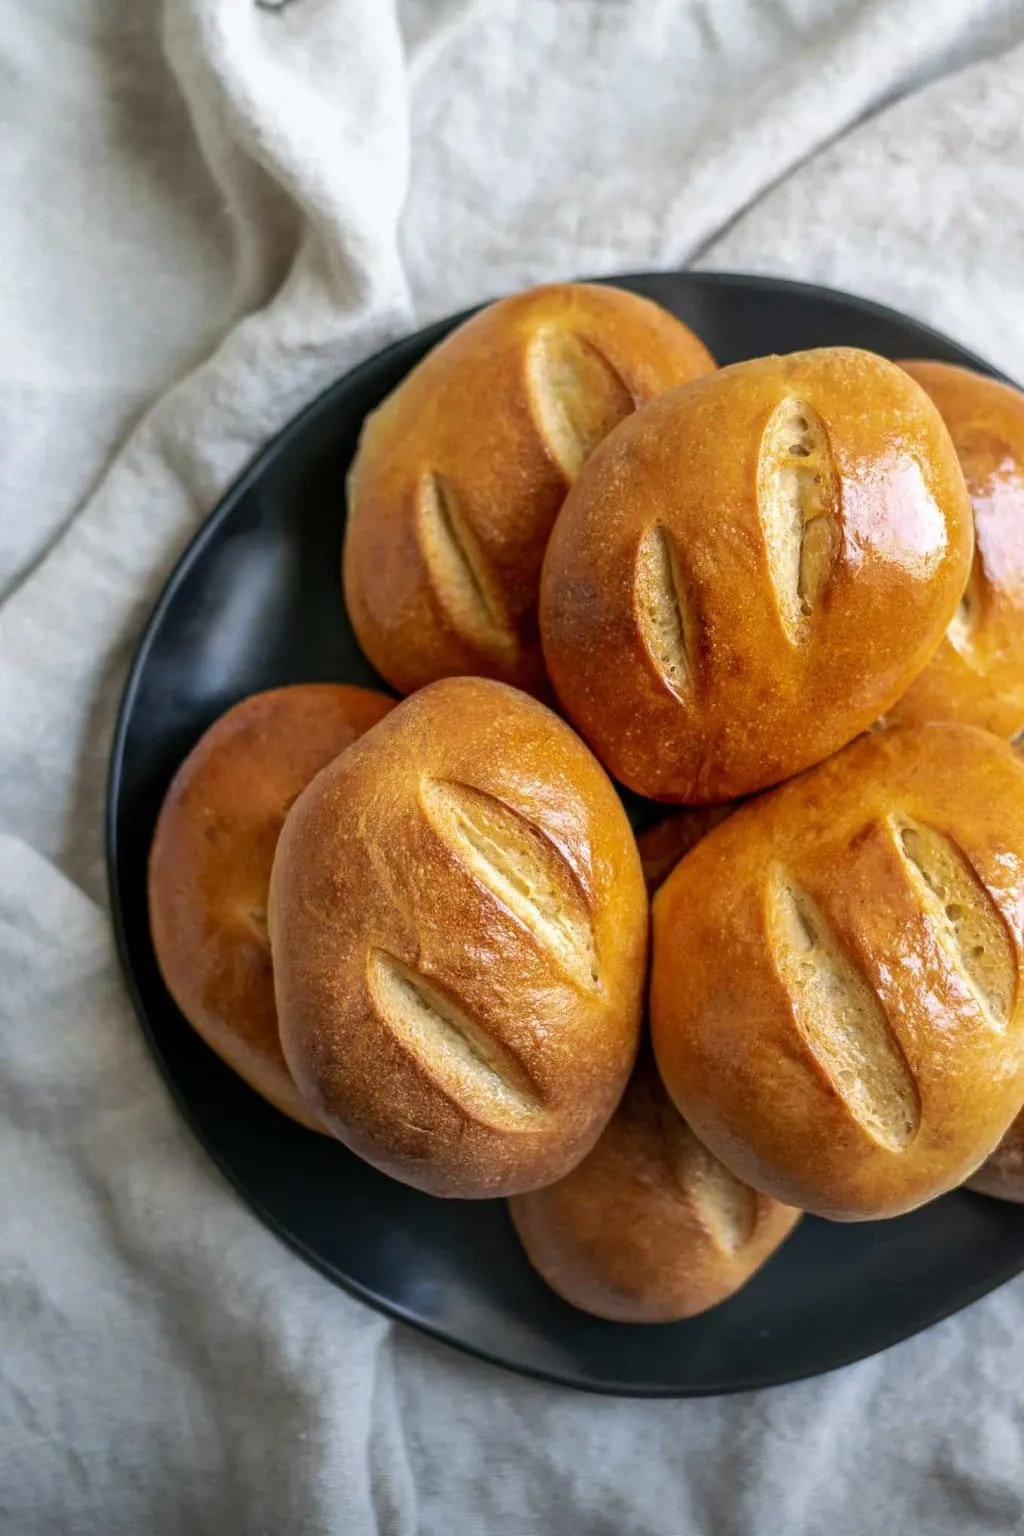
For a shinier and more browned top, brush a little bit of plain or unsweetened plant milk over the tops of the rolls right before baking. Any should work, I use soy milk as I usually have it on hand. If you really want to enhance the shine, once the rolls are done baking and have fully cooled, you can brush a teeny bit of oil over top them. It’s pretty but otherwise adds nothing else.
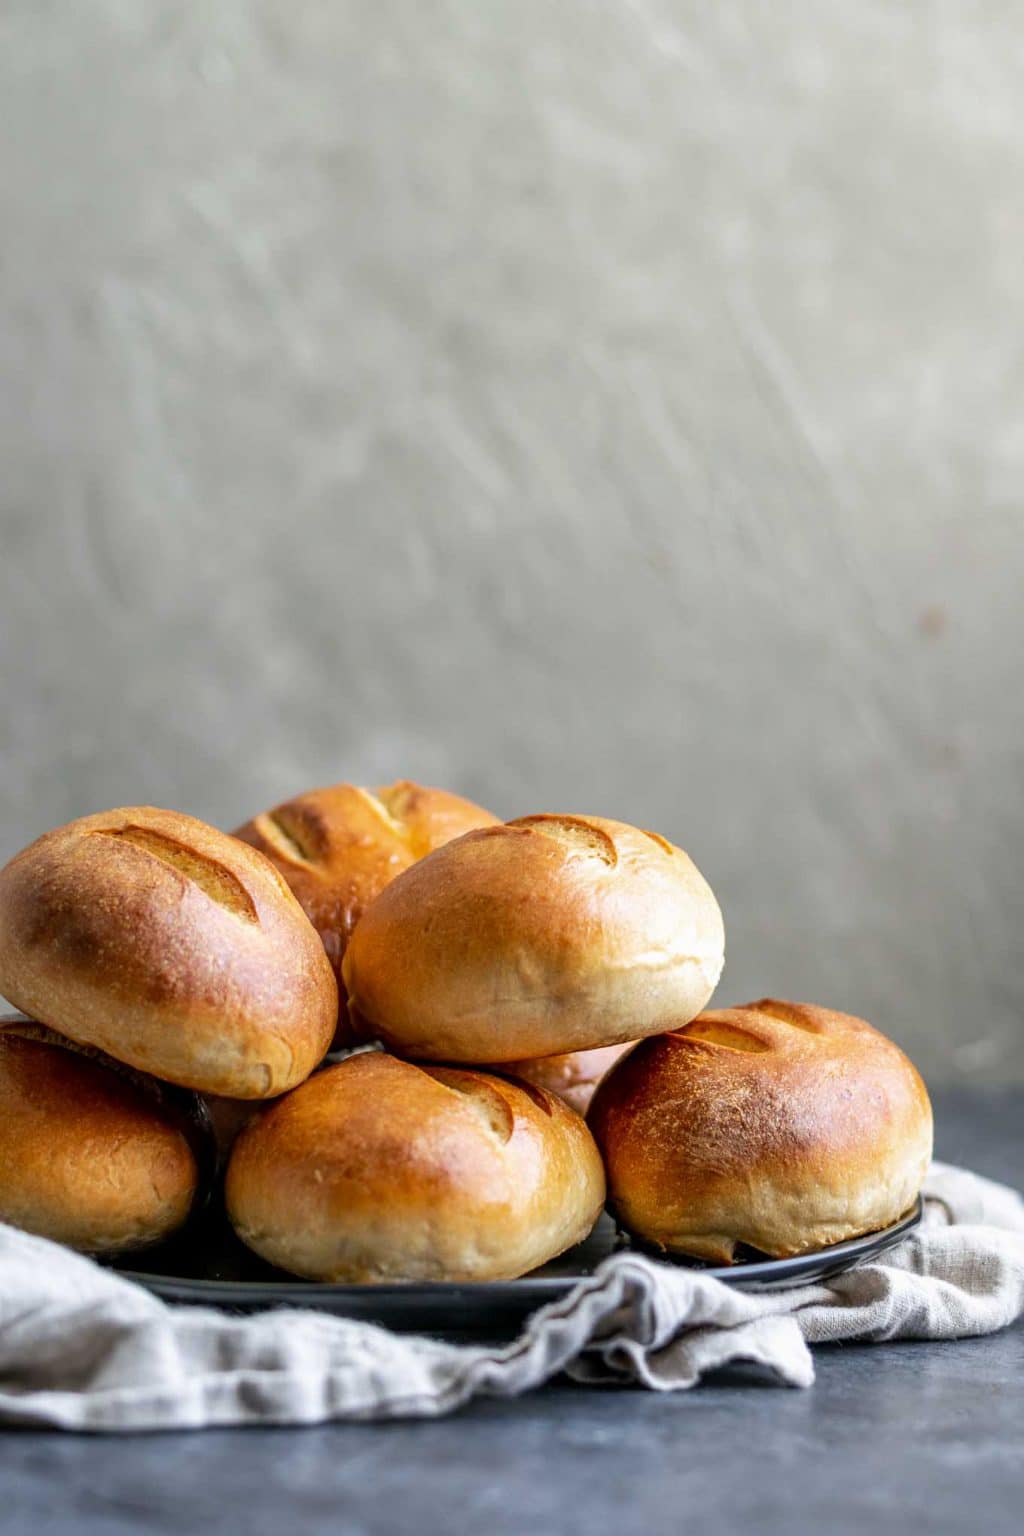
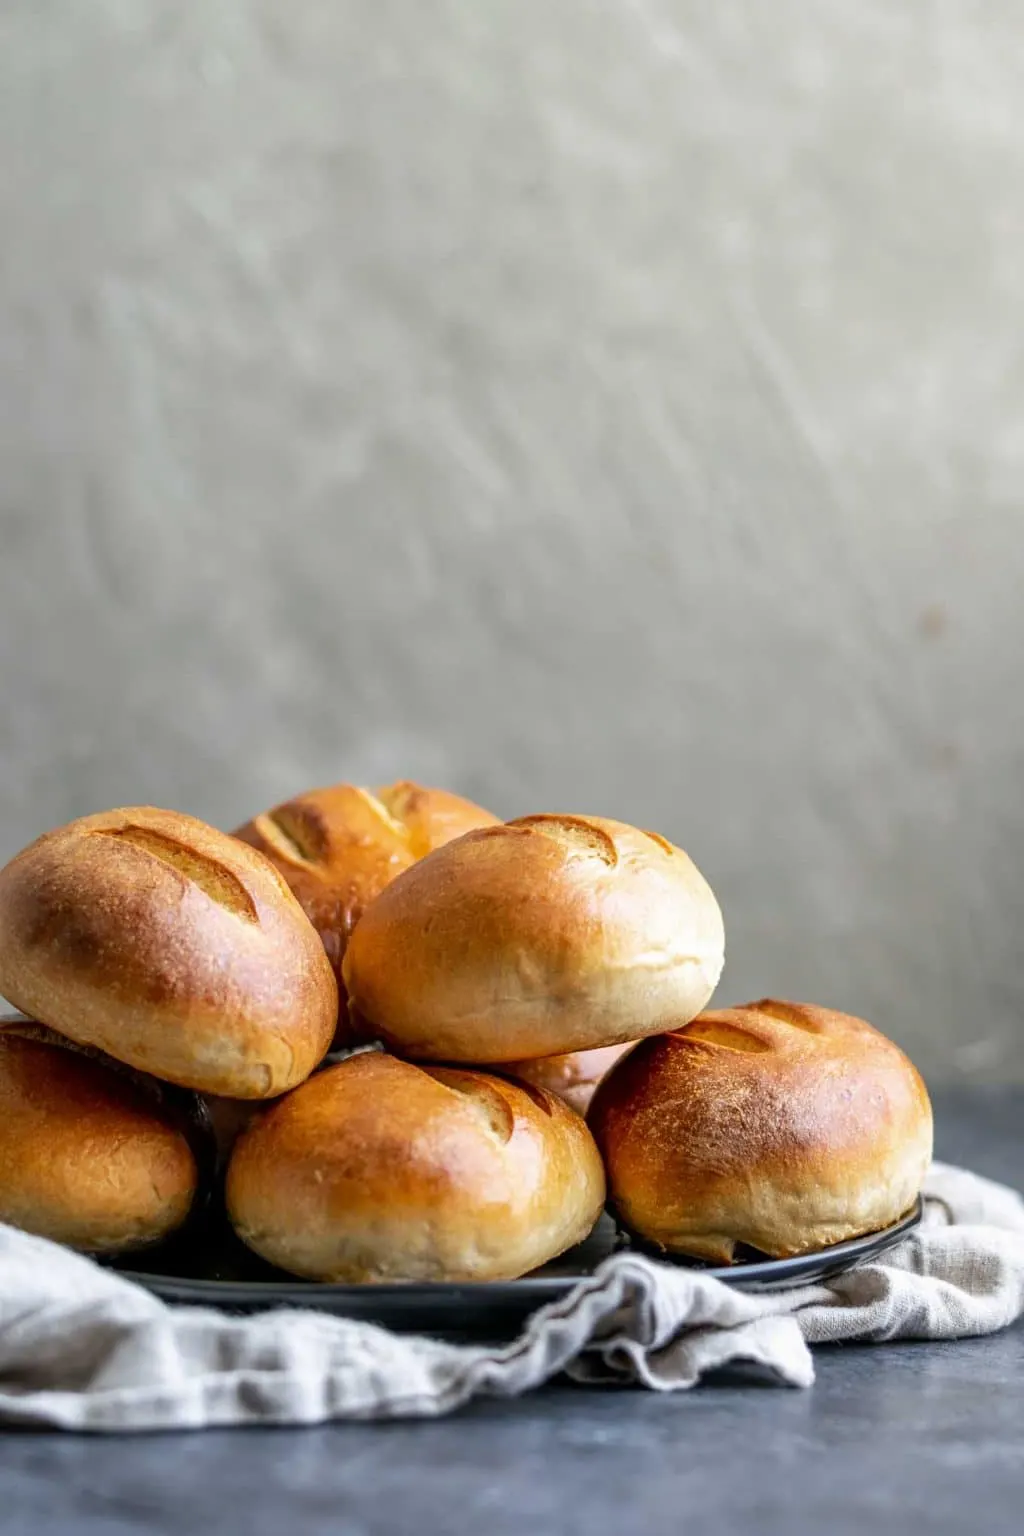
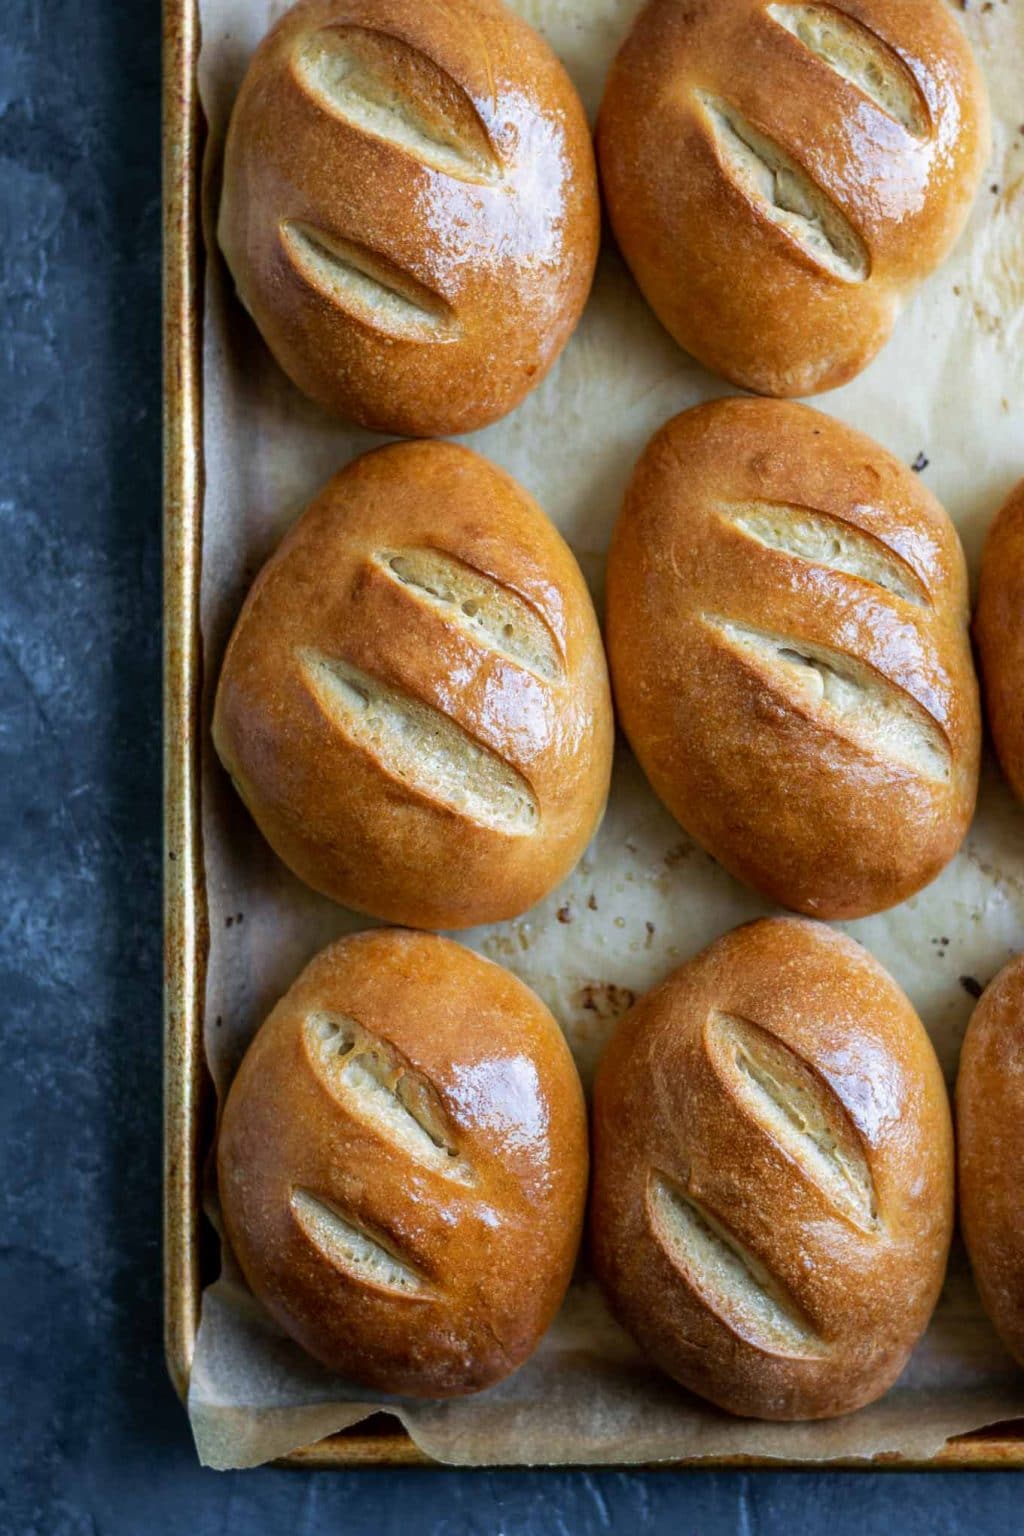
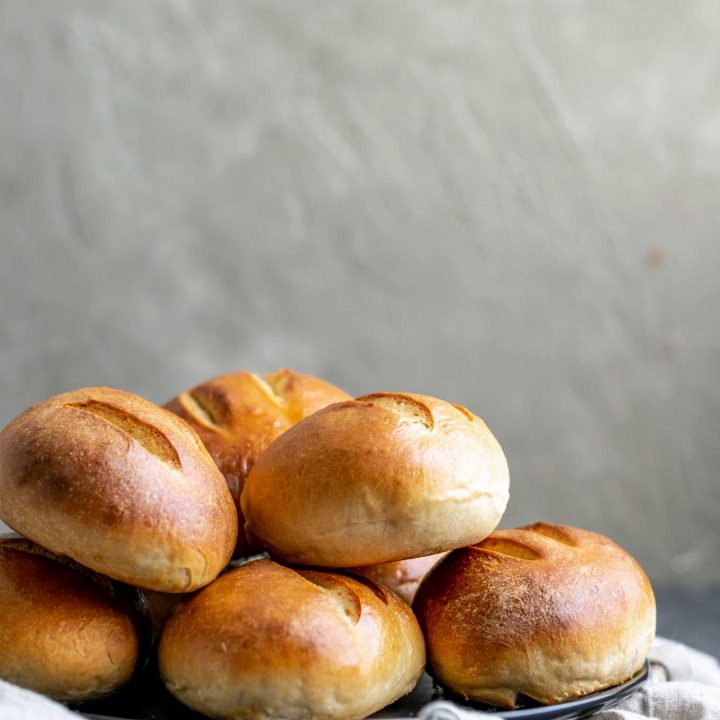
The last thing to worry about is how you’re going to cut the tops of the rolls. This is mostly cosmetic, so you can choose a single slash right down the center or parallel slashes like I did in these photos. To make the cut use either a bread lame or a lightly oiled sharp knife. Any way you slice it (haha, get it?), the rolls come out beautifully!
The process of making the rolls is quite simple! I knead for a couple minutes then let the dough rest for 5 minutes, which allows for some extra absorption of the water into the flour and relaxes the gluten which helps it form the desired protein structure. Then knead it another few minutes until the dough is springy and soft. This process can be done by hand or with a stand mixer. If using a stand mixer you’ll want to finish the kneading by hand for one last minute or so, just to make sure the dough has the correct texture. The dough should be slightly tacky at the end, but not actually stick to your hands.
The dough has one bulk rise for about an hour, until it’s risen 1 1/2-2x in size, then the dough is divided into 8 pieces and shaped. First roll the pieces of dough into balls, then let them rest 5 minutes to allow the gluten to relax (cover with some plastic wrap to keep them from drying out) before rolling them into torpedos. I like to press down on top of the rolls after shaping because I don’t know about you, I have more trouble eating super tall sandwiches and I like a little extra width for my fillings. The shaped dough gets a final rise while the oven preheats and then they’re baked! Let the rolls cool before slicing open and stuffing with fillings to avoid gummy interiors.

Once you’ve made the recipe once as written, feel free to switch things up! If you want long sandwich rolls divide the dough into 4 – 6 pieces instead and roll them out longer. If you want burger buns (and aren’t feeling like making these pretzel buns) then leave them in a round shape. And perhaps divide the dough into 10 buns, unless you’re making jumbo burgers!
I do hope you guys enjoy this recipe! Baking bread is easy and fun, and it’s so satisfying to eat the results. Let me tell you, sandwiches with freshly baked homemade bread are next level good. Leftover rolls can be stored in a bread bag or a ziplock bag (wash and reuse your bags to reduce your plastic use!) at room temperature for a couple of days, or freeze extras to defrost and enjoy at any time! Having some ready to go bread in the freezer can be a huge lifesaver down the road.
Let me know if you have any questions about the recipe or baking, and if you make these sandwich rolls! They really are the ultimate homemade sandwich rolls. Leave a comment below, tag me on Instagram (@thecuriouschickpea or #thecuriouschickpea), or share with me on Facebook. Next time I think I should bake a whole grain seeded roll, for balance or something like that 😉 .

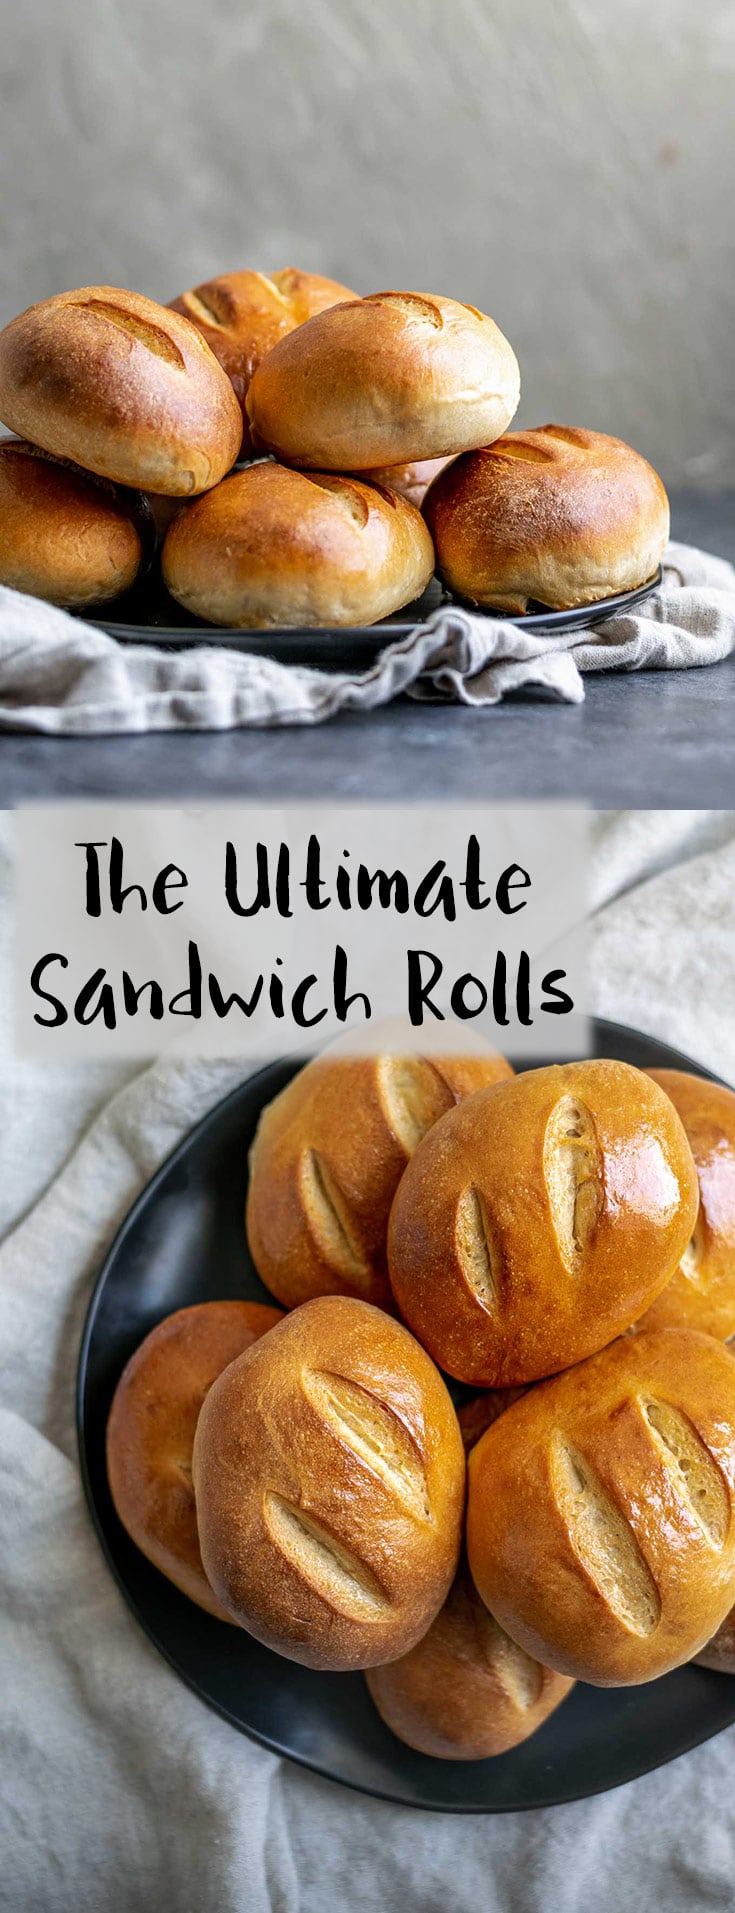
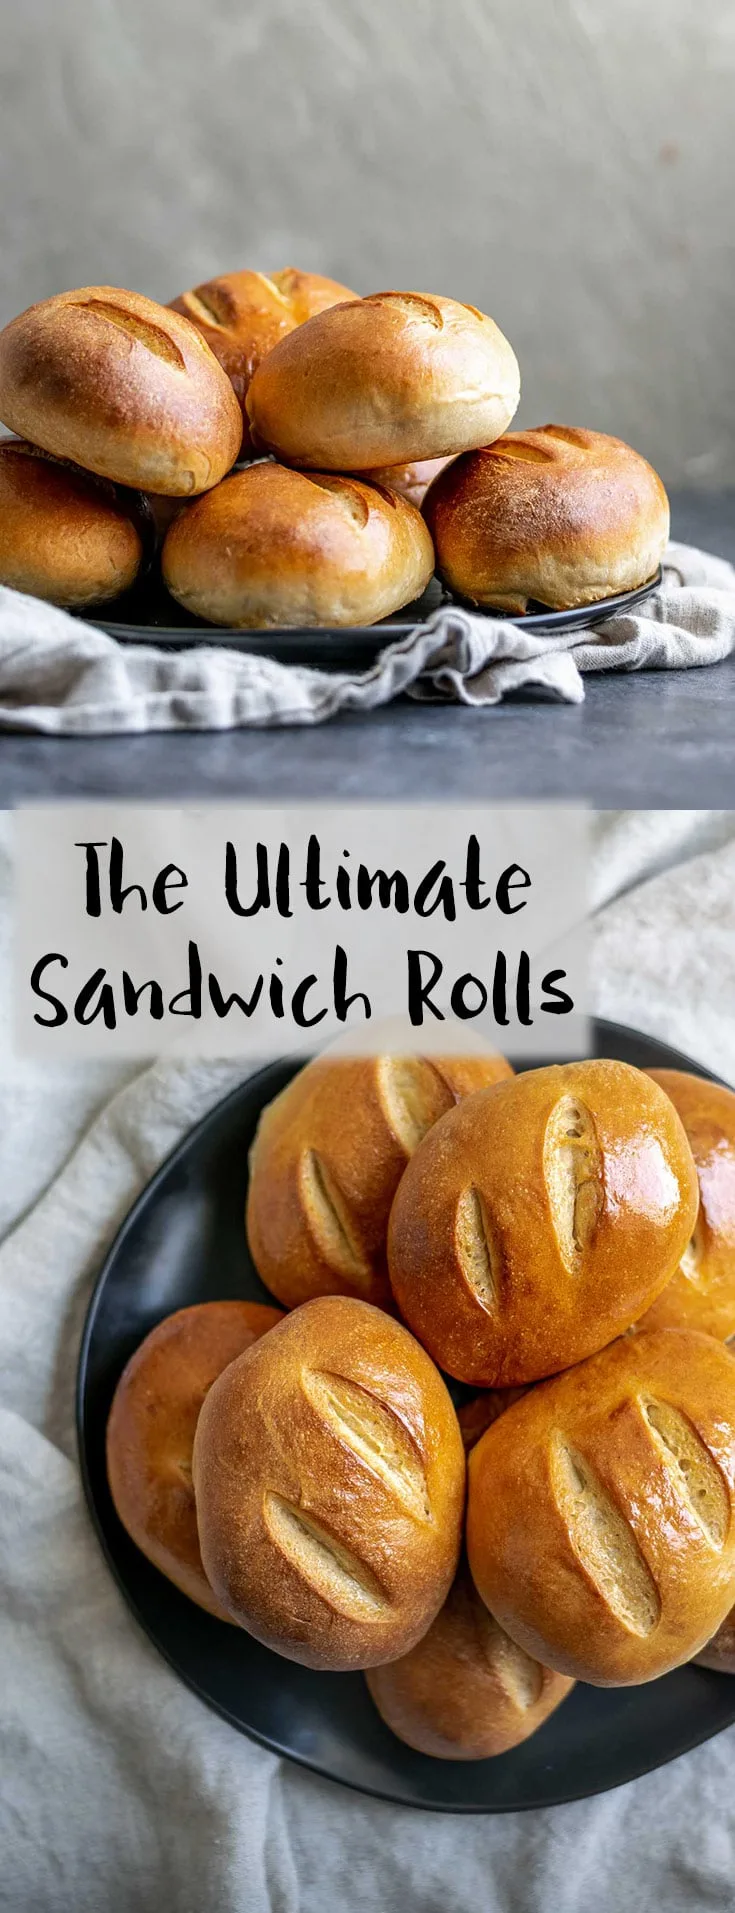
The Ultimate Homemade Sandwich Rolls
A soft and slightly crusty bread perfect for stuffing with your favorite sandwich fillings. A lightly enriched dough, these ultimate homemade sandwich rolls make great tortas, banh mi, subs, and more!
Ingredients
- 4 1/4 cups (560g) all purpose flour*, more as needed
- 1 tbsp (14g) sugar
- 2 tsp (7g) instant yeast*
- 1 1/2 tsp (8g) salt
- 1 1/2 cups (355g) warm water, 100-110 ºF
- 2 tbsp (28g) vegetable oil or olive oil
- 2 tsp (14g) barley malt syrup*, optional
- plant milk for brushing tops of buns, optional
Instructions
- In a large mixing bowl or the bowl of a stand mixer add the flour, sugar, yeast, and salt. Whisk to combine. Add the warm water, oil, and barley malt syrup if using. Mix the ingredients together until you've formed a shaggy dough.
- To make by hand: Turn the dough out onto a clean counter. Knead by hand for 3 minutes. If needed, add a little extra flour (a tablespoon at a time), but expect the dough to start out sticky and get less sticky, turning more tacky, as you knead. Let the dough rest for 5 minutes, then knead an additional 4-5 minutes until you have a smooth and slightly tacky dough. The dough should be soft and a bit bouncy.
- If using a stand mixer: Using the dough hook, knead the dough on low speed for 3 minutes. Let the dough rest for 5 minutes, then turn the stand mixer back on and knead an additional 3 minutes. Turn the dough out onto a clean counter and knead by hand for 1-2 minutes, making any final adjustments to add more flour if needed. The final dough should be soft, bouncy, smooth, and slightly tacky.
- Place the dough into a lightly oiled large mixing bowl and turn to coat the dough in oil. Cover with plastic wrap or a lightly dampened towel and let rise for 1 hour. The dough should be 1 1/2 to 2x risen in volume.
- Preheat the oven to 400 ºF.
- Turn the dough out onto a clean counter and divide until 8 equal pieces. Form each piece of dough into a ball, rolling the ball seam side down under your palm in small circles to create a taught skin around the ball of dough. Let rest for 5 minutes, then shape the balls into rolls. Roll the ball under your hands to form a torpedo or [American] football shape, 4-5" long. The edges will be slightly tapered with the center remaining round. Press down the tops of the dough to flatten slightly, so they are about 3/4" tall. Place the shaped rolls on a parchment lined baking sheet with 1 1/2-2" between each roll as they will expand in the oven. Lightly mist the tops of the rolls with oil then loosely cover with plastic wrap.
- Let the dough rise for a second time while the oven preheats. After 20-30 minutes the rolls will have swollen, as much as 50%. At this point they are ready to bake.
- Brush the tops of the rolls with some plant milk of your choice for a shinier finish. Then using a bread lame or a lightly oiled sharp knife, slash the bread either with one cut down the center length wise or two parallel diagonal lines.
- Bake for 18-20 minutes or until the loaves are a beautiful golden brown (Note: if you did not use the barley malt the loaves will not darken as much). Let cool completely before consuming.
Notes
*To measure flour by volume, first whisk the flour well. Then scoop and level with the back of a knife. This ensures that the flour is not settled and you aren't measuring out a lot more flour per cup.
*If not using instant yeast you'll need to proof the yeast first in the warm water. Combine the yeast with the warm water, sugar, and barley malt, and let sit for about 10 minutes or until the mixture is frothy. Add that mixture to the rest of the ingredients once active.
*Barley malt syrup is optional. It gives a little extra golden brown color to the rolls and adds a subtle sweet flavor. If you don't have it, feel free to leave it out.
Gritzi
Saturday 21st of February 2026
Okay.... Don't forget about the double in size .. after one hr the dough is time sensitive so if you are busy during that hour point or double in size time period you will have a blah second rise and your rolls will be dense ... Flavorful... But dense and meh... Average. My convection oven was purchased at a high end discontinued warehouse... However, I suspect there was a justifiable reason for terminating this oven model. My heat never seems to reach a browning stage... Unless I have the oven cranked to 500
Gritzi
Saturday 21st of February 2026
DEAR EVA I AM BEGINNING TO WORRY ... I CANNOT FOR THE LIFE OF ME FIGURE OUT WHEN TO SLASH THE ROLLS. IS IT IMMEDIATELY AFTER FORMING THEM INTO FOOTBALLS?
Suzie Elaine
Saturday 18th of October 2025
I’ve been making these regularly for my kids lunch boxes and they’re always so happy when I do. Very simple recipe and definitely the best I’ve found. But strange but I’ve been using date syrup for the colour/sweetener in place of barley syrup and they still achieve that beautiful golden colour.
Mel
Thursday 4th of September 2025
Just curious when to add the 28 grams of olive oil?
Mel
Thursday 4th of September 2025
@Mel, sorry, I read the recipe 3 times and somehow missed it. I had to use active dry yeast and didn’t have malt syrup so I didn’t see that part of step one. Great rolls. Thank you!
Susan Shannon
Sunday 4th of May 2025
I used 2 tsps of sugar and 2 tsps of olive oil. Omitted the malt syrup. Made 9 burger rolls. They came out beautifully done. Thank you. Susan