
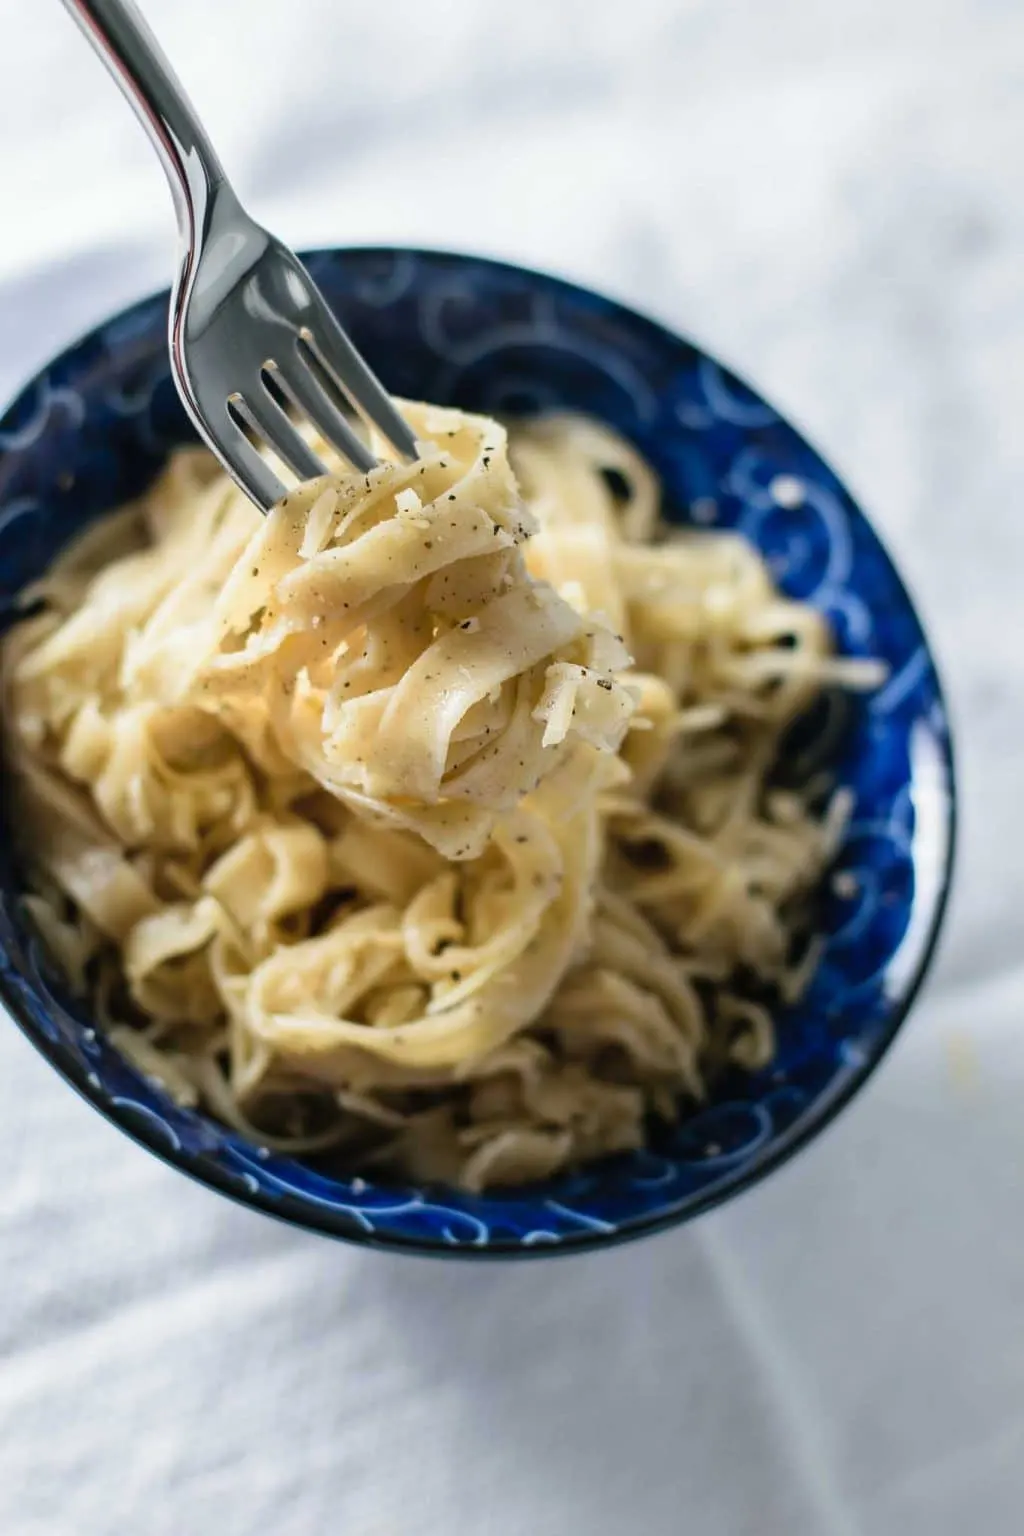
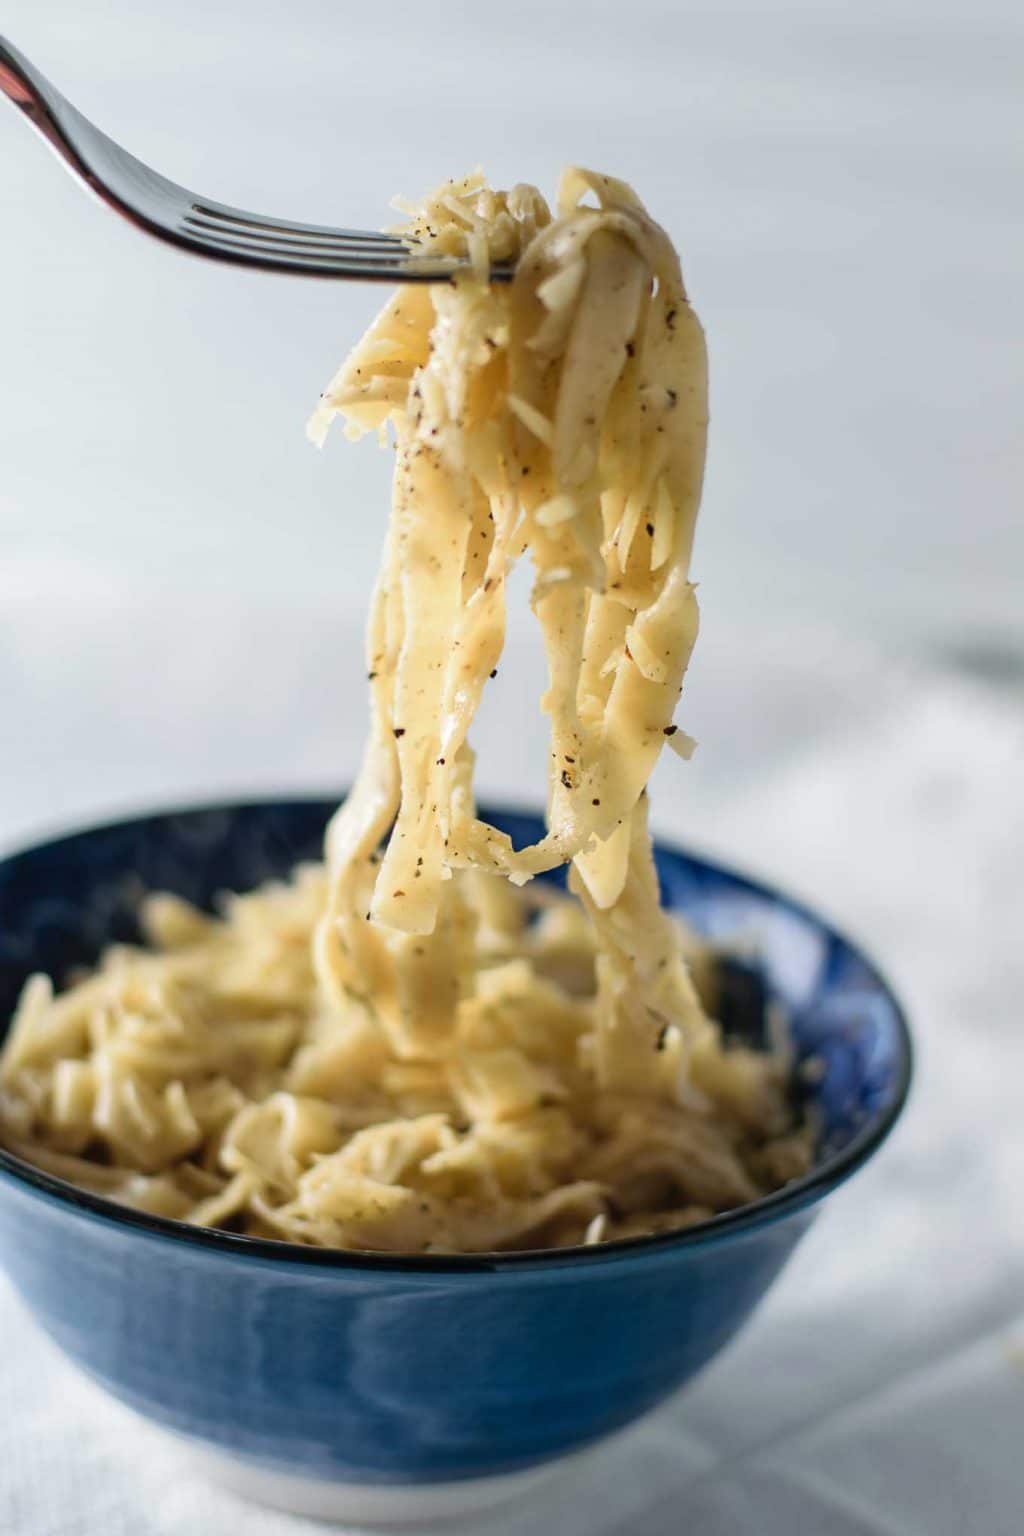
Easy homemade pasta made with vegan with aquafaba instead of eggs. The fresh pasta can be cut into thin spaghetti or wide noodles and it cooks up toothsome and delicious!


If you’re like me, and have a seemingly insatiable love for pasta, you might spend a disproportionate amount of your time reading about pasta making techniques, recipes, and theories. You may have even tried making your own at some point.
You might also have noticed a big trend with homemade pasta dough–eggs, egg yolks, egg whites, and more eggs. You might grab your hair and stress, “how can the most vegan food (noodles) take on such a non-vegan ingredient when you make it fresh??”
Or maybe you’ve read somewhere that pasta doughs made without eggs are lifeless, tasteless, waterlogged messes. As someone who has been making egg free pasta since high school (that’s over 10 years for those wondering), I’m here to tell you that is NOT the case.

Now, if you take a mixture that is solely made up of water and flour, it probably isn’t going to taste great when boiled. You can’t expect replacing the starches and proteins in egg yolks with water to yield the same results.
I’ve talked about this in previous bread recipes, but fat coats the protein strands in wheat flour for a more tender result. It prevents the gluten network from building up as much as that in a lean dough (containing no fat, sugar, milk, or the like). It’s not that lean doughs are bad. My favorite artisan style breads that I eat every week are made of lean dough!
Successful vegan pasta doughs try to replace some of this fat and starch to more closely replicate the desired texture of fresh pasta. In this recipe I use a combination of aquafaba, or the liquid from a can of beans, and extra virgin olive oil for a richer tasting pasta.
For the aquafaba, I use a the liquid from a can of chickpeas, which most people find has the “strongest” and best aquafaba (i.e. highest concentration of starches). A large 25 to 30 oz can of chickpeas contains the perfect amount of liquid. To use, I shake the an to loosen the starches and redissolve them into the liquid before opening, then reduce the liquid down by half to make a thick and viscous aquafaba.
In this pasta dough we don’t want extra water, so reducing is a quick (literally takes under 10 minutes if you use a larger pot with more surface area for the liquid to evaporate) extra step that makes a big difference in the end pasta.
Olive oil brings a delicious rich flavor to the pasta and also replaces the fat in egg yolks. The fat content in 1 tbsp of olive oil is the equivalent of about 3 whole eggs.

Once you’ve replaced those starches and fat it’s time to think of the texture of the dough. I find the best pasta to be made of stiff, low-hydration doughs. You’ll notice this in the recipe doesn’t have any water, milk, or liquid beyond the thick, reduced aquafaba and olive oil.
If I do on occasion find the dough on the dry side with this amount of liquid, to add more I’ll drizzle in 1 tsp of water into the food processor, or if kneading by hand, just wet my hands and work that moisture into the dough.
The stiffness of this dough makes it a bit of an arm workout to knead, and so I usually make the dough in my food processor. Using the metal S-blade to cut through the gluten network works as well as kneading to develop the dough, and you’re done with the whole process in about 2 minutes.
You’ll want to do a quick 1 minute knead on the counter after to check the feel of the dough (does it need more water? more flour?). In the end you want a dough that is stiff but not dry, nor should it be tacky to the touch.
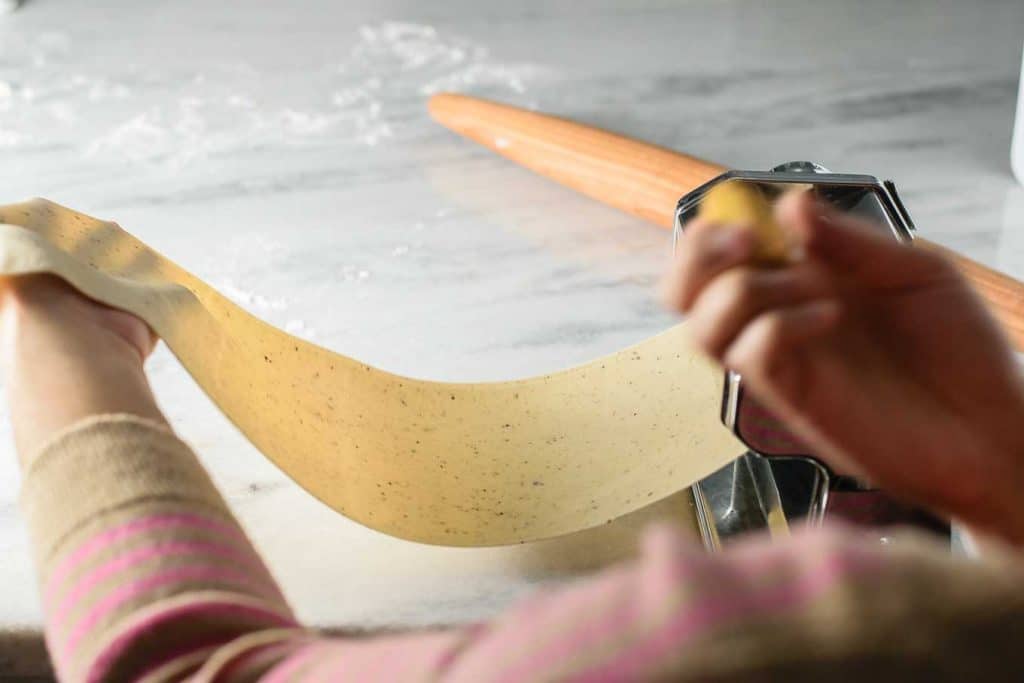
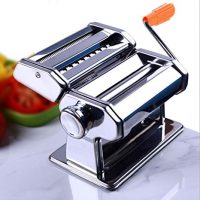
A 30 minute rest on the counter lets the flour fully absorb the water and the gluten to relax enough to roll the dough more easily. For rolling the dough, it’s easiest to use a pasta rolling machine. I use a hand crank machine, it was under $30 and is over 10 years old, probably similar to this one on amazon, but there are nicer hand crank pasta machines available for more money, and someday I hope to own a kitchen aid pasta attachment for my stand mixer (is that what Black Friday & Cyber Monday are for?).
For best success using any pasta roller machine you’ll want to begin by rolling the dough by hand until fairly thin before sending it through the roller at the widest setting. Then run the dough through the same thickness setting 3 or more times until it’s no longer flatting the dough further before turning it to one setting thinner. You’ll do this with each thickness setting for best results.

The second thing you’ll want to do, is manually fold the dough a couple of times throughout the rolling process. Once you’re about 3 thickness settings through the roller, place the dough on the counter and fold the edges into the center to meet. Then fold the dough in half, and roll by hand in the opposite direction you had been rolling in previously.
Then starting again with the thickest setting of the pasta machine, continue to roll in the opposing direction. You’ll repeat this at least one more time during the rolling process. This works the gluten in two directions for the best texture, and also makes the dough a lot easier to work with.
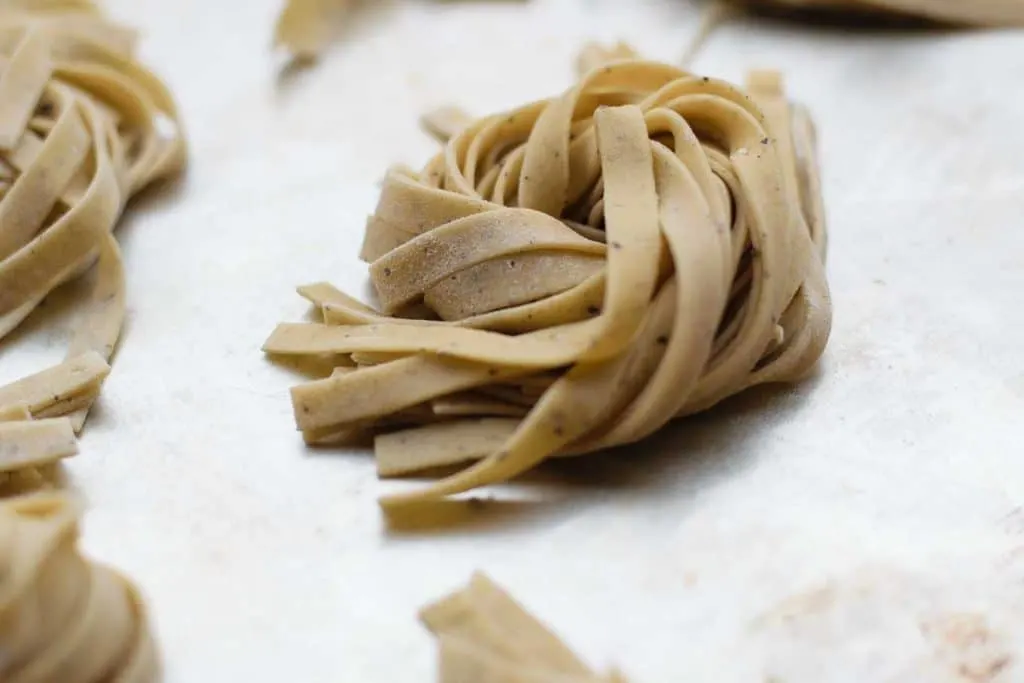
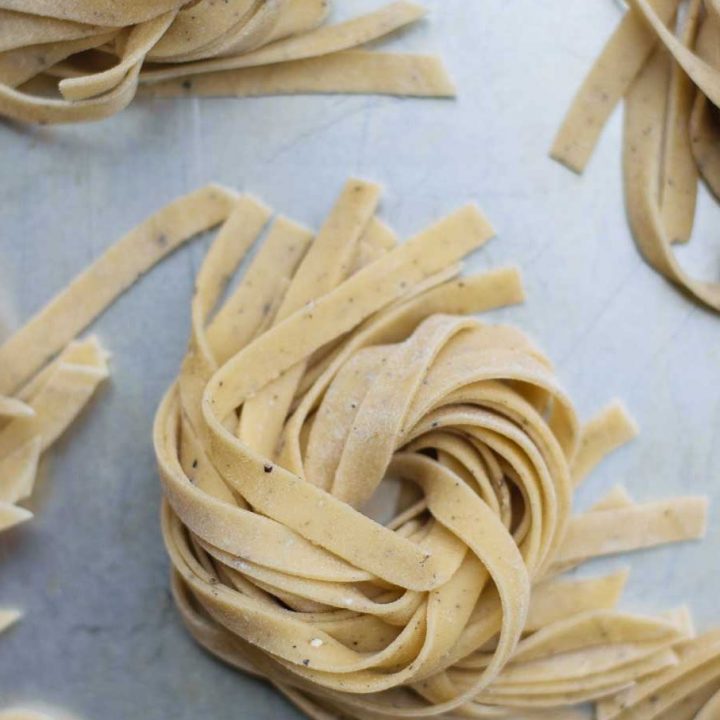
For noodles, from spaghetti to linguini to ultra wide hand-cut noodles, I like to get my final dough to the 3rd of 4th thinnest setting, as I like a thicker noodle. For a stuffed pasta like ravioli or tortellini I go to the 2nd or 3rd thinnest setting as the dough will stack doubly thick around the edges. To some extent this is just personal preference, you just want to make sure the dough can cook through within the 2 minute or under cook time. If at any point your dough is sticky, dust with a thin coating of flour.
As far as the flour goes, you can use all purpose flour or you can find the finely milled, high protein 00 flour. I’ve made it both ways, and don’t notice a huge difference. I do make sure to source good quality all purpose flour however (for all my baking). Brands like King Arthur Flour and Bob’s Red Mill (in the US) make higher protein all purpose flours than the typical generic brands I’ve encountered at the grocery store.
I salt my dough because it adds layers of flavor into your final pasta dish, and I make this dough extra peppery because 1) I love the flavor of black pepper, and 2) it’s really good that way. This amount of black pepper makes for quite the peppery pasta. You can always cut back if you’re not as big of a fan.
Making vegan pasta dough is easy! You can use your food processor to do the kneading (i.e. the hard work) for you. Once you’ve gotten the hang of rolling out the dough into thin sheets, it actually goes quite quickly (especially if you are doing it with a pasta machine, and doubly so if it attaches to your stand mixer). Put on some tunes, invite a friend to join you, and then celebrate with mounds of freshly made pasta. There’s nothing quite like it!
Let me know if you try this recipe, or if you have any questions! And as always, let me know if you do make it! Leave a comment and/or rate the recipe below, tag me on Instagram (#thecuriouschickpea), or share with me on Facebook! Happy pasta making!
Notes:
- You can roll pasta dough by hand with a rolling pin, but it’s quite the workout, and you probably won’t get the dough as thin as a machine would. You might want to start with a higher hydration dough, that is, add more aquafaba or water at the beginning.
- Aquafaba is the liquid from cooking beans. Chickpeas create some of the best aquafaba, and it’s easiest to collect it from a can. When separating the liquid from a can of beans, first shake the can before opening to loosen and distribute the starches and proteins that settle on bottom. Strain the liquid to separate it from the beans, and then for this recipe you will need to reduce the aquafaba. Reduce it by half the volume by simmering over the stove, checking after 5 minutes every minute or two until you have half the amount. You can then use right away or freeze the liquid until you’re ready to use it (make sure to label it!).
- I love the peppery taste of this pasta, but if you’re not a black pepper lover you can either reduce or remove it completely. But it’s so good and flavorful with the black pepper!


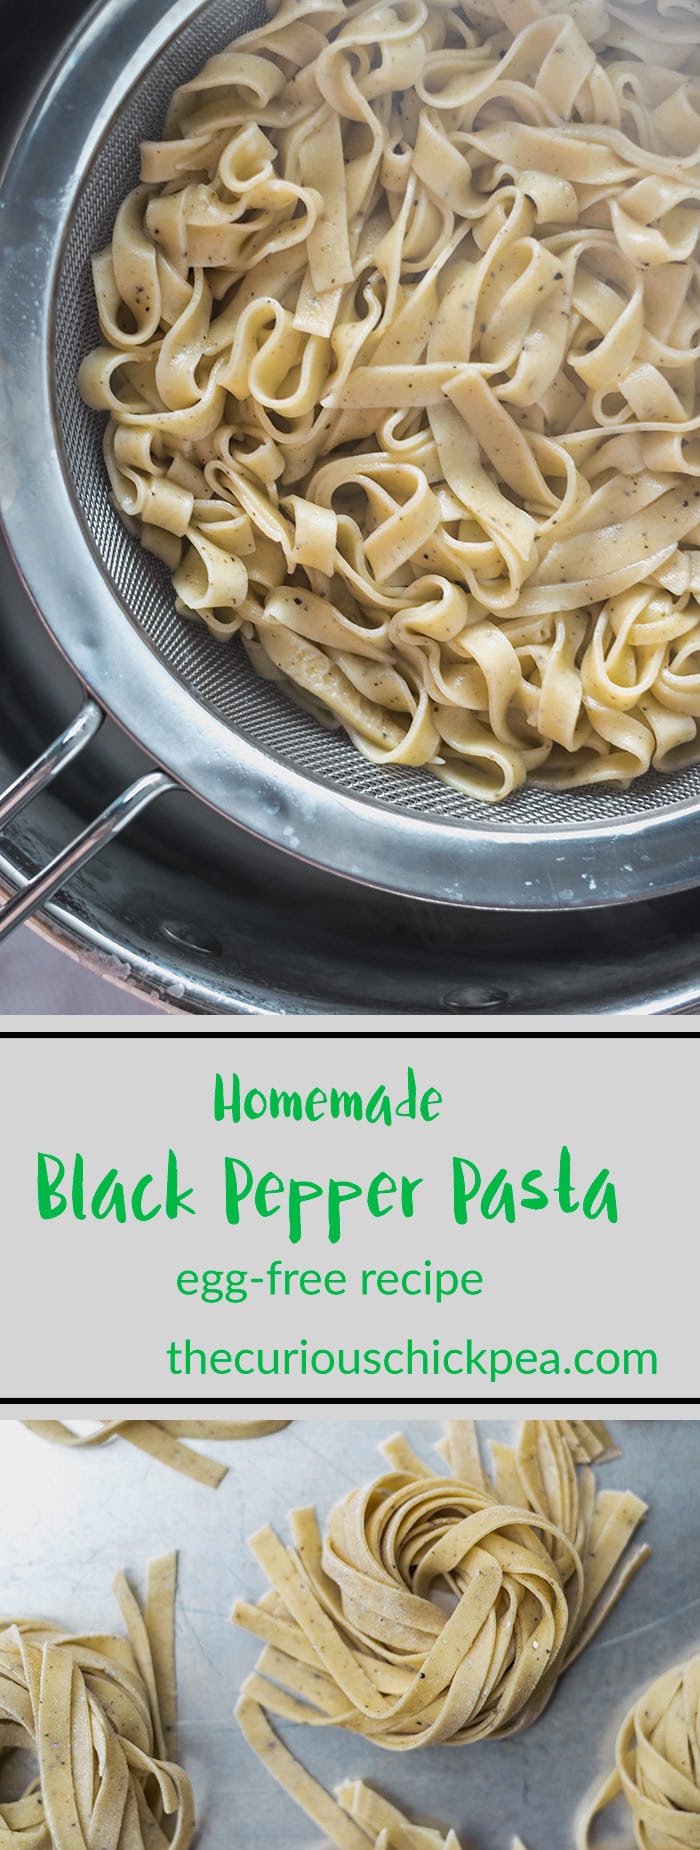
Egg-Free, Vegan Homemade Black Pepper Pasta
Easy homemade pasta made with vegan with aquafaba instead of eggs. The fresh pasta can be cut into thin spaghetti or wide noodles and it cooks up toothsome and delicious!
Ingredients
- 2 cups (250 g) all purpose flour -OR- 00 flour
- 1/2 cup (120 g) reduced aquafaba* (see notes)
- 1 tsp (3 g) sea salt
- 1 tbsp (15 g) extra virgin olive oil
- 1 tsp (2 g) freshly ground black pepper
Instructions
- Add flour, salt, and black pepper into the bowl of a food processor and pulse to combine. Add the oil and aquafaba and turn the food processor on and run until the mixture forms into a ball. In my food processor this takes around 90 seconds. Keep running another 30 seconds. Turn the dough out onto a clean counter and knead for 1 minute to check the final texture of the dough. You want a firm, but still pliable dough that is not sticky or tacky to the touch.
- Alternatively, you can knead the dough by hand: mix the flour, salt, and black pepper together. Add the oil and aquafaba and mix with a wooden spoon to form a shaggy, but rather dry mixture. Turn the mixture onto a clean counter and switch to your hands. Knead the dough until it forms a cohesive ball. If it is very dry then wet your hands and continue kneading. It will take 4-5 minutes to form a cohesive ball of dough. Let the dough rest, covered, for around 10 minutes to hydrate the flour, then knead a couple more minutes to check that it's the correct texture. The dough should be firm and not sticky or tacky, but still be pliable.
- Wrap the dough with plastic wrap and let rest for at least 30 minutes. If resting more than 1 hour, place in fridge. The dough can be made up to 24 hours before rolling.
- When ready to roll the dough, divide into 3 or 4 portions (if this is your first time working with pasta dough separate into 4 portions, but as you get more confident 3 makes it go faster). Work with one piece of dough at a time, and keep the others wrapped tightly in plastic so they don't dry out.
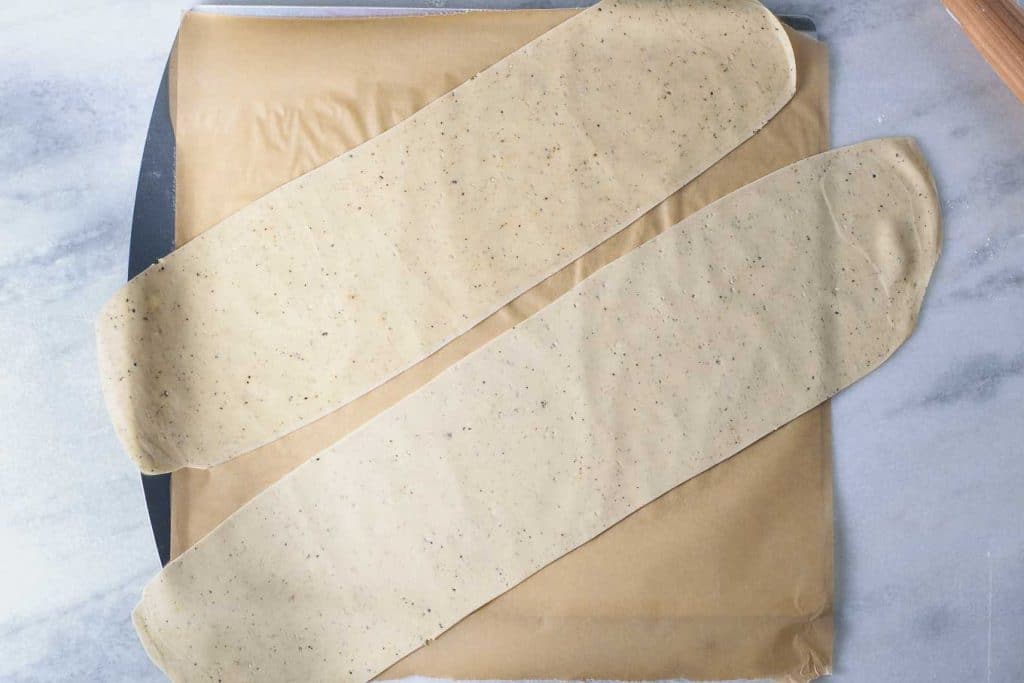
- Roll the section of dough with a rolling pin until it's long and rectangular and around 1/4" thin. Then take that strip of dough and feed it through a pasta roller at the thickest setting. Run it through that setting at least 3 times, until it runs through easily and is no longer pressing the dough. Then, turn the knob so that the pasta roller is one setting thinner. Repeat the process of running the dough through the roller around 3 times until it's not getting pressed. Set the roller one setting thinner and repeat once more.
- Take the dough and place it on the counter. Fold the sides of the dough into the center to meet. Then fold in half. Using a rolling pin, roll the dough in the opposite direction of the fold to create a neat rectangle. Then, repeat the process of running the dough through the thickest three settings of the pasta roller, starting with the thickest setting and running through a couple of times before turning to the thinner setting and so on. Run the dough with the thinner side going in first and rolling down the wider side, this is the opposite direction you were rolling the dough previously.
- Repeat the folding of the dough on the counter, and rolling perpendicular to the fold once more. Now feed the dough through the machine on the thickest setting once more, and work one setting at a time until you get to the 4th or 3rd from the thinnest setting. For linguini or fettuccini I prefer leaving my noodles a bit thicker and typically go for the 4th setting. For making a stuffed pasta like ravioli or tortellini I go to the 3rd or maybe even 2nd thinnest setting, as the edges get doubled up on.
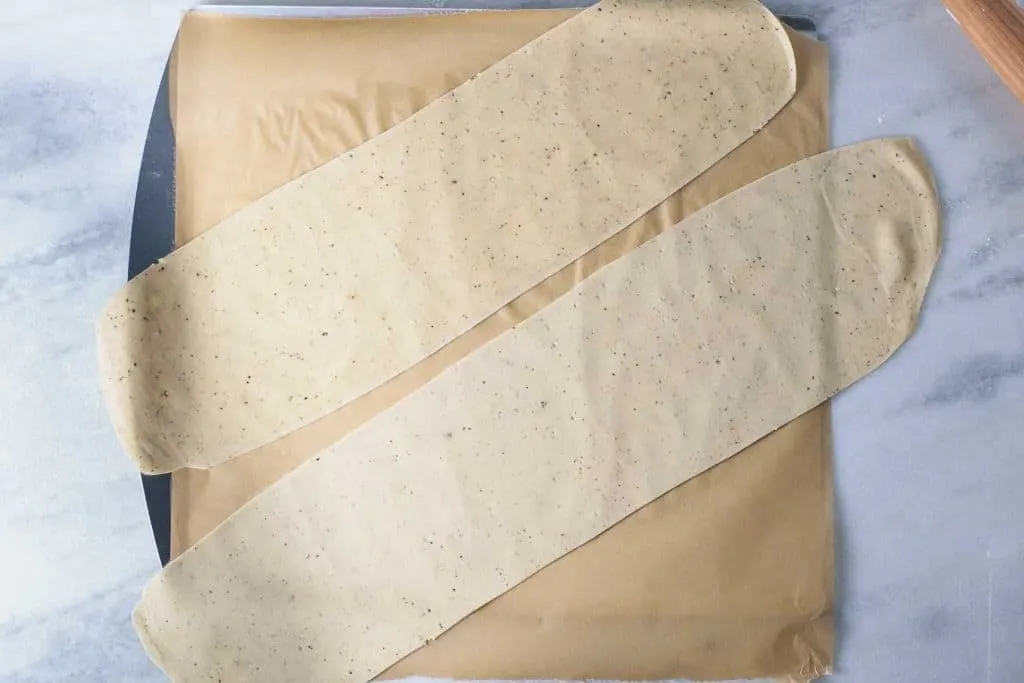
- Lay the finished sheet of pasta on a parchment lined baking sheet and cover with a towel.
- Repeat this process with the remaining sections of dough. It should go fairy quickly once you have the hang of it.
- Once you have your sheets of dough, dust them with some flour and cut into the desired shapes. You can use a machine to cut into spaghetti or thicker noodles like linguini, or you can cut by hand to whatever width you desire. Toss the noodles in more flour if they are at all sticky. Cover until ready to cook. You can cook immediately or leave the noodles out to dry for an hour before cooking. You can flour the somewhat dried noodles well before transferring to a sealed container and putting in the fridge for a few hours or a day before cooking. If waiting longer than a day, place in the freezer.
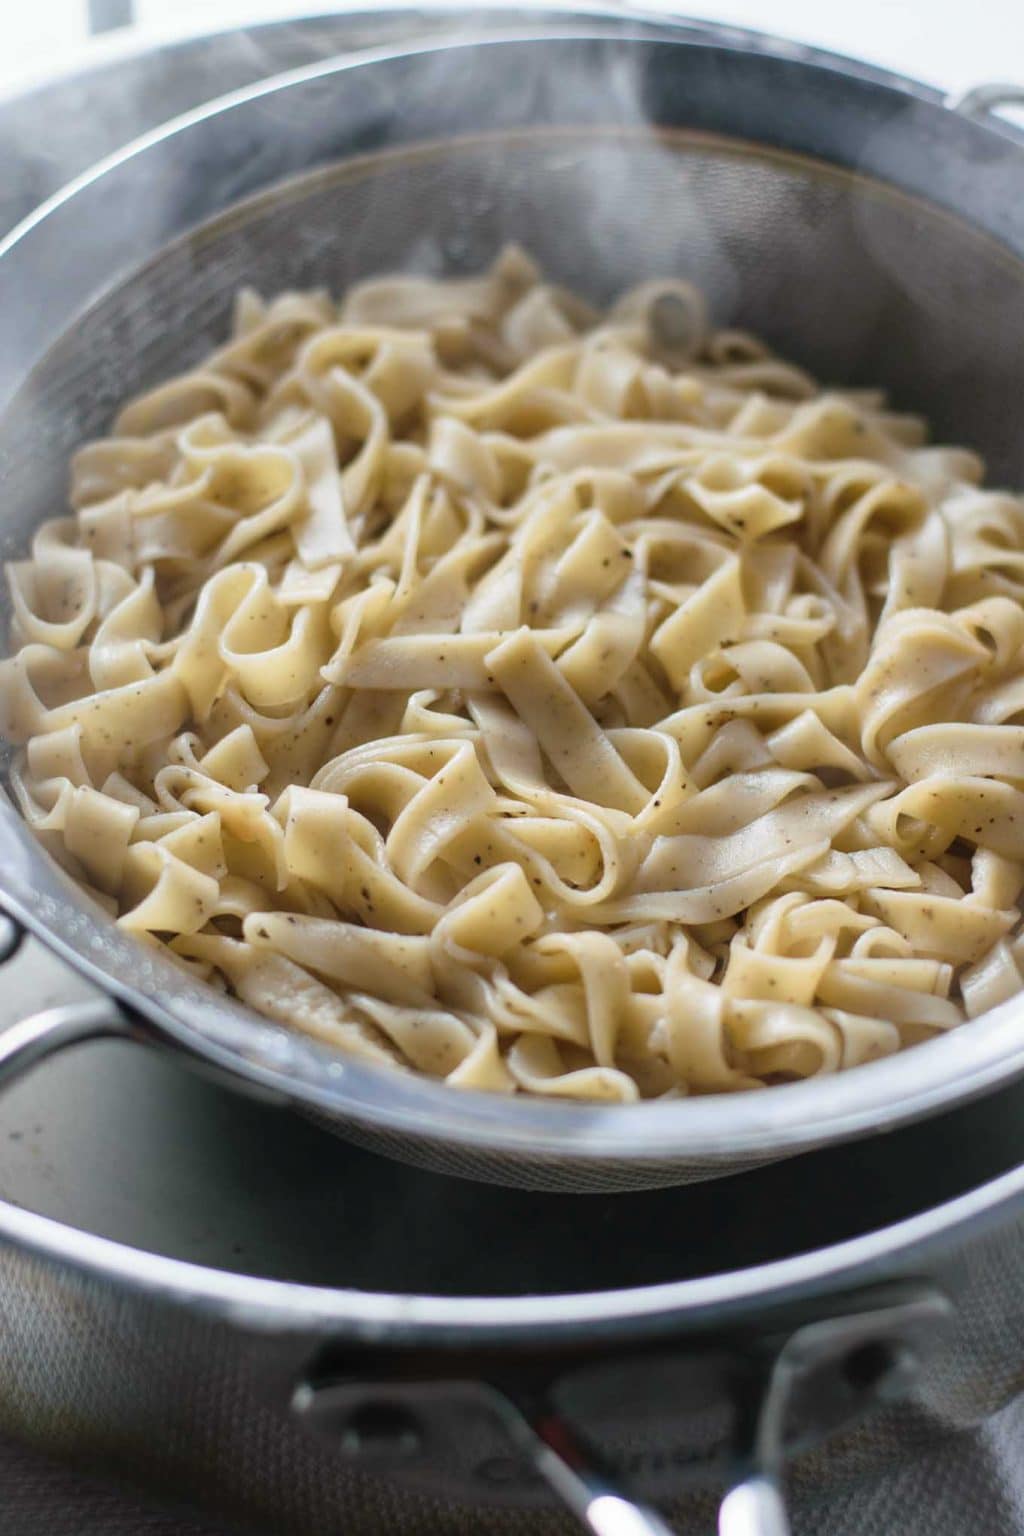
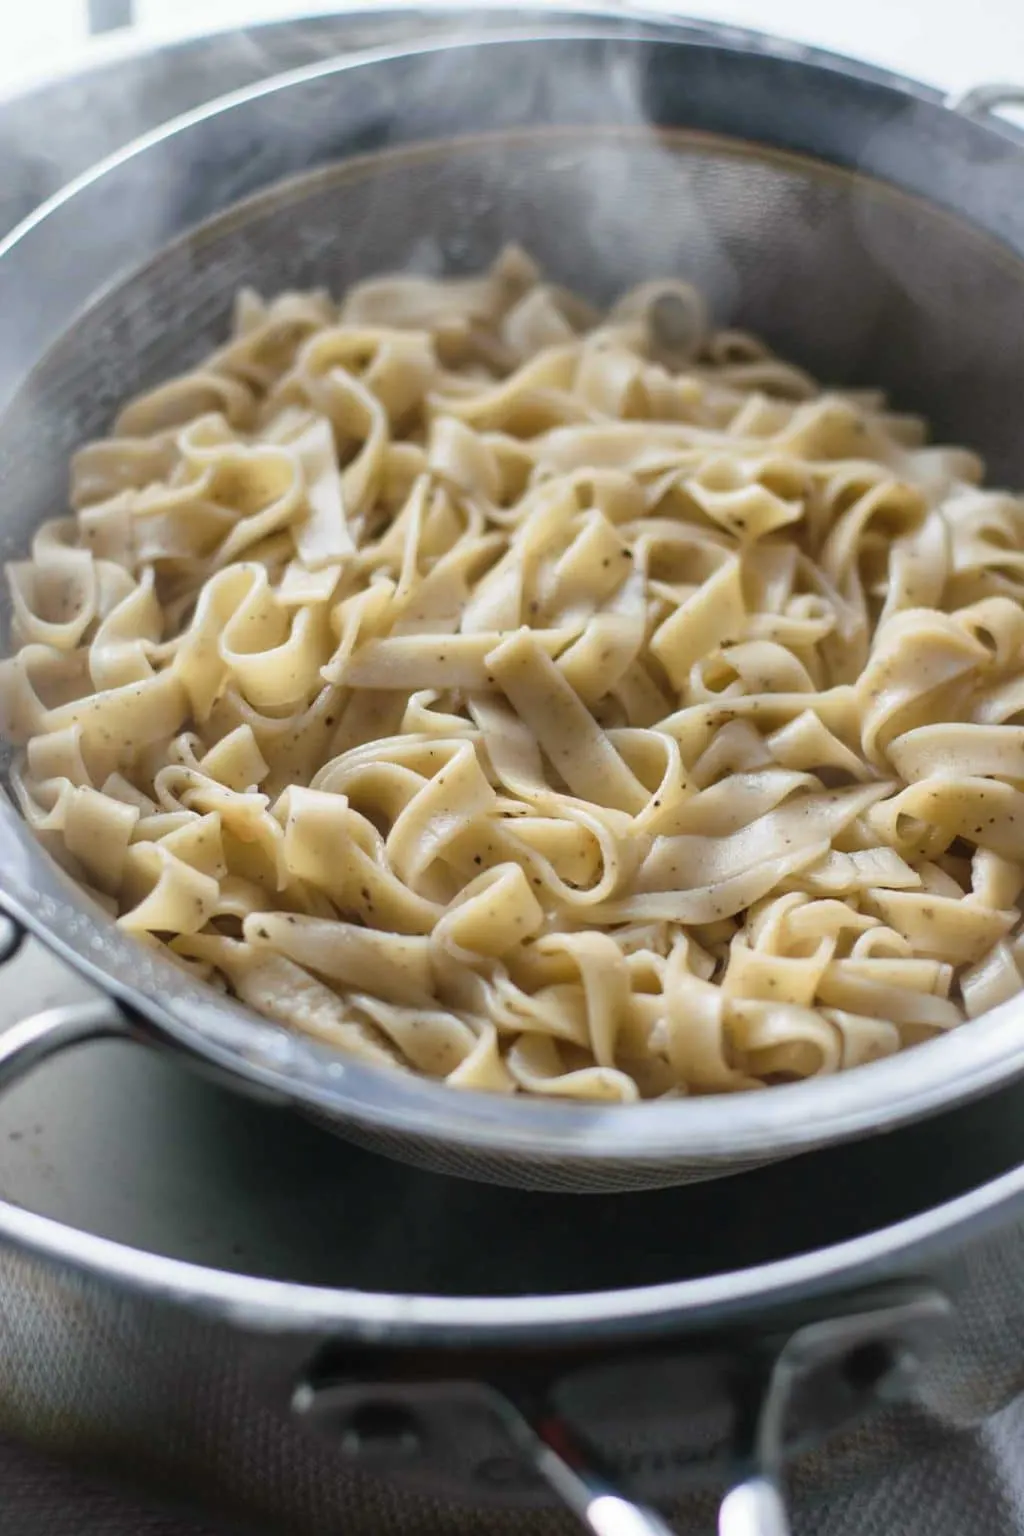
- To cook the noodles, bring a pot of salted water to a rolling boil. Add the noodles to the pot and cook for 1-2 minutes. Depending on the size of the noodles you may need less time, such as if you make spaghetti. Begin checking for doneness after 30 seconds. Be careful, the noodles can go from done to over cooked quickly. For my linguini style of noodles 90 seconds seems to work perfectly.
- Drain the noodles and toss in your favorite pasta sauce, or with some olive oil and vegan parmesan cheese. Taste before adding salt, as the noodles might not need any more. Enjoy!
Notes
Reduce aquafaba straight from a can of chickpeas by about 1/2 the volume. Simmer in a medium pot for around ~8 minutes (more or less depending on size of pot and amount of liquid you are simmering). From a large 25-28 oz can of chickpeas, I typically get around 1 1/2 cups of aquafaba, which I reduce to 3/4 cups before using.
Recommended Products
As an Amazon Associate and member of other affiliate programs, I earn from qualifying purchases.


Toby
Sunday 16th of October 2022
I didn’t have eggs so I looked for a eggless recipes for fresh pasta and this was great! My mum and sister loved it so much! I used egg whites instead of aquafaba and it worked out great. This will definitely be apart of my weekly cooking menue :D
Ari
Sunday 6th of February 2022
Added more salt and pepper for more depth. Kids loved it with just olive oil. Will make again.
Sarah
Saturday 25th of September 2021
This turned out brilliantly. I left out the pepper because I was making ravioli and wanted a blank canvas. Am toying with the idea of steeping some turmeric in the aquafaba to give the pasta more of a yellow color. This recipe made 36 ravioli. The texture of the dough both when rolling and after its cooked is absolutely gorgeous! Just the right amount of toothsome. Hopefully nothing crazy happens in the freezer. Thanks for sharing!
Eva Agha
Tuesday 28th of September 2021
Hi Sarah, it should freeze well, I have done so before!
Vipali
Monday 19th of July 2021
Hey.... I have made pasta a few times and always intend to make a batch extra to dry out and use later. When i make the dough just with water and dry it out its great till about even two months. But will using aquafaba also enable me to dry out the pasta and use it later? and what will be the approximate life in such case?
Eva Agha
Tuesday 3rd of August 2021
Hi Vipali, I haven't dried this pasta but would expect it to have about the same shelf life as the kind made just with water.
m00ky
Thursday 14th of January 2021
My previous comment meant to say Cacio e pepe. Auto correct made it almost unreadable, sorry. And thanks for the recipe.