
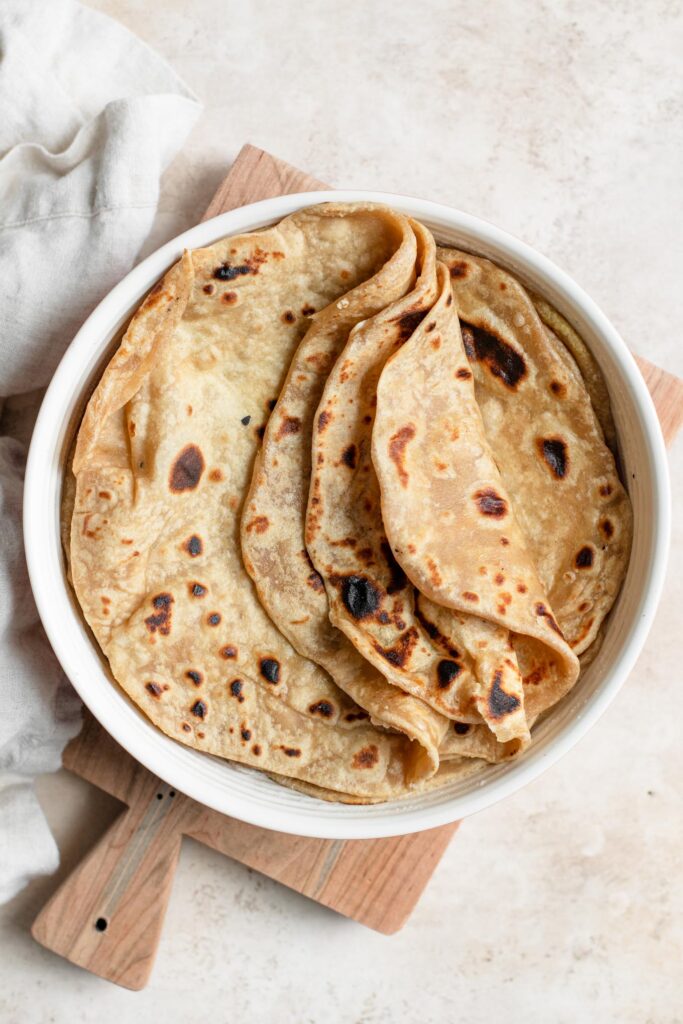
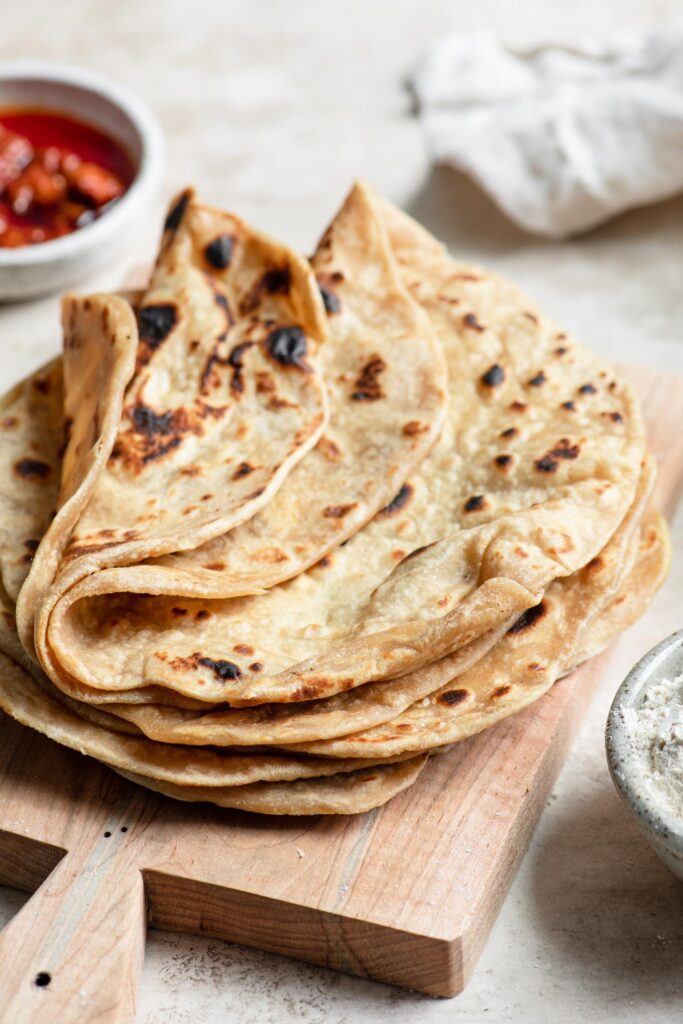
This homemade roti is soft and perfect for scooping up hot sabzis, dals, and curries. It’s fun and easy to make, and will take your next Indian feast to the next level!


Roti is the irresistible flatbread popular in Indian cuisine. It’s a whole grain bread that’s particularly popular in North India and Pakistan. You use roti to scoop up bites of food instead of using utensils.
Roti is the most general term for this type of flatbread, and there is a lot more flexibility in the results of your flatbread when you call it roti.
Like, chapati for example is made very similarly to roti but the whole bread must puff up, which requires a specific cooking technique that takes years to perfect.
Another similar bread is phulka, which is similar to chapati but even thinner. It also should puff from the center to the edges when cooked, and again, requires a lot of practice!
I like to think of roti as the humblest of the flatbreads. Sure you can go for that puff, but it’s also okay if the bread only puffs in spots. It doesn’t need to be rolled out to such a specific thickness, and so if one is a bit thicker and another thinner, it’ll be ok. The taste is always amazing!
Atta Flour:
You can’t make traditional roti without using atta (sometimes called chakki atta). It may also be labeled as chapati atta or chapati flour.
Atta, specifically duram atta (and often labeled as chapati atta), is an Indian variety of hard wheat that lends itself perfectly to flatbreads.
This variety of wheat has a high gluten content which is why it can be rolled so thinly. And it is able to absorb higher amounts of water which is why well made roti, chapati, phulka, paratha, and puris are so soft.

Atta flour is stone ground. The wheat is processed through two stones (called chakkas), and the the friction created by these stones damages the starch and protein of the wheat. This changes the flavor of the bread and the texture of recipes used with atta flour.
It’s for this reason that you must use atta if you want to make authentic roti.
I find that atta behaves almost like white flour because it’s so finely ground. However, it has the rich flavor of whole wheat flour as it is a whole grain! Whole grain lovers rejoice.
Substitute for atta?
So what do you do if you can’t find atta, can’t order it online, and still want to make roti?
Pssst it’s easy to order online! Search “online Indian grocery store” and you’ll likely find options that ship to you. And if you have a local Indian grocery store you will find it there. Amazon will have sellers that carry it as well.
The resulting roti is not going to be the same if you substitute atta because of the specific characteristics of both the varietal of wheat and process with which it’s made.

That being said, if you can’t get atta, my first choice is to use white whole wheat flour. White whole wheat flour is made with a variety of wheat called hard white wheat which is fairer in color and makes a blonde whole wheat flour. The regular whole wheat flour is made with hard red wheat.
White whole wheat flour is finer in texture than “regular” whole wheat flour, so it is nicer to use in making flatbreads like roti.
Another option is to mix whole wheat flour (either “regular” or white whole wheat) and bread flour. This lets you get some of the whole wheat taste and texture but still keeps the dough soft and workable. I’d use somewhere between 50-75% bread flour and the rest whole wheat or white whole wheat.
Or, you could just make my homemade naan or flatbread recipe and call it a day.

How to make homemade roti:
Ok once you have your flour, the process is not that difficult to actually make the bread.
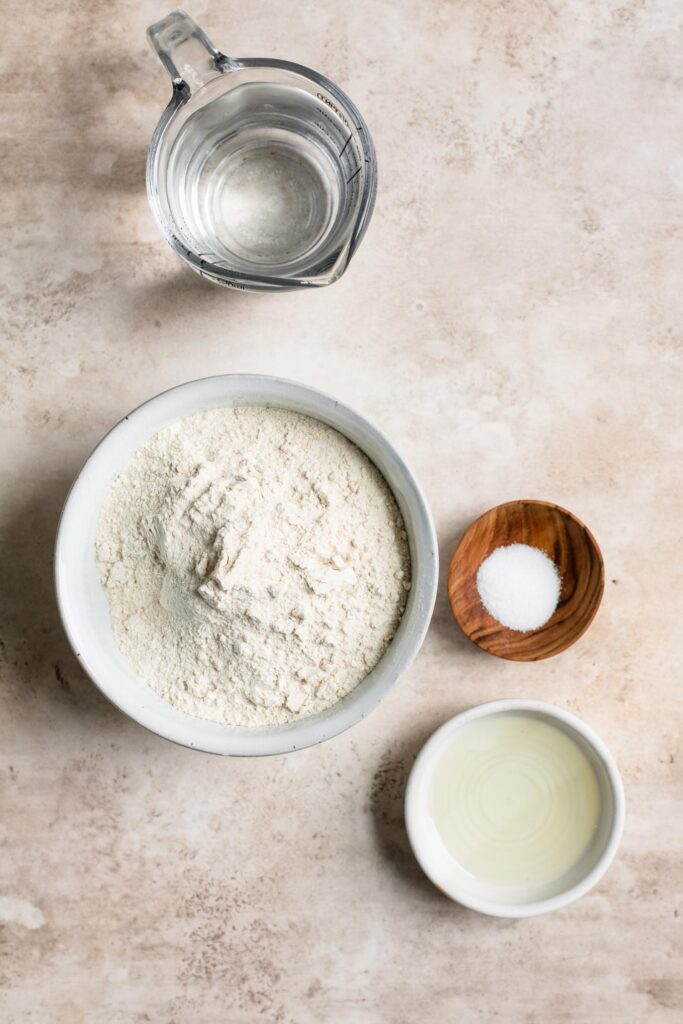
It requires 4 ingredients: atta, salt, water, and oil. Now, not all recipes use oil and you can make this without it. But, adding some to your dough makes the bread more soft and pliable and easier to work with, especially if you are newer to making roti!
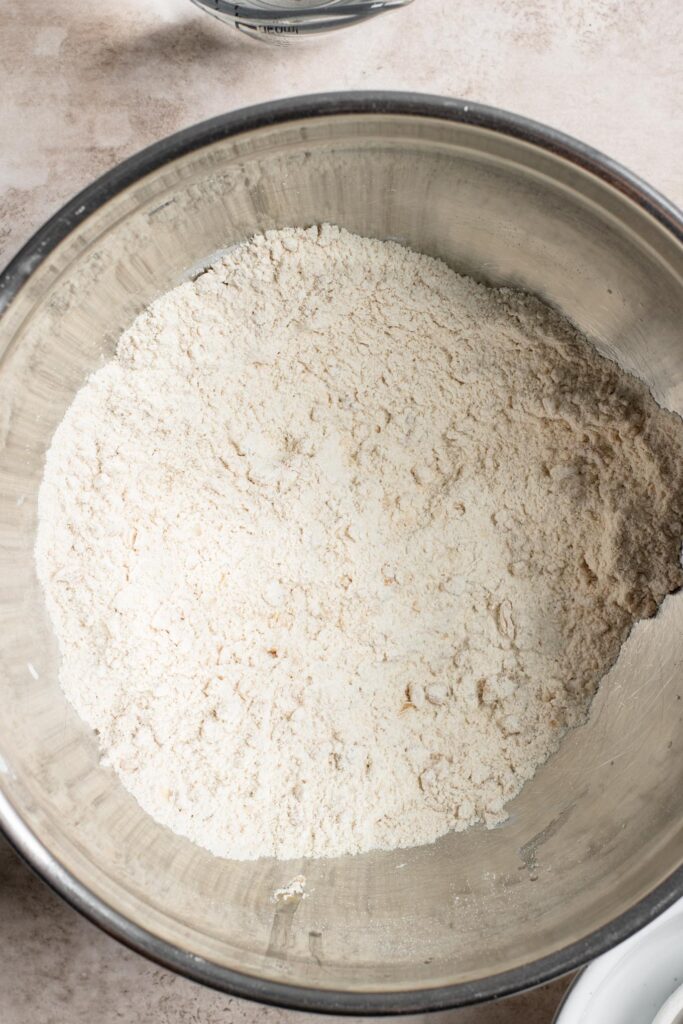
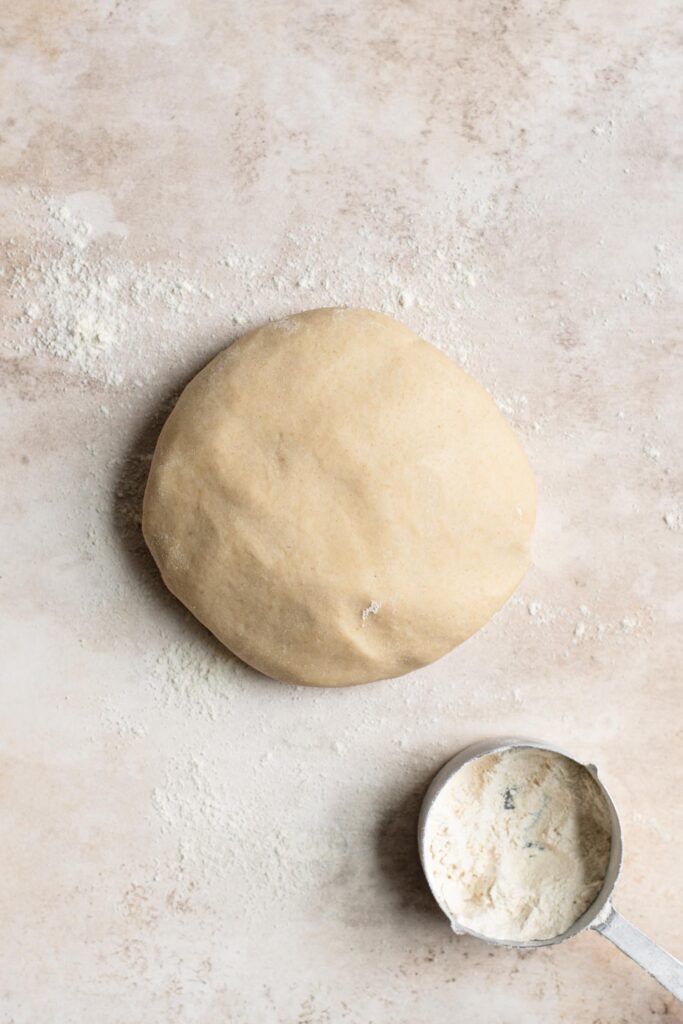
So first we make the roti dough. And it’s as you expect, add flour and salt, then mix in the oil and water and knead it until it’s smooth. I knead the dough for a full 10 minutes to fully develop the gluten. If you have a stand mixer you can use the dough hook attachment to knead for you.

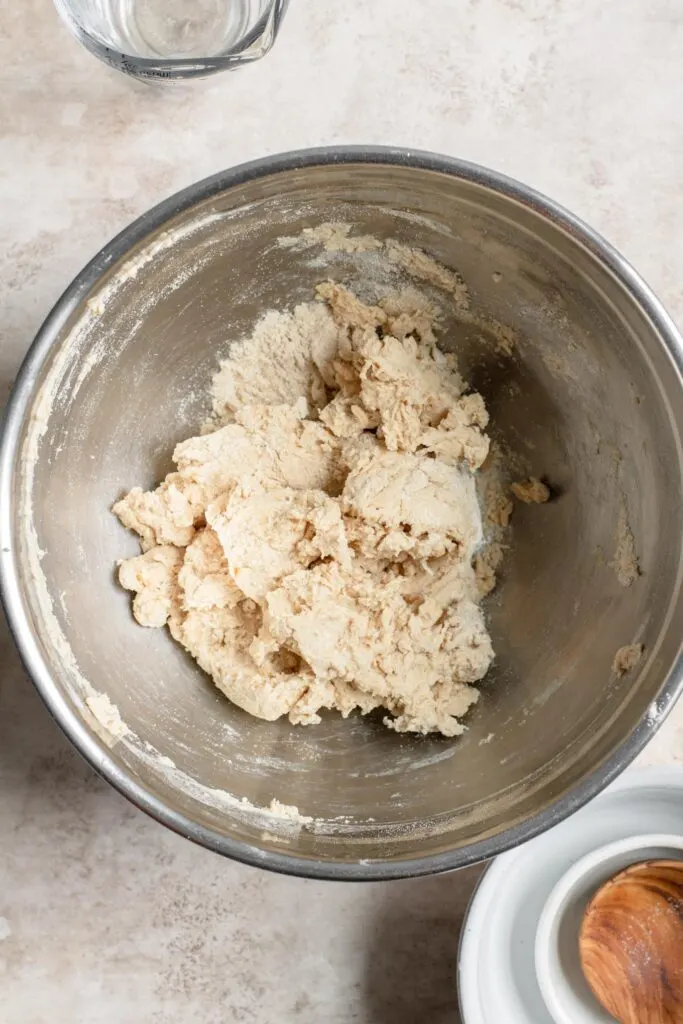
The dough should be soft and pliable, and even a bit tacky but not sticky. Atta dough feels different than the white and wheat flour doughs you may be used to. It absorbs a lot of water and so can be nice and soft without being sticky.
Now this is the important part. You must let the dough rest. Ideally let it rest for at least an hour (but you can go as little as 30 minutes) and you can leave it out for several hours at room temperature.
If you want to make the dough one or two days in advance, then stick it in the fridge in a sealed container. If you do this, bring the dough to room temperature before rolling out and cooking.

Shaping the roti:
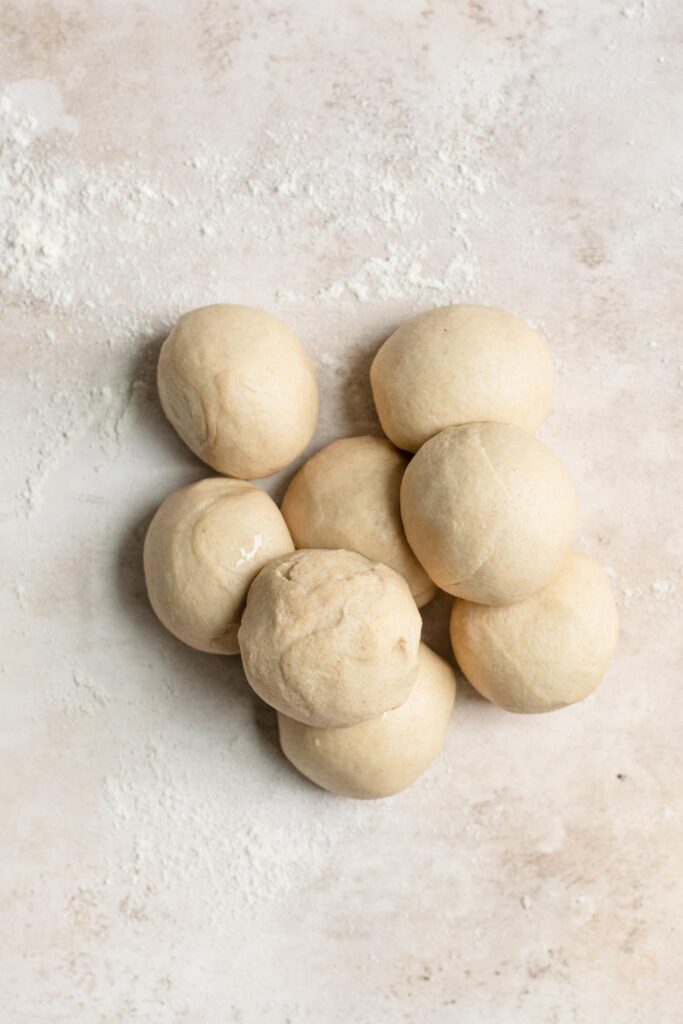
Divide the rested dough into 8 pieces (or make them smaller and make 10 balls) and roll each one into a ball. If you want a round-ish flatbread you need to start with a nice ball shape.
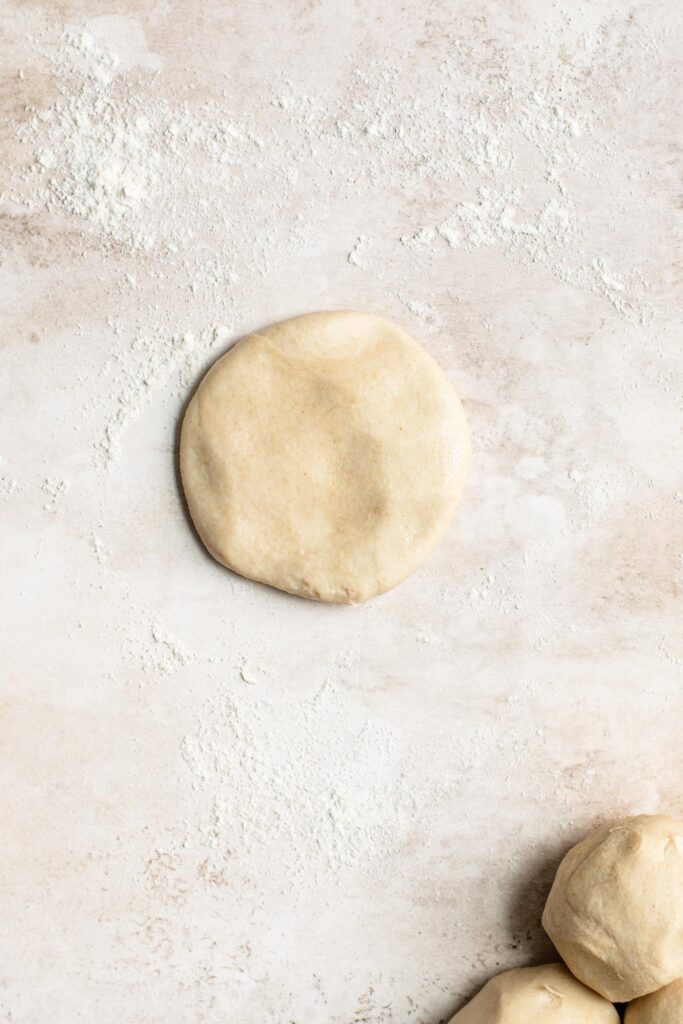
Set aside the dough balls and using one at a time, flatten it into a disk with your palm. Only use flour if you need it! Otherwise do not flour the surface. If it’s sticky I will dip the dough into some atta before shaping it, or sprinkle a bit over or under the dough as needed.

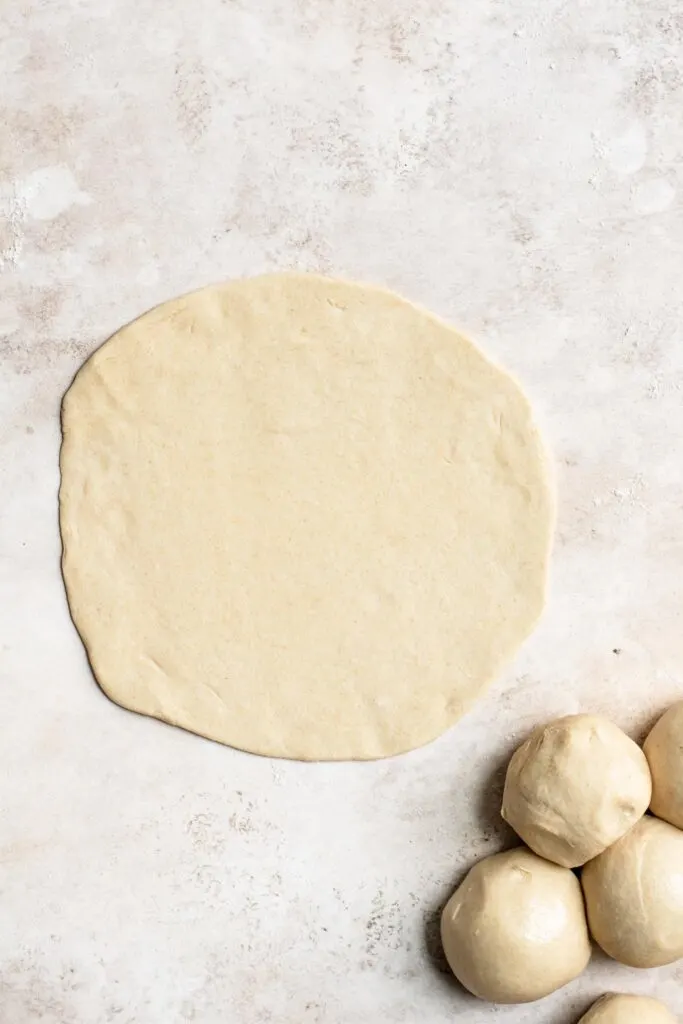
When rolling the dough, only roll the pin directly away from you, and give the dough eighth to quarter turns after each roll. This helps make an even circle instead of an oblong shape.
Lifting it up after each time you roll also keeps any sticky surprises from happening, as you can just sprinkle on some atta flour underneath if it gets sticky.

Once the dough is rolled out you want to brush off any excess flour left on top and bottom. Any flour that hasn’t absorbed into the dough will just burn on the pan. You can use a dry pastry brush to brush off the flour, or your hands. You can also toss the dough back and forth between your hands a couple of times to encourage any dry flour to just fall away.
Cooking the dough:
Roti is tradtionally cooked on a tawa, which is a rounded skillet. You can also use a griddle or a skillet. I usually just use my cast iron pan.
You cook the bread on a dry pan, so no oil is added before you place the dough down.
Let it cook on the first side, then flip once the top starts to look dry. It will still be underdone on the bottom side at this point.

This is optional but I recommend it if you want your roti to stay soft and pliable: brush the now top side with a thin layer of oil. Then when the bottom side has gotten some light spots flip the bread again. Brush the second side with a little oil. And then just cook it, flipping back and forth one or two more times until the dough has dark spots, has puffed here or there (or everywhere!) and the dough is fully cooked.
If you want to go for the puff, you need to help the dough along by pressing the top of the bread with a tea towel or paper towel or even a spatula.
Give the roti a steam!
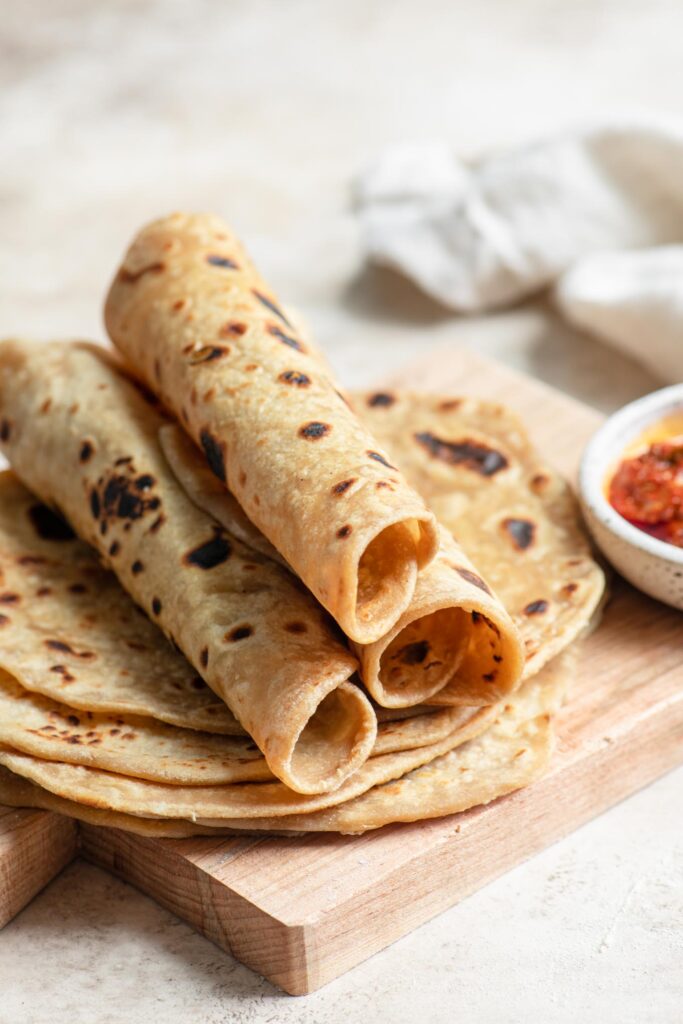
There’s one final important step after the bread is done! For the softest and most foldable, bendable, rip-able bread, you need to steam it for a few minutes before serving.
So set up a tortilla warmer by placing a paper towel to soak up any steam, and place the finished roti immediately in the warmer. Leave it covered so that the bread can steam!
If you don’t have a tortilla warmer you can wrap the breads in a lint-free towel, or stick them in a large ziplock bag with a piece of paper towel. This also keeps the bread warm!
I hope you feel emboldened to give homemade roti a try! There’s really nothing like an Indian feast with rice and roti!
If you make these homemade roti, leave a comment below and rate the recipe on the recipe card. And please share your photos with me on Instagram, tag @thecuriouschickpea and #thecuriouschickpea. I love seeing your recreations!
WANT MORE DELICIOUS VEGAN RECIPES?
SIGN UP FOR MY EMAIL NEWSLETTER & FOLLOW ME ON INSTAGRAM, FACEBOOK, AND PINTEREST!

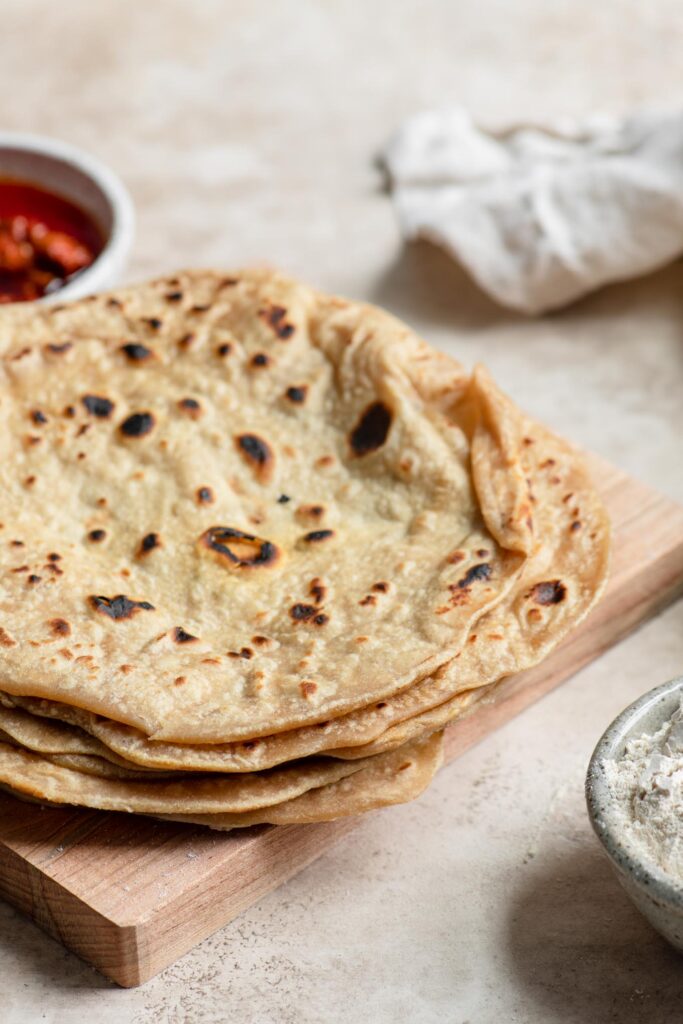
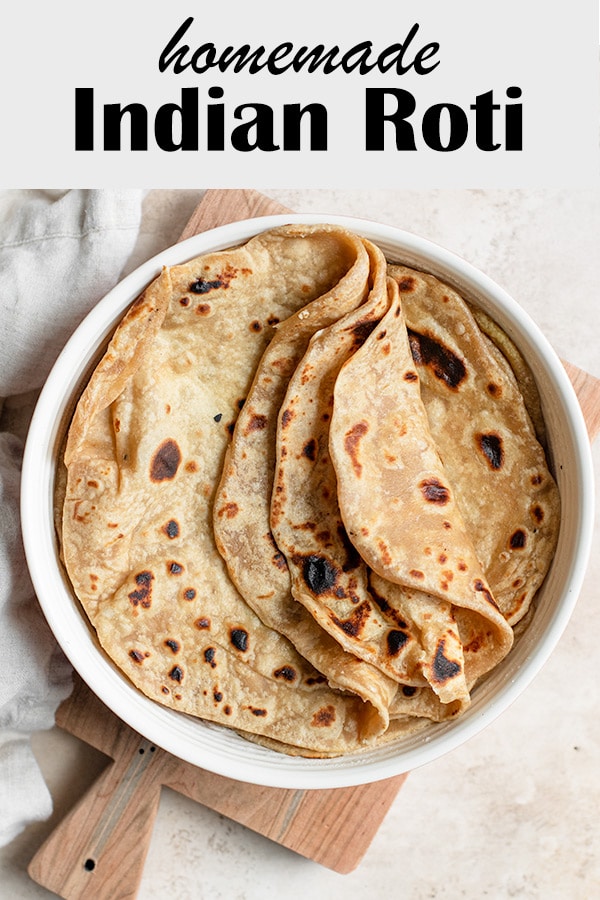
Homemade Roti
There's nothing like freshly made homemade roti to go alongside an Indian meal! Roti are best enjoyed right after cooking, but you can reheat them on a dry warm skillet.
Ingredients
- 2 - 2 1/2 (250-300g) atta flour
- 1 tsp (6g) salt
- 2 tbsp (26g) oil
- 1 cup (235g) room temperature water
Instructions
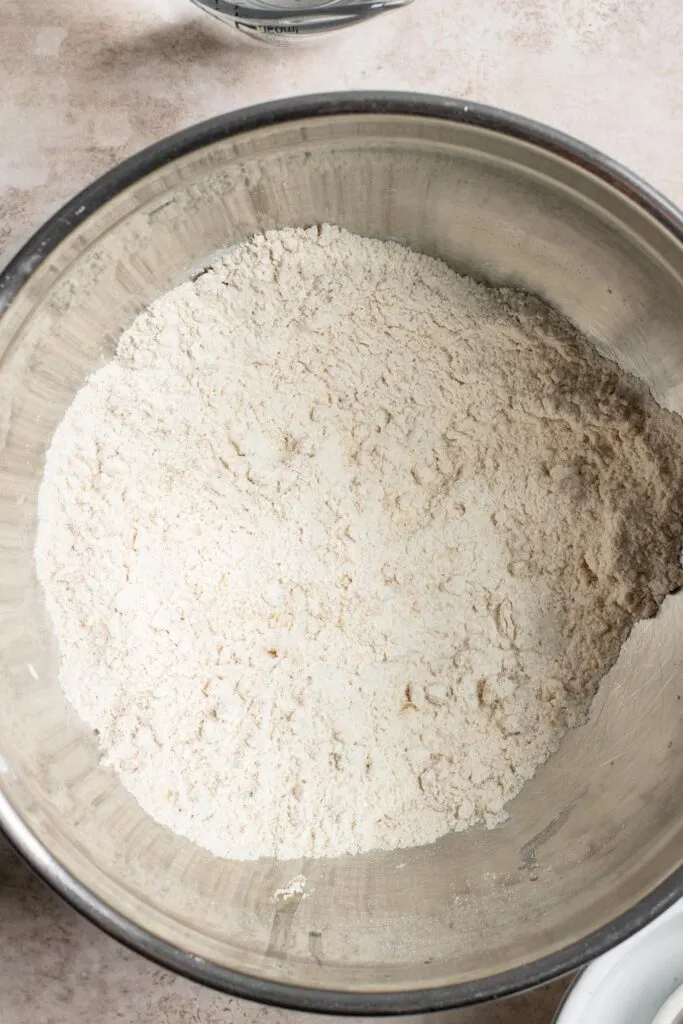
- Whisk 2 cups (250g) atta flour and salt together in a large mixing bowl. Add the oil and stir it in until the flour looks sandy. Add the water and mix to make a shaggy dough.
- Knead the dough for 10 minutes (you can use a stand mixer). Add more atta as needed to make a soft but not sticky dough.
- Drizzle some oil into a bowl and roll the dough ball to coat. Cover and set aside to rest for at least 30 minutes but ideally more than one hour. For 1-2 days you can keep the dough in a sealed container in the fridge. Let come to room temperature before shaping.
- Divide the dough into 8 pieces and roll each piece into a ball. Shaping one piece at a time (leave the rest covered), flatten it with your palm to make a disk, then roll it out into a thin circle, about 7-8 inches. Roll out a few pieces of dough before cooking.
- Heat up a dry tawa or skillet over medium-high heat. Brush off any flour from the surface of the roti dough then place it on the skillet. Let cook on the first side until the top of the dough just starts to look dry, then flip the dough.
- Brush the top side with a thin layer of oil. Let the second side cook until it has light brown spots, then flip the dough again. Brush the second side with oil.
- Continue cooking the roti until both sides have browned and even turned black in spots, flipping once or twice as needed. At this time you can help the center puff up by pressing the dough with a cloth or paper towel, or the spatula.
- Place the cooked roti in a tortilla warmer or ziplock bag lined with a paper towel or wrap them in a cloth towel. Let steam and soften for 5 minutes (or just while the remaining roti cook) before serving.
Notes
Atta flour, also called chapati flour or atta chakka, is essential for authentic roti. However if you must substitute it, try finding white whole wheat flour and mixing 1 cup white whole wheat (sub wheat flour) and 1 cup bread flour, then add more white whole wheat as necessary to make a supple dough.
Use any vegetable, canola, safflower, sunflower, avocado oil or you can use coconut oil.
Recommended Products
As an Amazon Associate and member of other affiliate programs, I earn from qualifying purchases.

Nutrition Information:
Yield: 8 Serving Size: 1Amount Per Serving: Calories: 167Total Fat: 4gUnsaturated Fat: 3gSodium: 293mgCarbohydrates: 29gFiber: 1gProtein: 4g
Nutrition is calculated automatically so should be used as an estimate.

robin
Wednesday 17th of April 2024
The rotis were soft and easy to make, did 2 different batches, one regular the other added turmic, lemon pepper and a bit of chili. They were amazing
What to Serve with Dal: Top 21 Best Side Dishes! - Tastespire
Wednesday 22nd of November 2023
[…] in the comforting experience of homecrafted roti bread. Soft and versatile, roti proves to be an ideal companion to dal, providing a delightful contrast […]
My Sunpure
Tuesday 25th of April 2023
Good Content. Thanks for sharing this.
Sharbati wheat is a type of wheat that is known for its soft texture, rich aroma, and high gluten content. It is mainly grown in the Indo-Gangetic Plains of India and is commonly used for making chapatis and other traditional Indian breads. Sharbati Wheat
Shelley
Tuesday 7th of March 2023
Seems slightly complicated process...its easily condensed tho, recipe correct, but i rested dough for 15 mins, once divided and rolled, dusted excess flour off so flour doesnt burn, popped in dry frying pan couple mins each side then put on the open gas flame over a cooling rack for seconds each side and puffs up into a ball and gives a great taste also.... i brush with garlic butter to serve waaaay better than any takeaway, cant beat it x
4 Tips For Making Indian Food Toddlers Will Love – Kennedys Curry
Friday 2nd of December 2022
[…] are endless possibilities. However, some of our favorite healthy Indian lunch box ideas include: homemade roti or chapati with a vegetable-based curry or daal, rice with peas and carrots, or a simple vegetable […]