
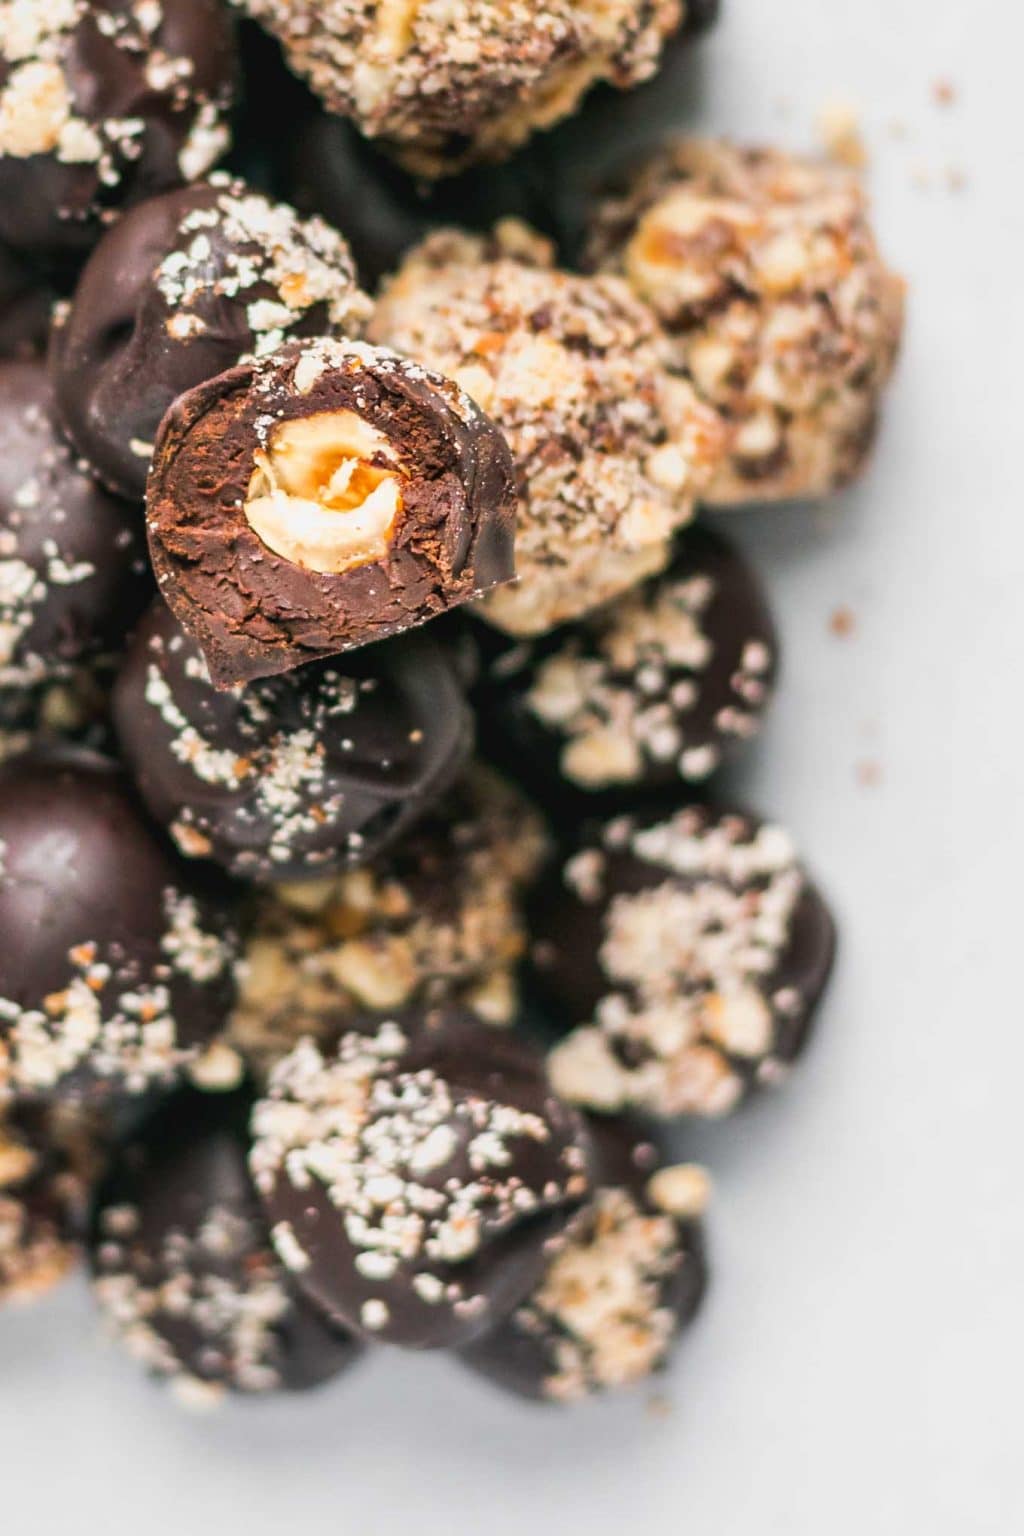
Homemade chocolate truffles are probably the most romantic food gift you could give someone. Unless, of course, that person is allergic to chocolate or something tragic like that. Truffles are simply rounds or rectangles of chocolatey rich ganache, tenderly scooped or cut and shaped individually, then dipped in chocolate. They’re beautiful even if you’re inexperienced at making them, and eating them is such a special treat. In this post I’m giving you options for your truffles. You can stuff a toasted hazelnut on the inside of the truffle for a fun surprise, or leave the flavorful ganache to shine on its own. You can temper chocolate and dip into that for a crisp and shiny shell, or dip in melted chocolate then roll in ground hazelnuts for show. With so many options you’re bound to find the right fit for you.
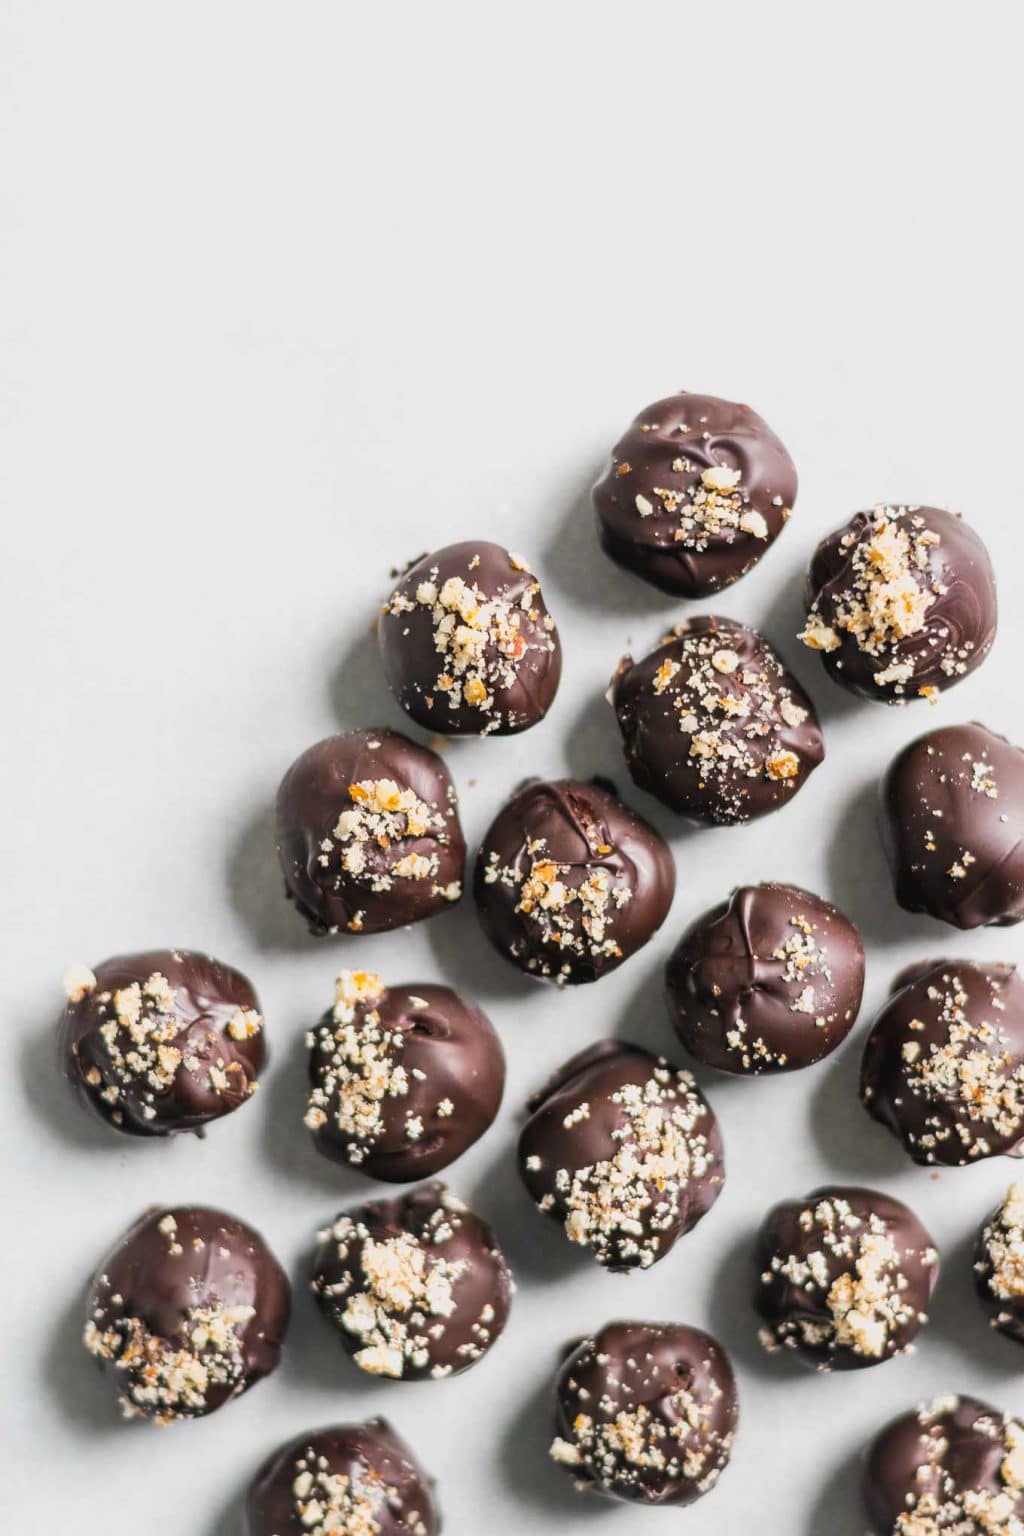
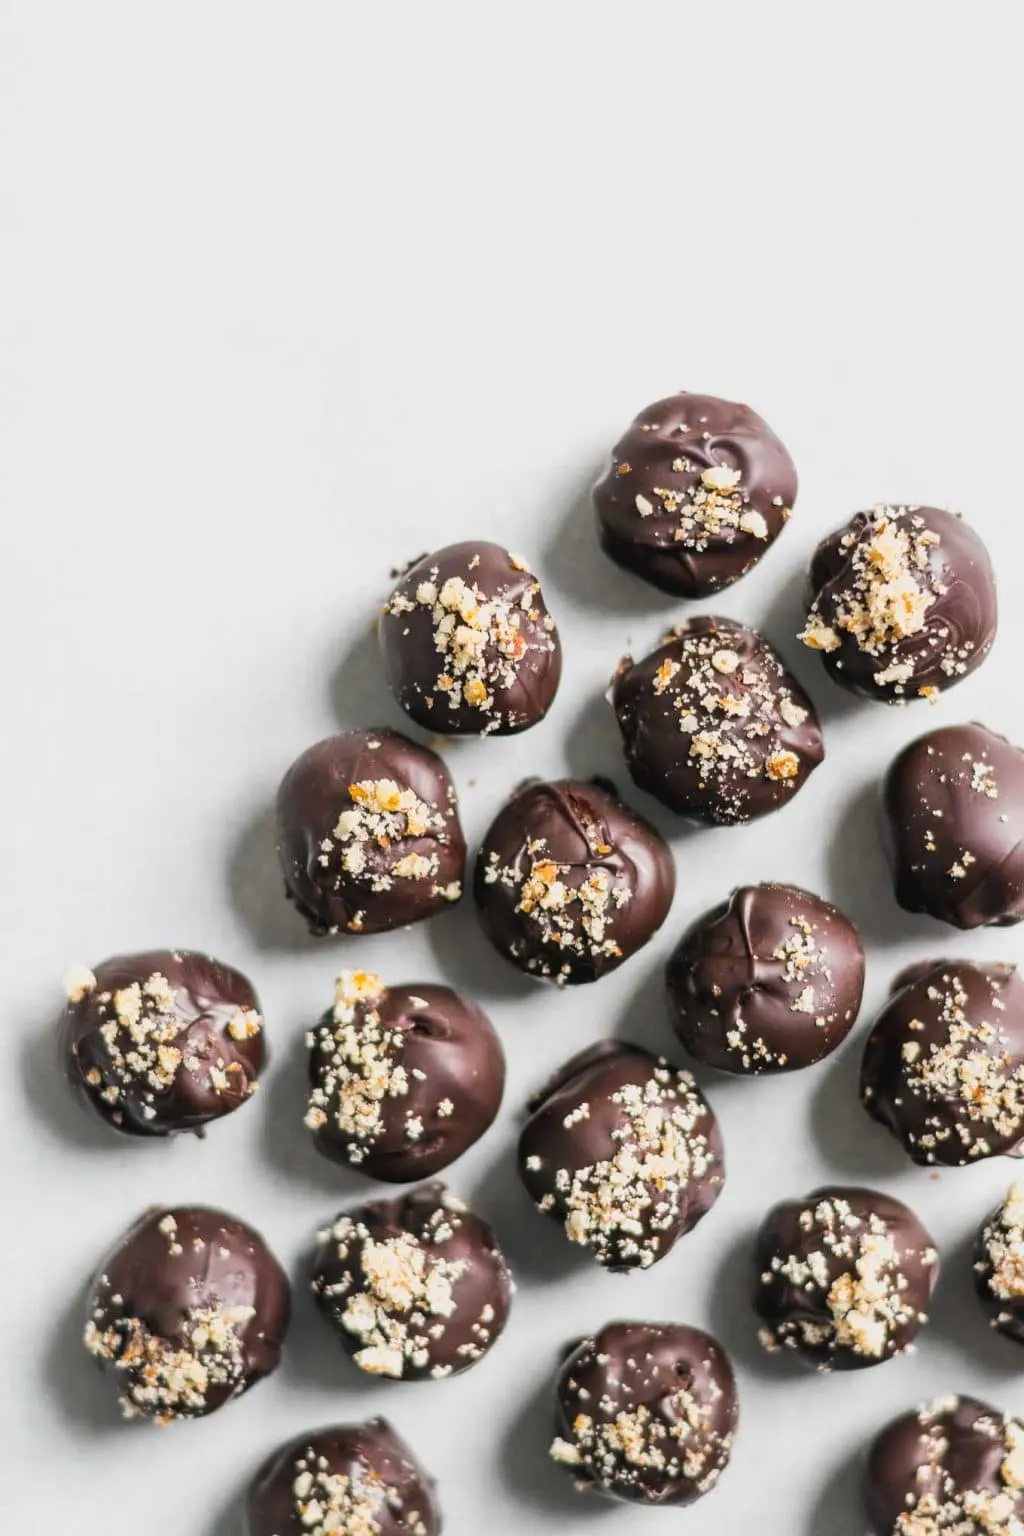
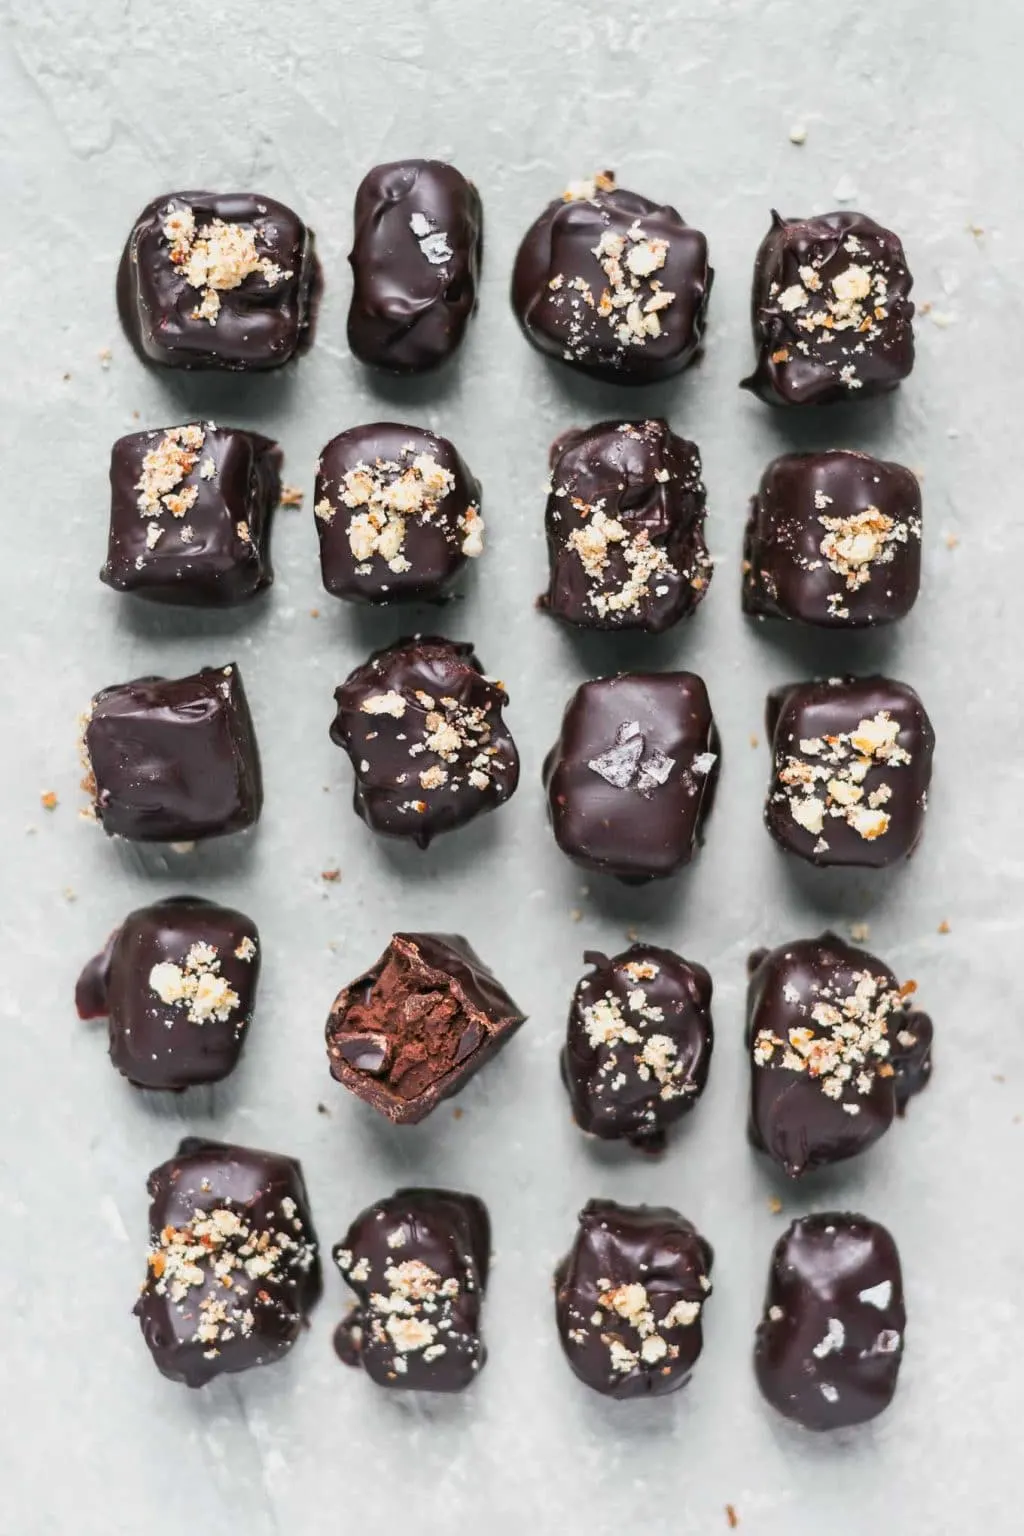
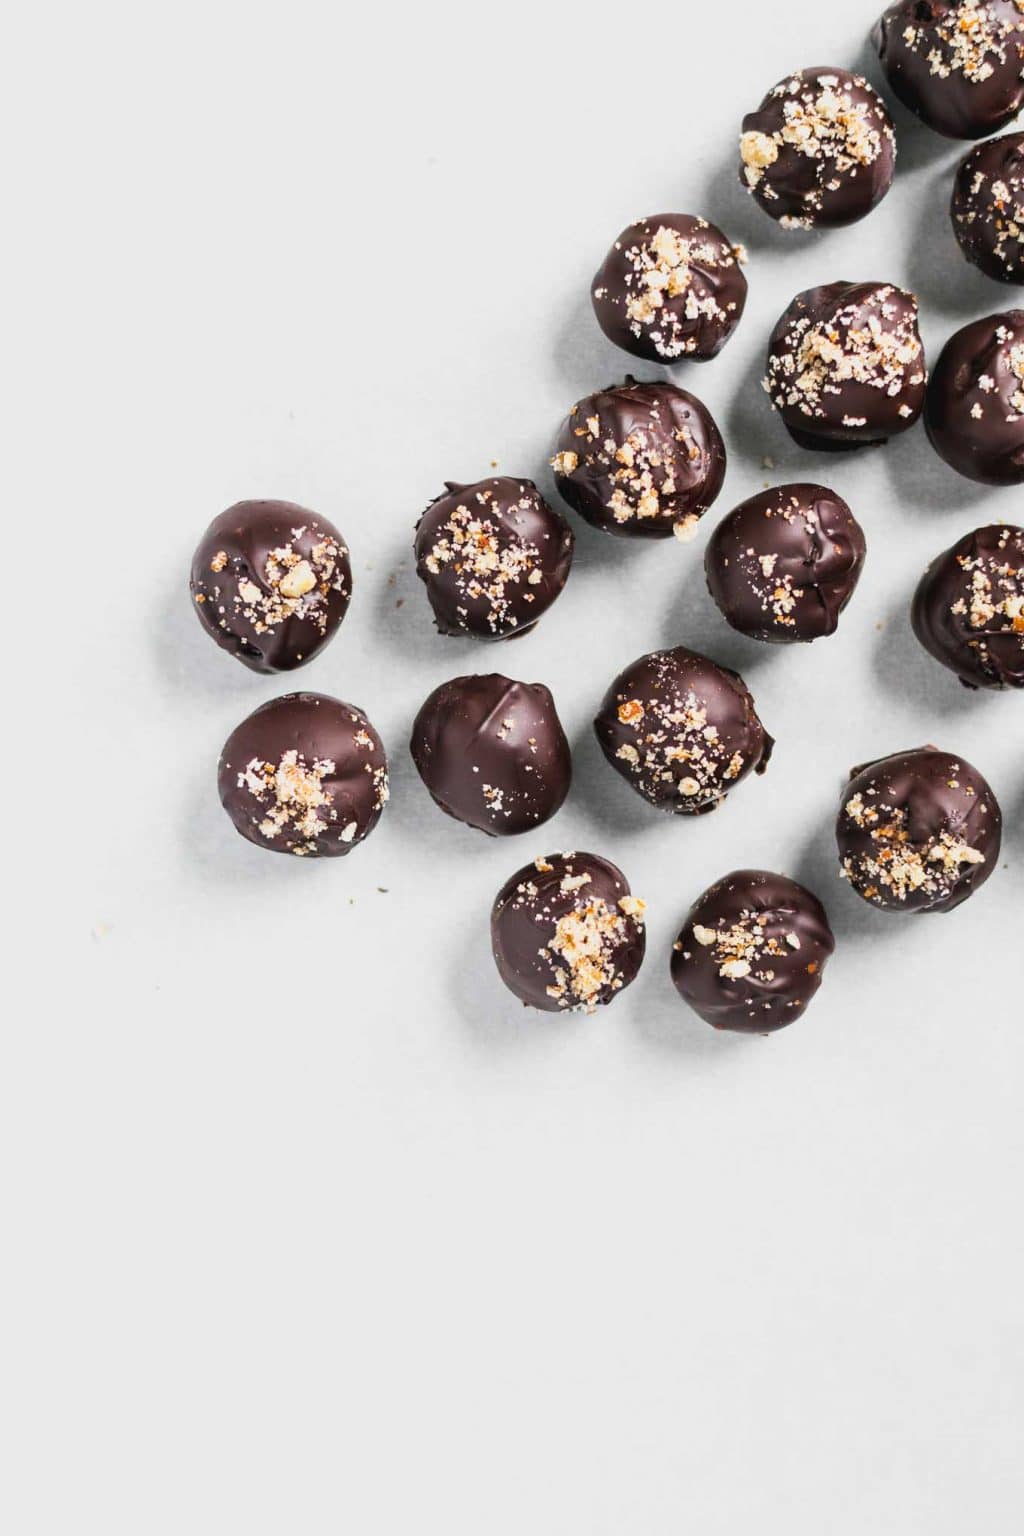
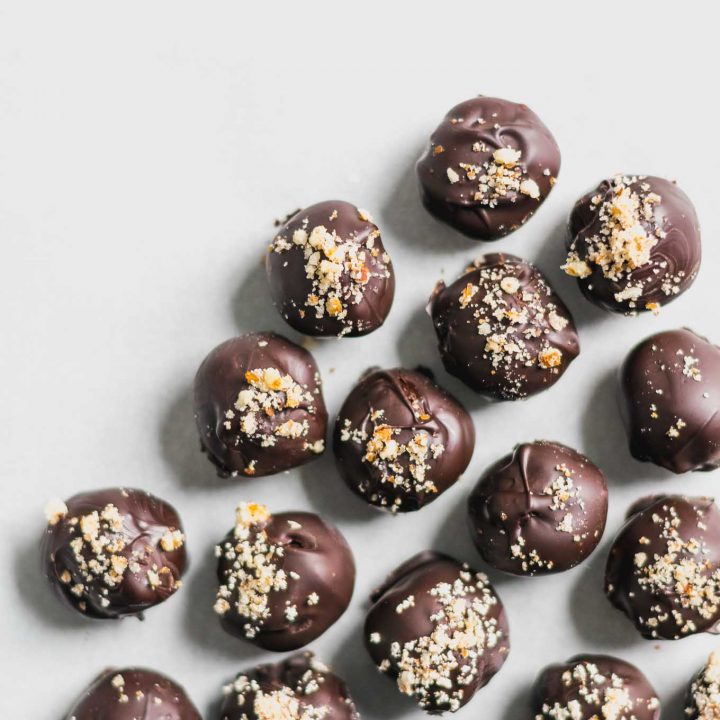
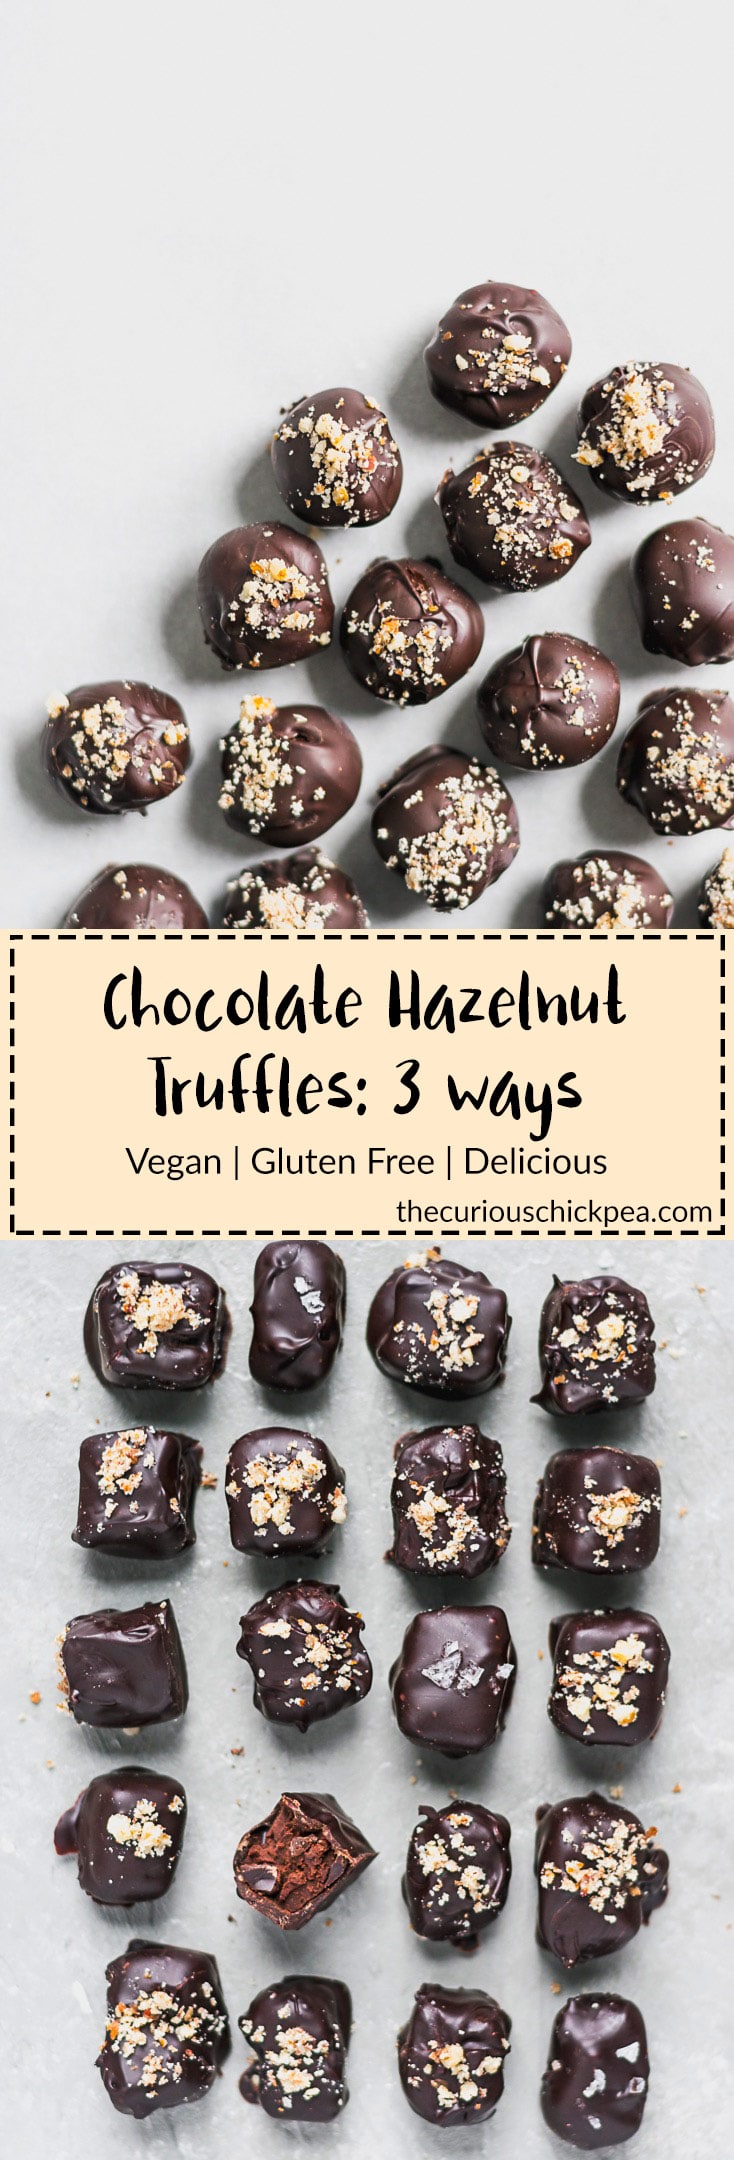
To begin, I’m going to tell you my favorite of the options: in it, the ganache is made from a homemade toasted hazelnut milk and there are no whole nuts in sight. The ganache is shaped then dipped in tempered chocolate, and a small sprinkling of ground hazelnuts -OR- a couple of flaked salt finishes it off. The simple elegance of these truffles speaks for itself. Full of flavor, with a smooth creamy texture and a chocolate coating that shatters under your teeth. So, that’s my favorite, but yours might include a hazelnut hidden in the center for a delicious textural contrast.
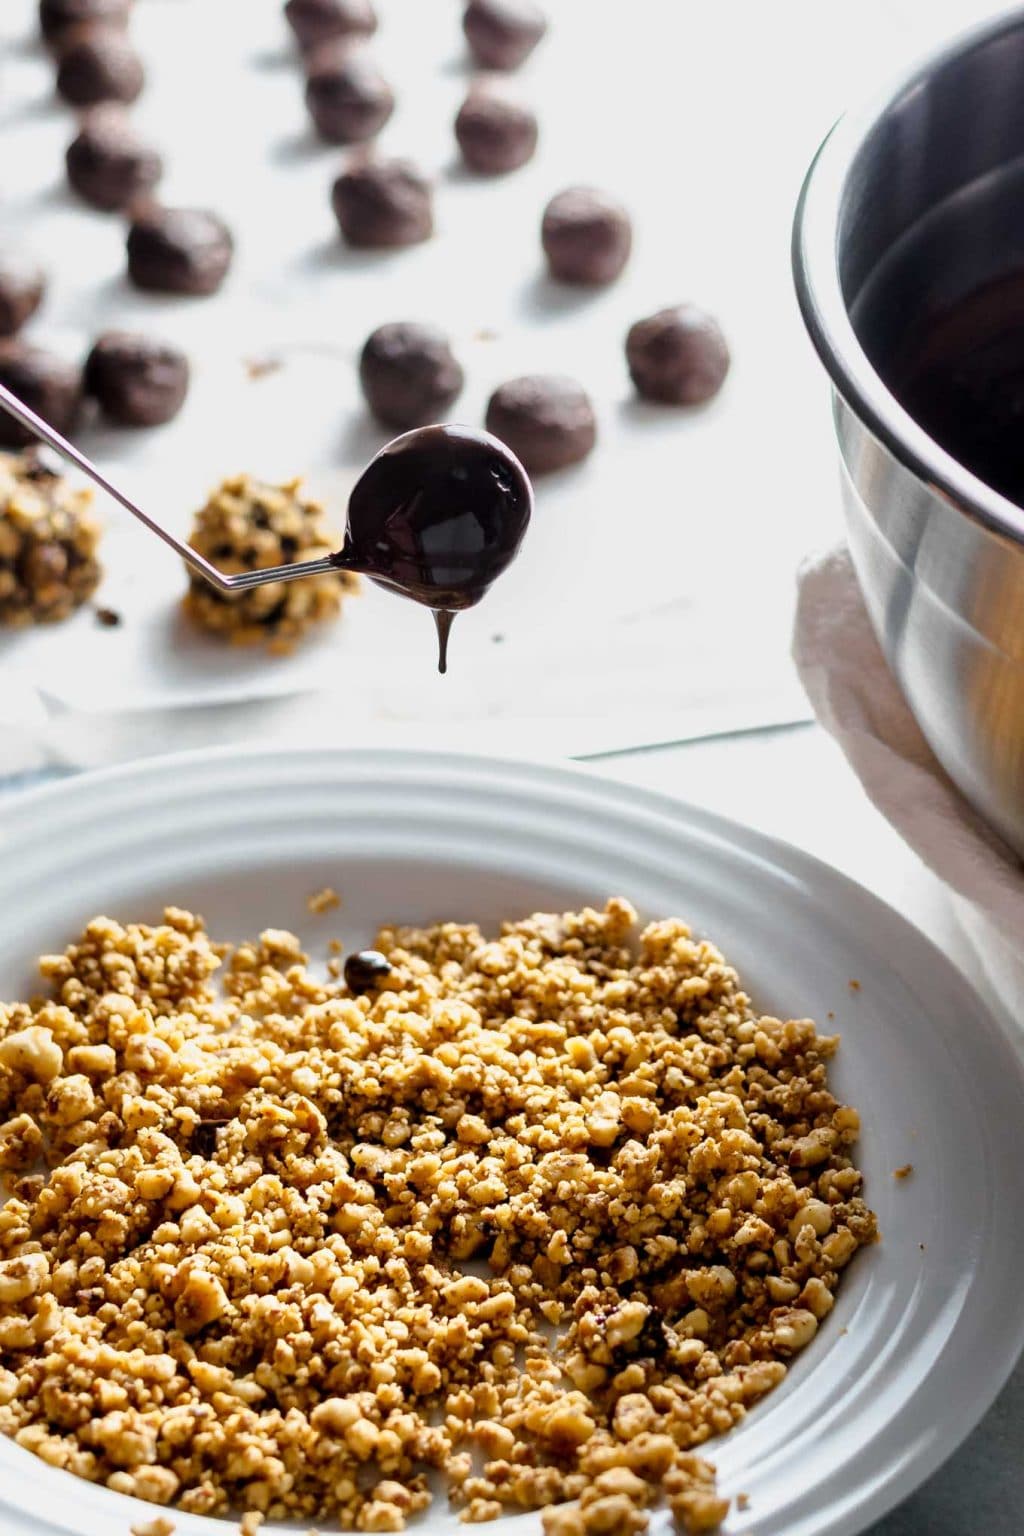
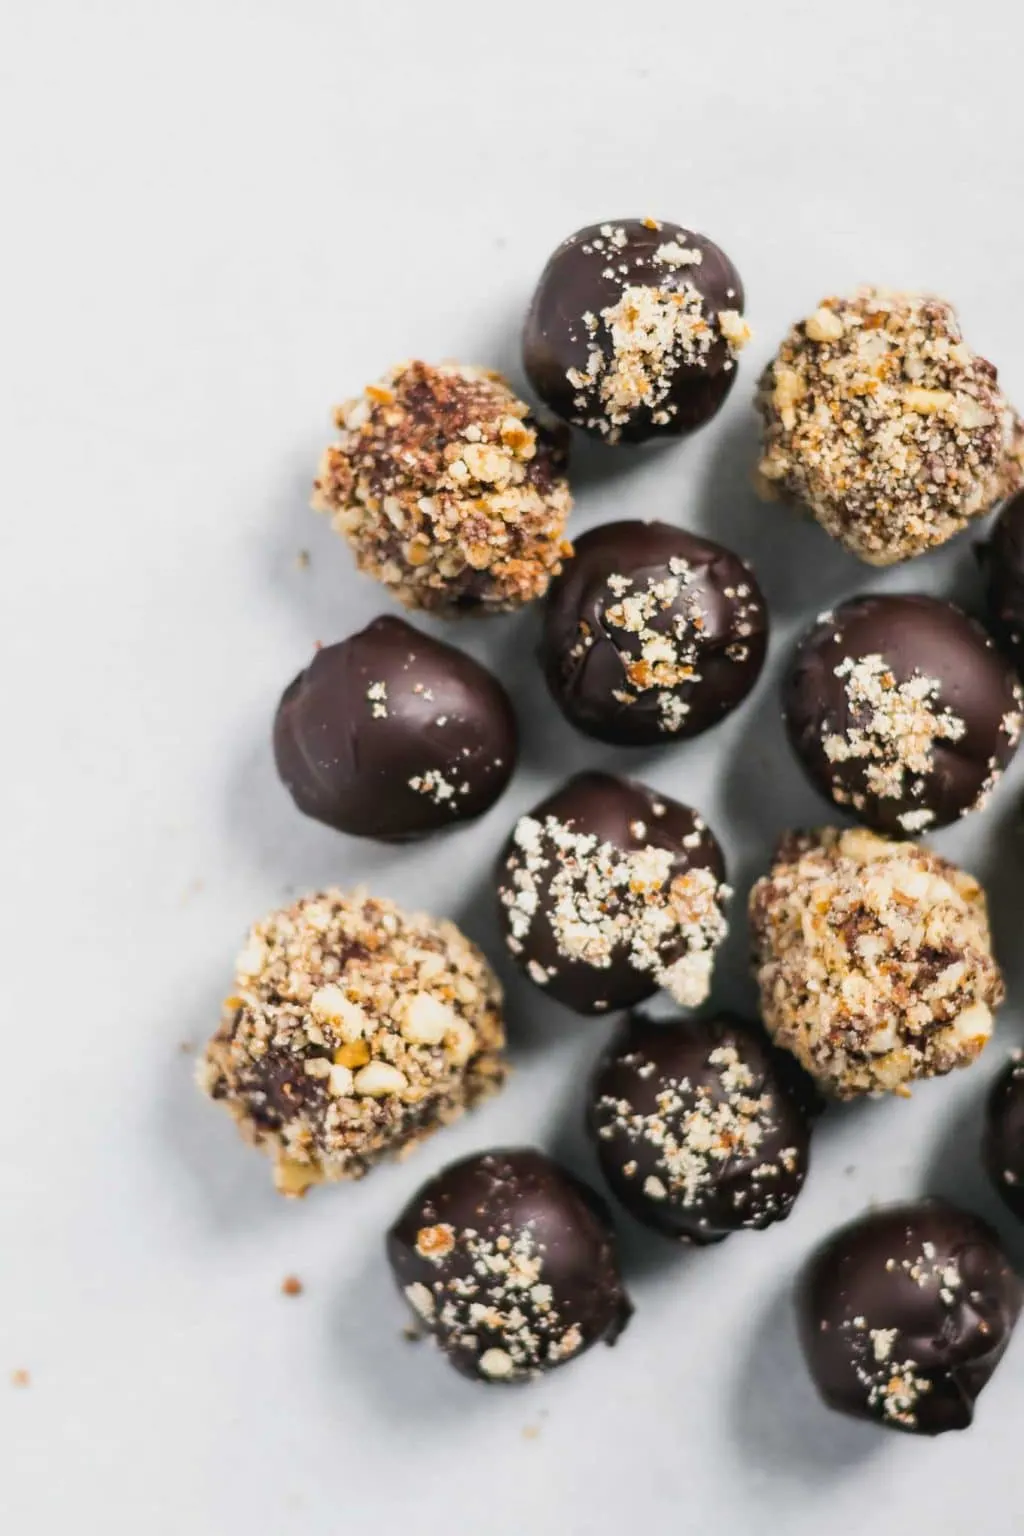
If you don’t have the time or desire to temper chocolate (and I’ll get into the details of that soon!), dipping in melted chocolate is a great option. You’ll want to roll the truffles in some kind of coating to keep them pretty, and I like them rolled in ground hazelnuts. A coating of cocoa powder would work as well. These truffles will need to be kept in the fridge, as the chocolate is not set into its desired crystalline structure and will be soft at room temperature and more prone to melting.


Making the hazelnut ganache
Before I get into the intricacies of tempering chocolate (it’s surprisingly not that complicated!), I want to mention that I tested these truffles with 3 different hazelnut milks. I made a homemade hazelnut milk from toasted hazelnuts. This was my favorite, and I’ll include the recipe for it below. I also tested with a store bought hazelnut flavored creamer (the brand I used was Califia Farms). This was my second favorite, the rich flavor of the hazelnut stood out almost as well as the homemade, and is definitely a nice effort and time saver. The third ganache I made from a regular hazelnut milk (I used one by Pacifica). And the ganache made from this was delicious, but had a milder hazelnut flavor. The bottom line is that any hazelnut milk or creamer you can find should work well in this recipe, and homemade is always an option!
So the ganache is quite easy to make, all you do is heat up the milk with a little bit of sugar and a pinch of salt, then pour it over chopped dark chocolate and cover. Let it sit for several minutes so the chocolate can melt, then add a little vanilla extract and some olive oil and whisk until the mixture is smooth. The ganache should be refrigerated until firm, and can be made up to a week in advance. Shape the ganache when it’s firm and then place back in the fridge to firm up and prepare your chocolate for dipping. This is also a good stopping point if you want to shape the truffles then dip a day later.
Tempering Chocolate
Tempering chocolate might sound scary, but it’s really just a fancy way of saying that you’re encouraging the chocolate to form a particular crystalline structure as it cools. If you have ever melted chocolate you know that when cooled it doesn’t re-gain that firm and crisp texture that it had in the chips or bar form before melting. This is because it has the less desirable crystal structure, or a combination of its various possible crystal structures. To encourage the desired crystal structure (called beta crystals) the easiest method to use is one called the seed method. Essentially all you do is melt the chocolate in a controlled manner, then when it reaches the correct temperature you put a good sized piece of tempered chocolate (like from a chocolate bar) into the melted chocolate and stir. The desired crystal structure is more likely to form if there is an “example” crystal in their midst.

One tool you absolutely will need for this method is a kitchen thermometer. To temper chocolate you will need to melt it above a certain temperature (~110 ºF), then let it cool down to the the low 80 ºs F. While it cools you’ll want to stir it regularly. This encourages good crystal formation. Once it reaches the low 80s, you need to add your seed chocolate. Then you will need to reheat the chocolate just a little, until it’s between 88 and 90 ºF. If it goes above 91 ºF you will lose those desired beta crystals. Stir it while it heats to encourage the crystallization. Once it’s back up to the high 80 ºs F, you’re ready to dip the centers.
Making truffles is an investment in time, but it’s really not that difficult and they are so fun to make! And even more fun to eat, I’ll admit. And there’s nothing quite like giving your loved ones chocolates you made with your own hands.
If you make these or if you have any questions about making them, leave a comment below and let me know! And don’t forget to tag your recreations @thecuriouschickpea and #thecuriouschickpea on Instagram, or share with me on Facebook.


Notes:
- Use 70% dark chocolate (68-72% should work, but I tested with 70% dark chocolate) for both the ganache and the chocolate shell (tempered or not).
- Any hazelnut milk should work in the recipe. I tested the ganache with homemade toasted hazelnut milk (recipe below), store bought hazelnut creamer, and store bought hazelnut milk.
- It’s a good idea to have extra chocolate on hand, in case you need to remelt and temper your chocolate (if doing the tempered finish option)
- Use a neutral flavored olive oil in the ganache, or substitute a neutral flavored vegetable oil.
- Helpful tools for making truffles include: a chocolate dipping tool set (such as this one from Ateco or this one from Wilton), and a small 1/2-tablespoon scoop (such as this one) to make quick work of shaping round ganache truffle centers. If you’re making your own hazelnut milk, a nut milk bag makes easy work of it. Lastly, if you’re tempering chocolate, a kitchen thermometer is a necessity.
- Be very careful to not let water touch the melted chocolate, if this happens the chocolate will seize and you will no longer be able to use it for dipping, either with tempered chocolate or just plain melted chocolate. You shouldn’t throw it away, however, typically you can just add boiling water to it until it becomes smooth once again. Then you can use it to make a ganache or a chocolate sauce. See this Cook’s Illustrated article for more information/tips.

Vegan Chocolate Hazelnut Truffles
These homemade truffles are filled with a creamy hazelnut ganache and finished in your choice of methods: dipped in tempered chocolate for a shiny and crisp finish or dipped in melted chocolate and rolled in ground hazelnuts. You can even hide a toasted hazelnut in the center of the ganache!
Ingredients
Hazelnut Ganache
- 8 oz (227g) 70% dark chocolate
- 3/4 cups (210g) hazelnut milk*
- 2 tbsp (25g) granulated sugar
- 1/8 tsp fine sea salt
- 1 tsp (5mL) vanilla extract
- 2 tsp (10mL) olive oil
Chocolate Finish
- 12oz (285g) 70% dark chocolate
- ground hazelnuts*, for melted chocolate finish option or a dusting finish on the tempered chocolate
- 56-60 whole toasted hazelnuts* (optional)
- flaked salt, such as Maldon sea salt, for tempered chocolate finish option (optional)
Instructions
To make the ganache
- Finely chop the 8oz of chocolate and place in a heat proof bowl.
- In a small pot bring the hazelnut milk, sugar, and salt to a simmer. Whisk a couple of times as it heats to dissolve the sugar.
- Once simmering, remove from heat and pour over the chocolate. Rotate the bowl to swirl the milk and submerge the chocolate. Cover the bowl with a plate or lid and let sit undisturbed for 4-5 minutes.
- At this point the chocolate should be warm and melty. Add the vanilla extract and the olive oil, then whisk the chocolate, until the mixture is smooth. Start in the center and work out towards the edges as the chocolate melts and the ganache forms.
- Test the ganache for texture by dipping a small spoon into the melty ganache, then placing it in the fridge on a small plate. After 15 minutes the ganache should be firm and creamy. If it is too hard, you can whisk in an additional couple teaspoons of hazelnut milk.
- Pour the ganache into a 9" baking dish or pyrex storage container (line the bottom with parchment or plastic wrap if you want to make rectangular truffles). Let the ganache cool to room temperature, then place it in the fridge uncovered. Let the ganache chill until the top is firm to the touch, then cover with plastic wrap or parchment so that it is touching the top of the ganache. Let the ganache firm up in the fridge for at least 3 hours, or overnight. It can last in the fridge for up to 1 week.
- When ready to shape the truffle centers, prepare a rimmed baking sheet or shallow baking dish by lining with parchment paper. Use a small 1/2-tablespoon scoop to make uniform truffles, or use a heaping teaspoon or eyeball 3/4" rounds and scoop with a small spoon. If desired, place a single toasted hazelnut inside the ganache, pushing it in, then manipulating the soft ganache to cover the hazelnut. Regardless, roll each scoop between the palms of your hand to form a sphere. Don't worry about it being perfectly round. Wash the chocolate off your palms as necessary to prevent sticking. Shape the ganache with dry hands. If the ganache gets to warm to shape, stick it in the refrigerator or freezer until it's firmed up again.
- If shaping into rectangles, remove the ganache from the container and place on a cutting board. Put a mug filled with hot water next to your work station, and a paper towel or kitchen towel next to you. Warm a sharp knife in the hot water, then dry with the towel. Cut the ganache into your desired shapes, warming the knife as needed between cuts.
- Set each truffle center on the parchment paper, covering with parchment paper and adding layers of truffles as necessary until all centers are shaped. Place in the fridge to firm up for at least 20 minutes before coating with your choice of chocolate finish, or up to overnight. You can also freeze them for longer, but move to the refrigerator at least 4 hours before dipping in the chocolate finish.
Option 1: coat with melted chocolate and ground hazelnuts
- Melt the chocolate using a water bath technique or in the microwave. To use a water bath, bring a small pot of water to a low simmer and place a heat proof bowl over top the pot. The bottom of the bowl should NOT be touching the water or the chocolate can burn. Let the chocolate start to look melty, then stir with a silicon spatula. Stir occasionally until the chocolate is fully melted. Remove from the heat and set up your work station.
- Have the chocolate centers on the parchment paper next to the bowl of melted chocolate. On a plate spread a layer of ground hazelnuts for coating.
- Using a chocolate dipping tool or a fork, dip each ganache center into the melted chocolate, rolling around to fully coat, then place on plate and roll in ground hazelnuts to coat. Place the truffle back onto the parchment lined baking sheet. Repeat with each center until you've finished all of them. Place in the fridge to firm up. Keep these truffles stored in a sealed container in the fridge, but you can remove them an hour before serving so they are not cold.
Option 2: coat with tempered chocolate
- Remove your ganache centers from the refrigerator and temper the chocolate.
- First, reserve one good-sized chunk (~1 1/2 - 2") of chocolate from your 12oz of chocolate. Finely chop the remaining chocolate and place in a heat proof bowl.
- Bring a small amount of water to a simmer over low heat and place the bowl of chocolate over the pot. The bowl of chocolate should NOT touch the water or the chocolate can burn.
*IMPORTANT: make sure that no water touches the melted chocolate or the chocolate will seize and you will NOT be able to temper it. - Warm the chocolate over the water bath, whisking occasionally, until melted. It should be 100-110 ºF. Remove the melted chocolate from the heat and let cool to the low 80-degrees F, whisking regularly to encourage crystallization. When the temperature reaches the low 80s F, add the reserved chunk of chocolate and bring the melted chocolate back up to 88-90 ºF. To do this, place it over the barely simmering pot of water for a few seconds, then remove and whisk vigorously. Check the temperature and repeat as necessary until you've reached the 88 ºF. Be very careful and slow here so you do not jump back up to over 91 ºF and lose your tempering. If that happens, let the mixture cool back down, re-seed with another chunk of chocolate and try again.
- Once you've reached that 88-90 ºF, check that the chocolate is tempered. Smear a small amount of the chocolate on a plate and it should harden and turn shiny within a few minutes.
- Keep the chocolate between this 88-90 ºF range and dip the truffle centers in the chocolate. It's easiest to work with the chocolate dipping forks. Dip the ganache center in, rolling to fully coat, then pull up and let some chocolate drip down, then wipe off the bottom of the fork on the side of the bowl to remove excess chocolate before transferring to the parchment lined tray. Immediately sprinkle with ground nuts or a couple of flakes of salt for garnish. Alternatively, you can use a piping bag with a tiny hole to drizzle a little tempered chocolate over top all of them once finished.
- Keep the tempered chocolate off the heat while you continue to dip the truffles. Check the temperature as you go, and if it starts to cool off much under 88ºF, place it back on the warm bowl of water just for a few seconds, whisk and recheck the temperature. If you leave the bowl of chocolate over the hot water, it may get too hot and you will need to re-temper.
- Any extra tempered chocolate can be spread into a mold, or poured over a piece of parchment paper and allowed to harden. It can just be enjoyed as you would a chocolate bar!
- Let the chocolate truffles set at room temperature, or speed the process by putting in the fridge for a few minutes. These truffles can be stored at room temperature. Note that if you used the flaked salt to decorate the truffles, over the course of a couple of days, the salt may pull moisture from the air and chocolate and the salt can look melty. This is especially true if it is very humid out.
Notes
*To make toasted hazelnuts, heat the oven to 325 ºF. Place the hazelnuts (1 cup for making toasted hazelnut cup, and/or 1 additional cup if filling the centers with hazelnuts) in a single layer on a rimmed baking sheet. Bake for 20-25 minutes until the nuts smell toasty and are a shade darker. Let the nuts cool, then wrap up in a kitchen towel and roll under your hands to rub off as much of this papery skin as will easily be removed.
*To make toasted hazelnut milk, soak 1 cup of the toasted hazelnuts in cold water for at least 2 hours, though ideally overnight in the fridge. Drain and rinse the soaked hazelnuts, then place in a blender along with 2 cups of water and 1 tbsp of maple syrup or your choice of sweetener. Blend on high for a few minutes (depending on your blender) until you have a creamy liquid that is minimally gritty. Strain your milk through a nut milk bag, or make your own by lining a fine mesh strainer with several layers of overlapping cheese cloth. Squeeze out all the excess liquid. Save the remaining hazelnut pulp for another use (cookies, crackers, smoothies, etc). The milk should last 3-5 days in the refrigerator. Separation is normal, shake to recombine.
*To make ground hazelnuts, just pulverize the whole nuts in a food processor until you have made fine crumbs. This works better with un-toasted nuts, as the toasted nuts break down and release their oil more readily for a stickier nut coating.
Truffle recipe adapted from Vegan Chocolate

Nicole
Monday 18th of January 2021
Are these truffles freezer friendly? Thank you!
Eva Agha
Friday 22nd of January 2021
They are freezer friendly, however if you coat them in tempered chocolate there's no need to freeze them and freezing will make the chocolate less pretty!
Mimie
Wednesday 28th of March 2018
I have just tried tempering chocolate and as you mentioned it isn't that difficult at all! Those truffles are SUPERB!
thecuriouschickpea
Wednesday 28th of March 2018
Yay! Thank you! Tempering chocolate is so straight forward with the right tools. Just requires some time and patience. But at the end, delicious chocolate!