
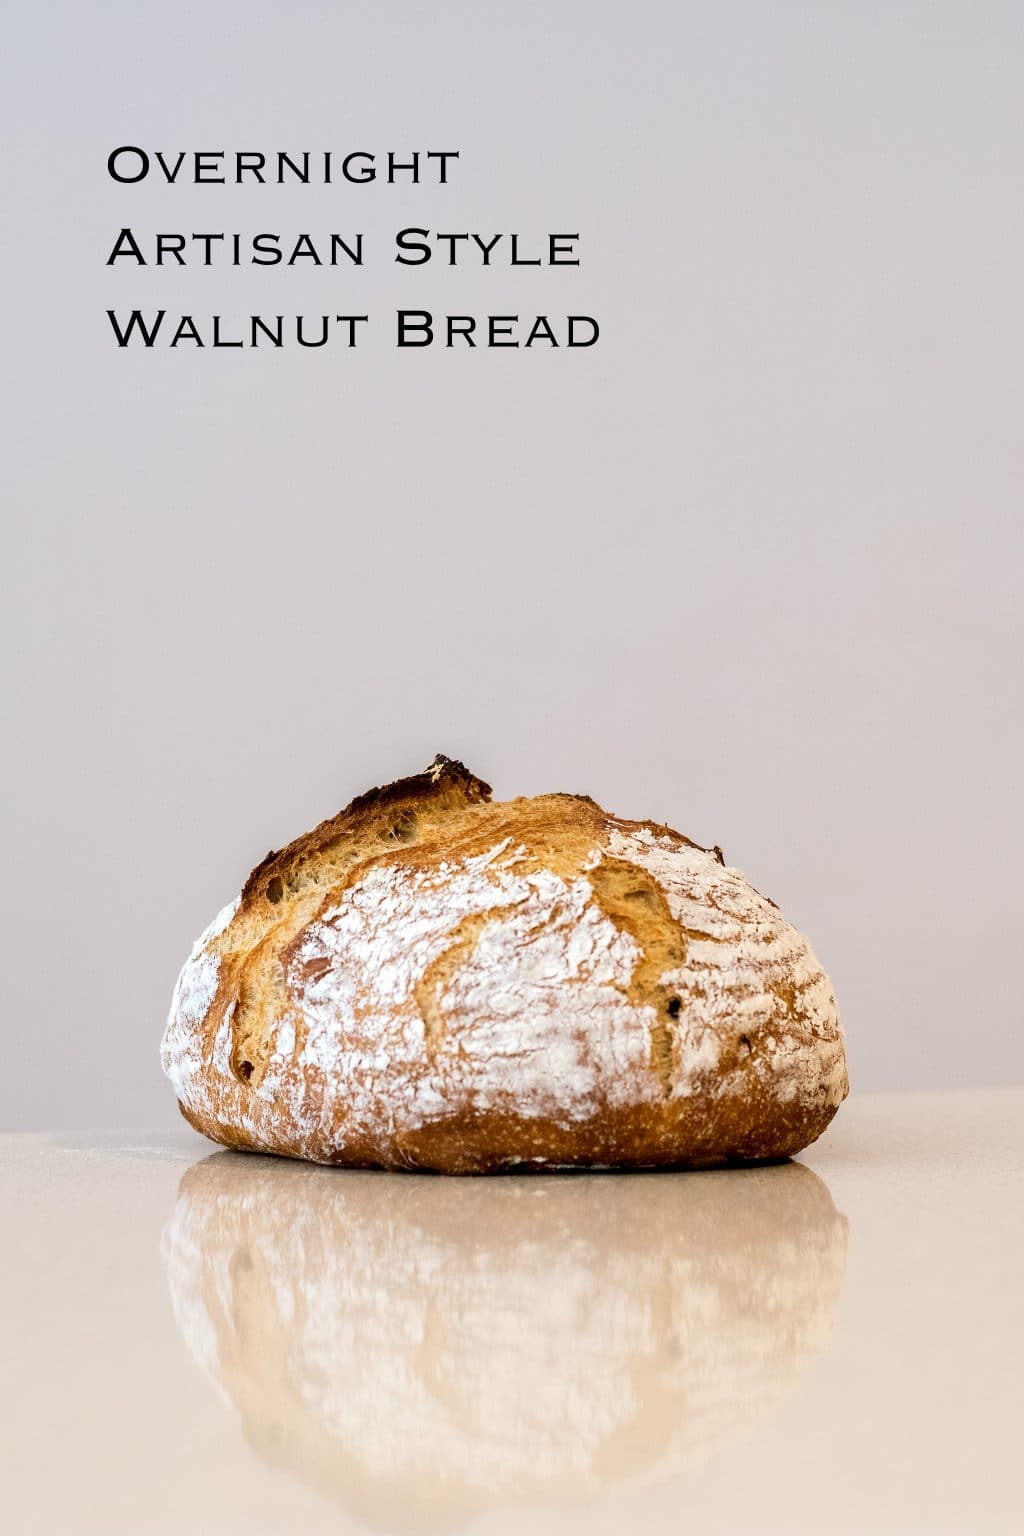
I'm obsessed with bread. Everything about it, from the yeasty smell as it bakes to the soft, squishy, pillowy interior. The crackly crust that shatters so perfectly on a freshly baked loaf. Even making the dough. There's something so relaxing about the process, feeling the dough as it develops in your hands. Gaining elasticity and structure simultaneously. Whether I'm making bagels, sourdough, slow-rise boules with commercial yeast, pre-fermented bread such as baguettes, rolls or buns. I love it all. So when it came to sharing a bread recipe with you guys, I didn't know where to start. So I went with the beginning. The bread that started my love of baking bread. Well, sort of.
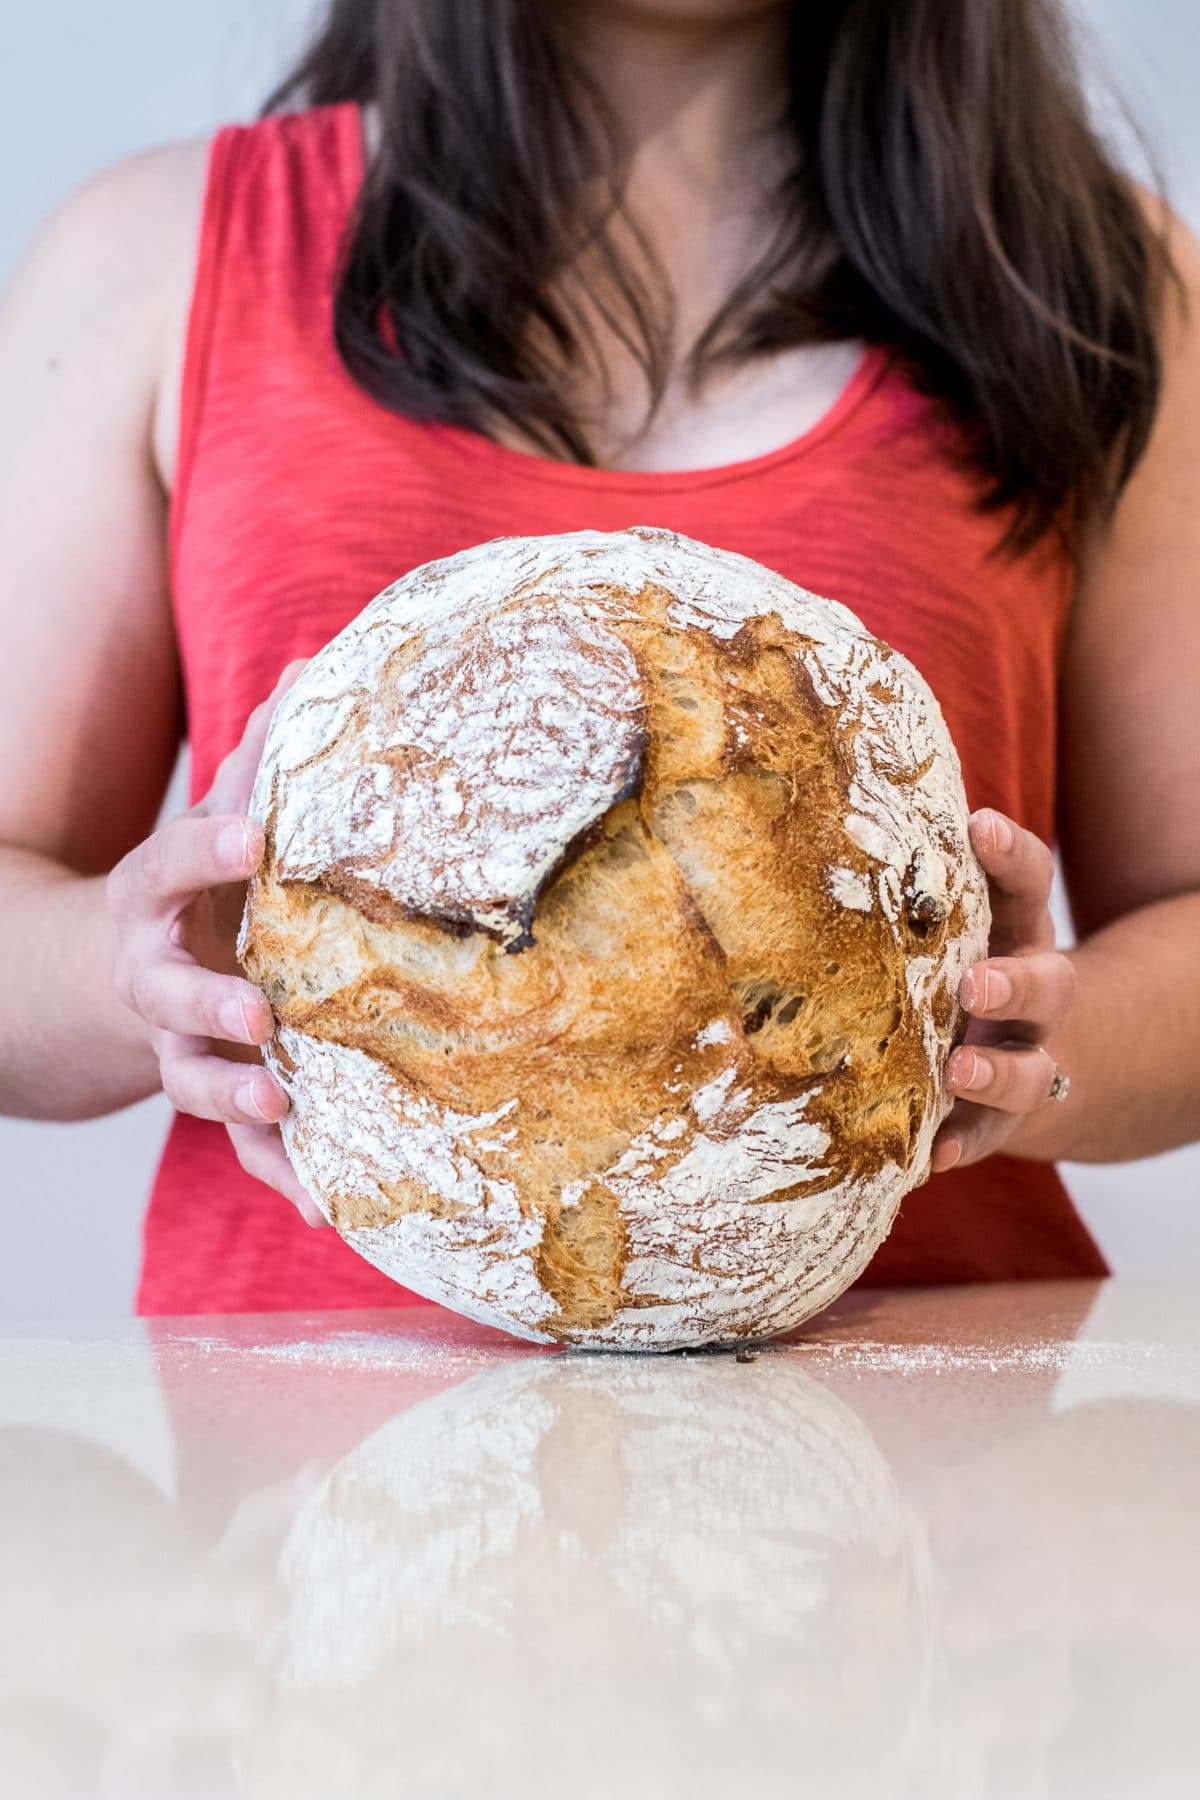
While I had dabbled in bread baking since high school, I first fell in love with baking bread when I started making sourdough in graduate school. My first loaves were flat and a bit misshapen, but still yeasty and sour and delicious. I started devouring all the information I could find on baking bread, in books and the internet. I reached a real turning point when I discovered Ken Forkish's book Flour, Water, Salt, Yeast. While I had found the same sort of information in other places, I love the straight forward and semi-scientific approach he has to baking. It was certainly a game changer for me. Within months I went from my amateurish looking loaves, to feeling like I could probably sell this stuff for $8/pop.
As with many things, when you begin to learn techniques, you want to do it with the simplest format possible. For me, this means starting with a commercial yeast bread. The same principles apply as with sourdough, but you don't have to mess with creating and maintaining a sourdough starter, and you end up with a gorgeous and delicious loaf.
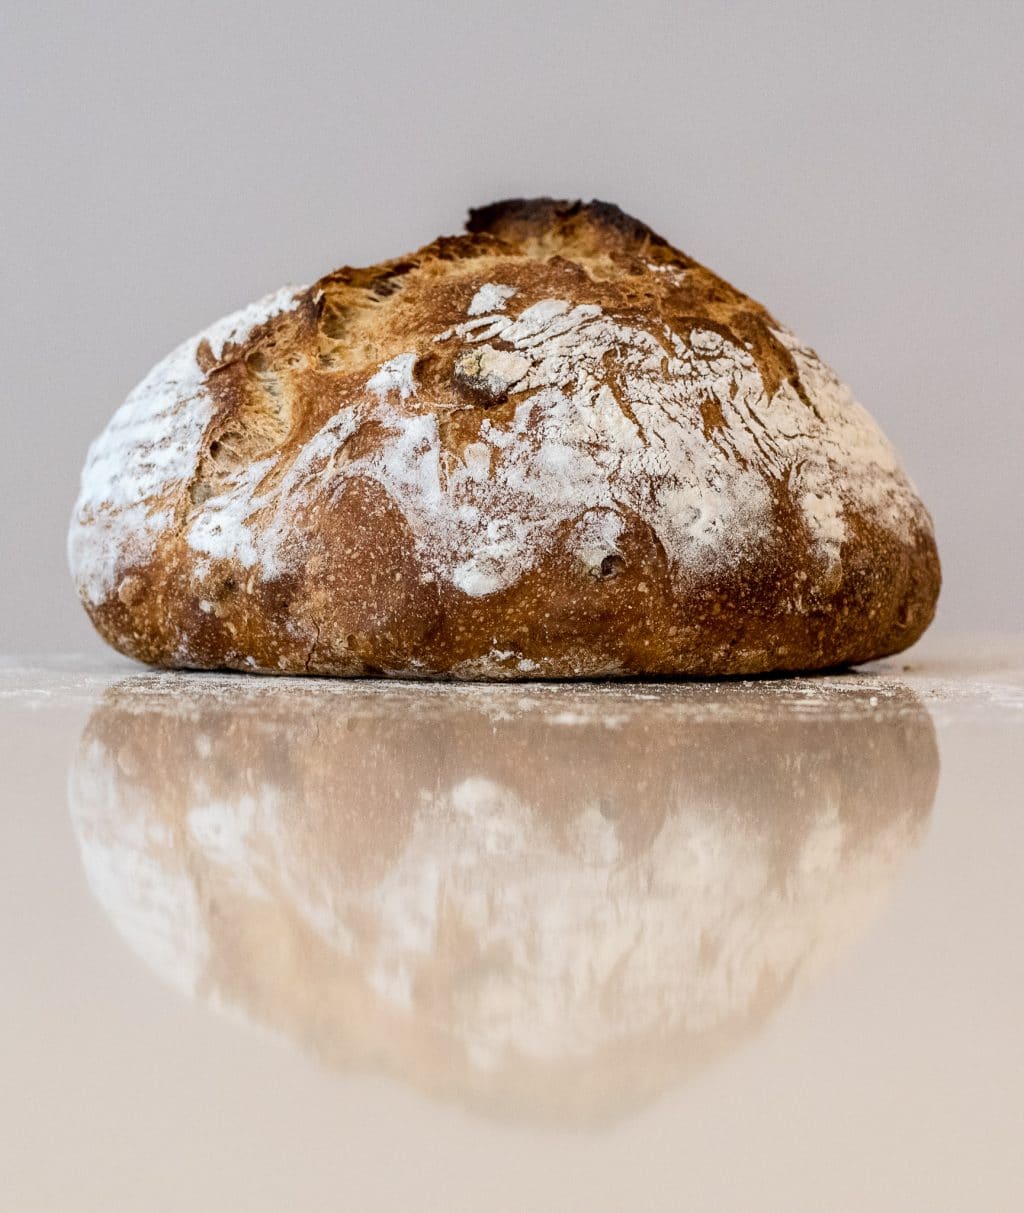
Ingredients and equipment:
To make bread you'll need the following ingredients:
- flour (all purpose and whole wheat)
- water
- salt
- instant yeast
- walnuts (which are optional, but a very enjoyable addition)
As far as equipment goes, you'll need:
- a large mixing bowl with a lid or a large stock pot with a lid (I always use the large pot when I'm making a double recipe)
- a scale or measuring cups. If you get into baking bread, using a scale is really the best way to go, but it's ok to measure when you are starting out
- a mixing bowl or a proofing basket (banneton), 8 or 9"
- lint free dish towels
- 4 or 5 qt cast iron dutch oven, safe up to 500 ºF
It's also helpful (but not necessary) to have:
- a bench scraper
- a kitchen thermometer
Once you have everything you need (which you'll notice is probably stuff you already have mostly!), pick a relaxed evening or afternoon you'll be at home for several hours for, and make sure you have some space in your refrigerator for an overnight rise. While this recipe doesn't require a lot of hands on time, it does require semi-frequent short bouts of attention.
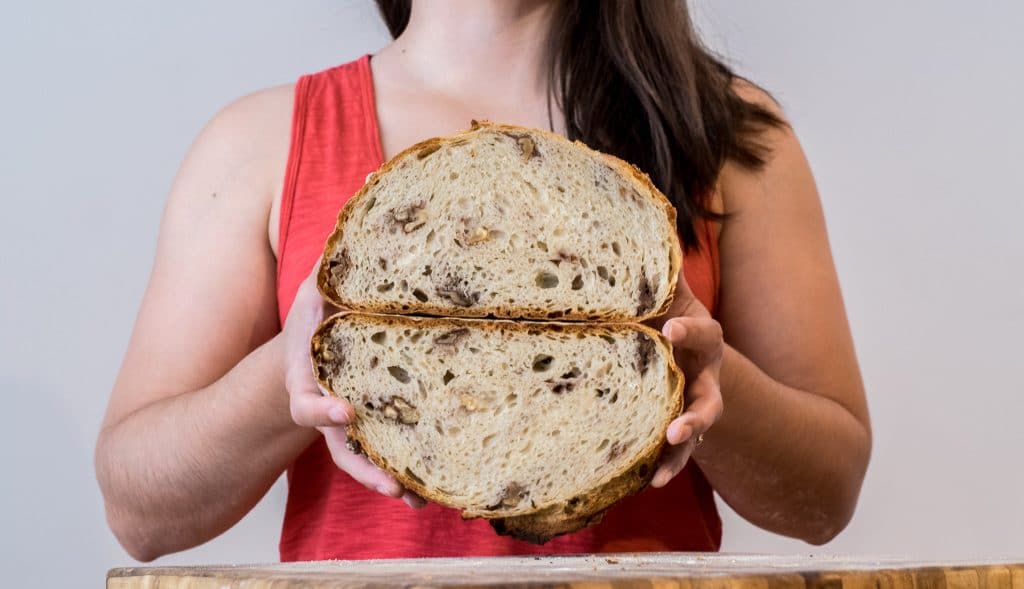
How do you make it?
This recipe makes use of a no-knead technique. Instead of the traditional mechanical kneading of dough to incorporate ingredients and build the gluten structure in the bread, this method requires no real physical exertion. Flour and water are combined and stirred together to create a shaggy dough, then left to hydrate. Salt and yeast are then sprinkled on top and incorporated by pinching the dough between your fingers into segments, then reaching under a section of the dough and gently stretching it up until resistance is met, then folding it over the dough in the bowl. Rotate the mixing bowl and repeat this process section by section until you've gone a full 360º. Repeat the pinch and fold a couple of times until all the salt and yeast are incorporated. You'll let the dough rest, and then repeat this pinch and fold method with the walnuts (or other add-in).
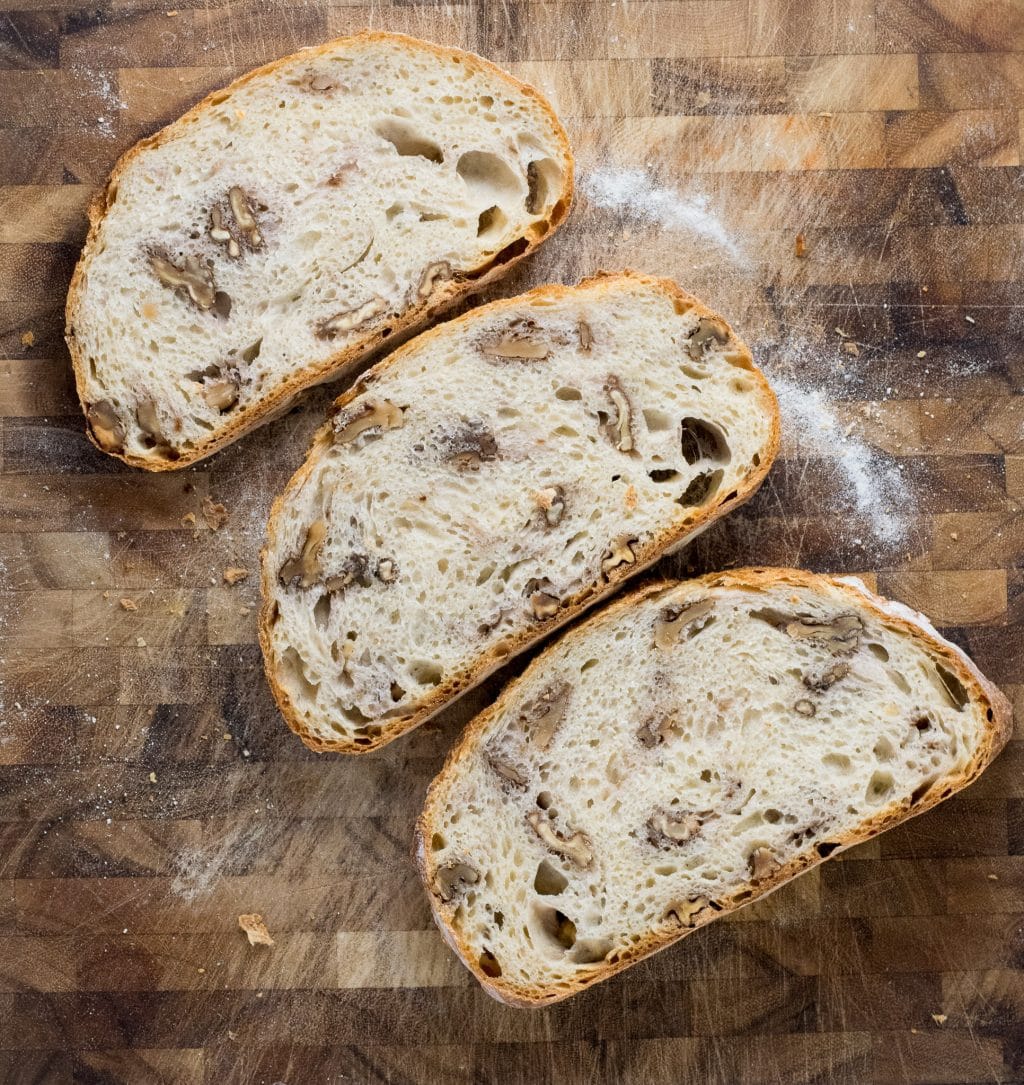
This dough does not require the traditional kneading, because it is made with a higher hydration, or with more water, than stiff doughs you may be used to working with. Instead, this higher water content helps the gluten strands line up and form protein networks (which gives the bread its rise and final hole-filled/airy texture). To assist the gluten network in forming and to develop the elasticity of the dough, you'll do a series of folds while the dough is rising at room temperature. This is the same type of folding you did when incorporating the salt, yeast, and walnuts. Gently stretch the dough until it meets resistance, and fold back down. As you apply the folds to the dough you'll feel it tighten and give more resistance to your pulls, as it becomes smoother and nicer to work with.
The dough uses very little yeast compared to what you maybe used to, and as such it has a slow rise, completed overnight in the refrigerator. This long, slow rise develops more flavor than the faster methods, and is way superior. As an added benefit, cold dough is easier to work with for the final shaping of the bread.
When you are ready to bake the next morning, you'll first take the dough out of the fridge and shape it and prepare a proofing basket (or mixing bowl lined with a lint free dish towel) by flouring it. Gently ease the dough out onto a clean, floured counter, and stretch it into a roughly round shape. Then working in sections, gently stretch the dough up, and then fold that section back into the center. Work around the dough until you have a rough ball shape. Now, moving over to an unfloured section of the counter, take the dough and flip it over so the seam is on the counter. Cup the dough in your hands, so that your pinky fingers are resting against the counter. Pull the dough ball towards you, and feel the dough stretch under the counter. Your pinkies help keep it from just rolling. If you are sliding across without any stretching across the surface your counter is not clean enough and dust away any extra flour. Wipe it with a barely damp cloth if necessary. Rotate the dough and repeat a few times until you have a nice taught skin across the dough ball with the seam meeting in a cluster underneath. Take this dough and put it seam side down in the prepared proofing basket.
This seam side will become the top of your bread. By using the seam as a natural place for the gas to escape when the dough hits the hot oven, you get that rustic split open look on top. This splitting allows the bread to have a higher rise, and gives you a more open crumb structure.
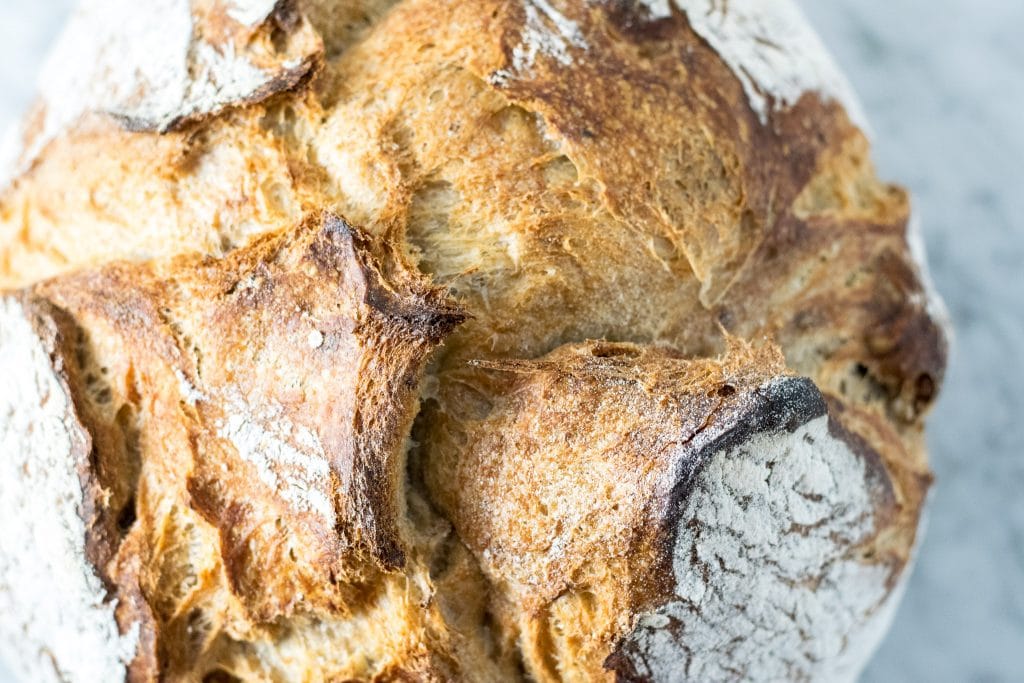
The bread is baked in a dutch oven. Use a large, 4 to 6 quart cast iron dutch oven, with heat proof knobs and handles, up to 500 ºF. The bread is baked covered at first to provide the extra steam that gives that perfect crackly crust you'll get from french bakery bread. About ⅔ of the way through you remove the lid and allow the crust to darken.
Tips:
- Use wet hands when handling the dough for mixing and folding. Re-wet as necessary to prevent the dough from sticking to your hands.
- Use dry hands, floured if necessary, when shaping the final dough.
- Have fun with the bread, even if your first couple loaves don't come out 100% perfectly, they will still be very enjoyable to eat I promise! And it's always a learning process, no matter how many times you've made bread.
If you try making your own bread, please let me know! Leave a comment, or tag me on Instagram! And of course, feel free to ask me any questions if you have them. Enjoy your artisan style walnut bread!
Notes:
- Read through the entire instructions before beginning the recipe so that you understand the work flow.
- I love using whole wheat white flour, and do so in most of my breads. You can use either regular whole wheat or whole wheat white for the same effect.
- For a nut free version, you can use substitute pepitas. You can also put in some steamed diced potatoes, or cooked polenta. Get creative! If you just want plain bread, then leave out any add-ins and just skip that step.
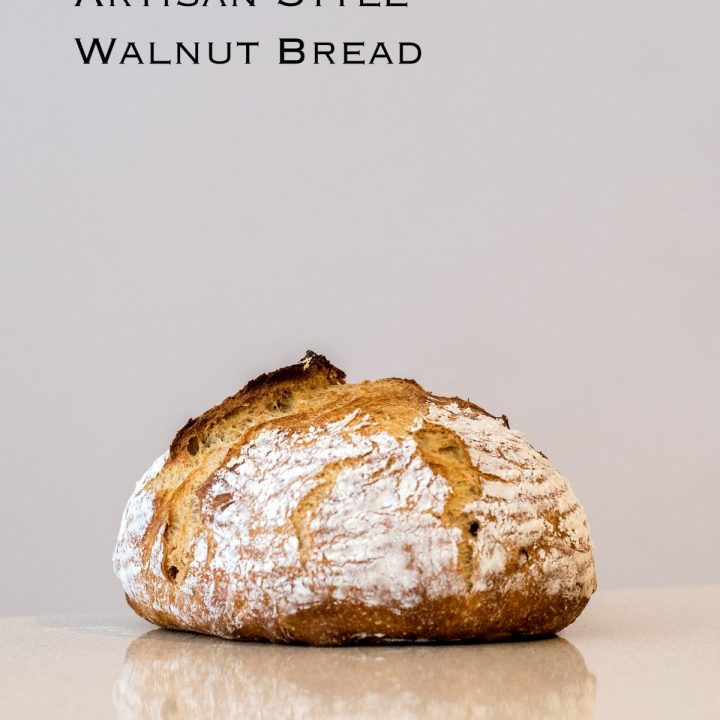
Overnight Artisan Style Walnut Bread
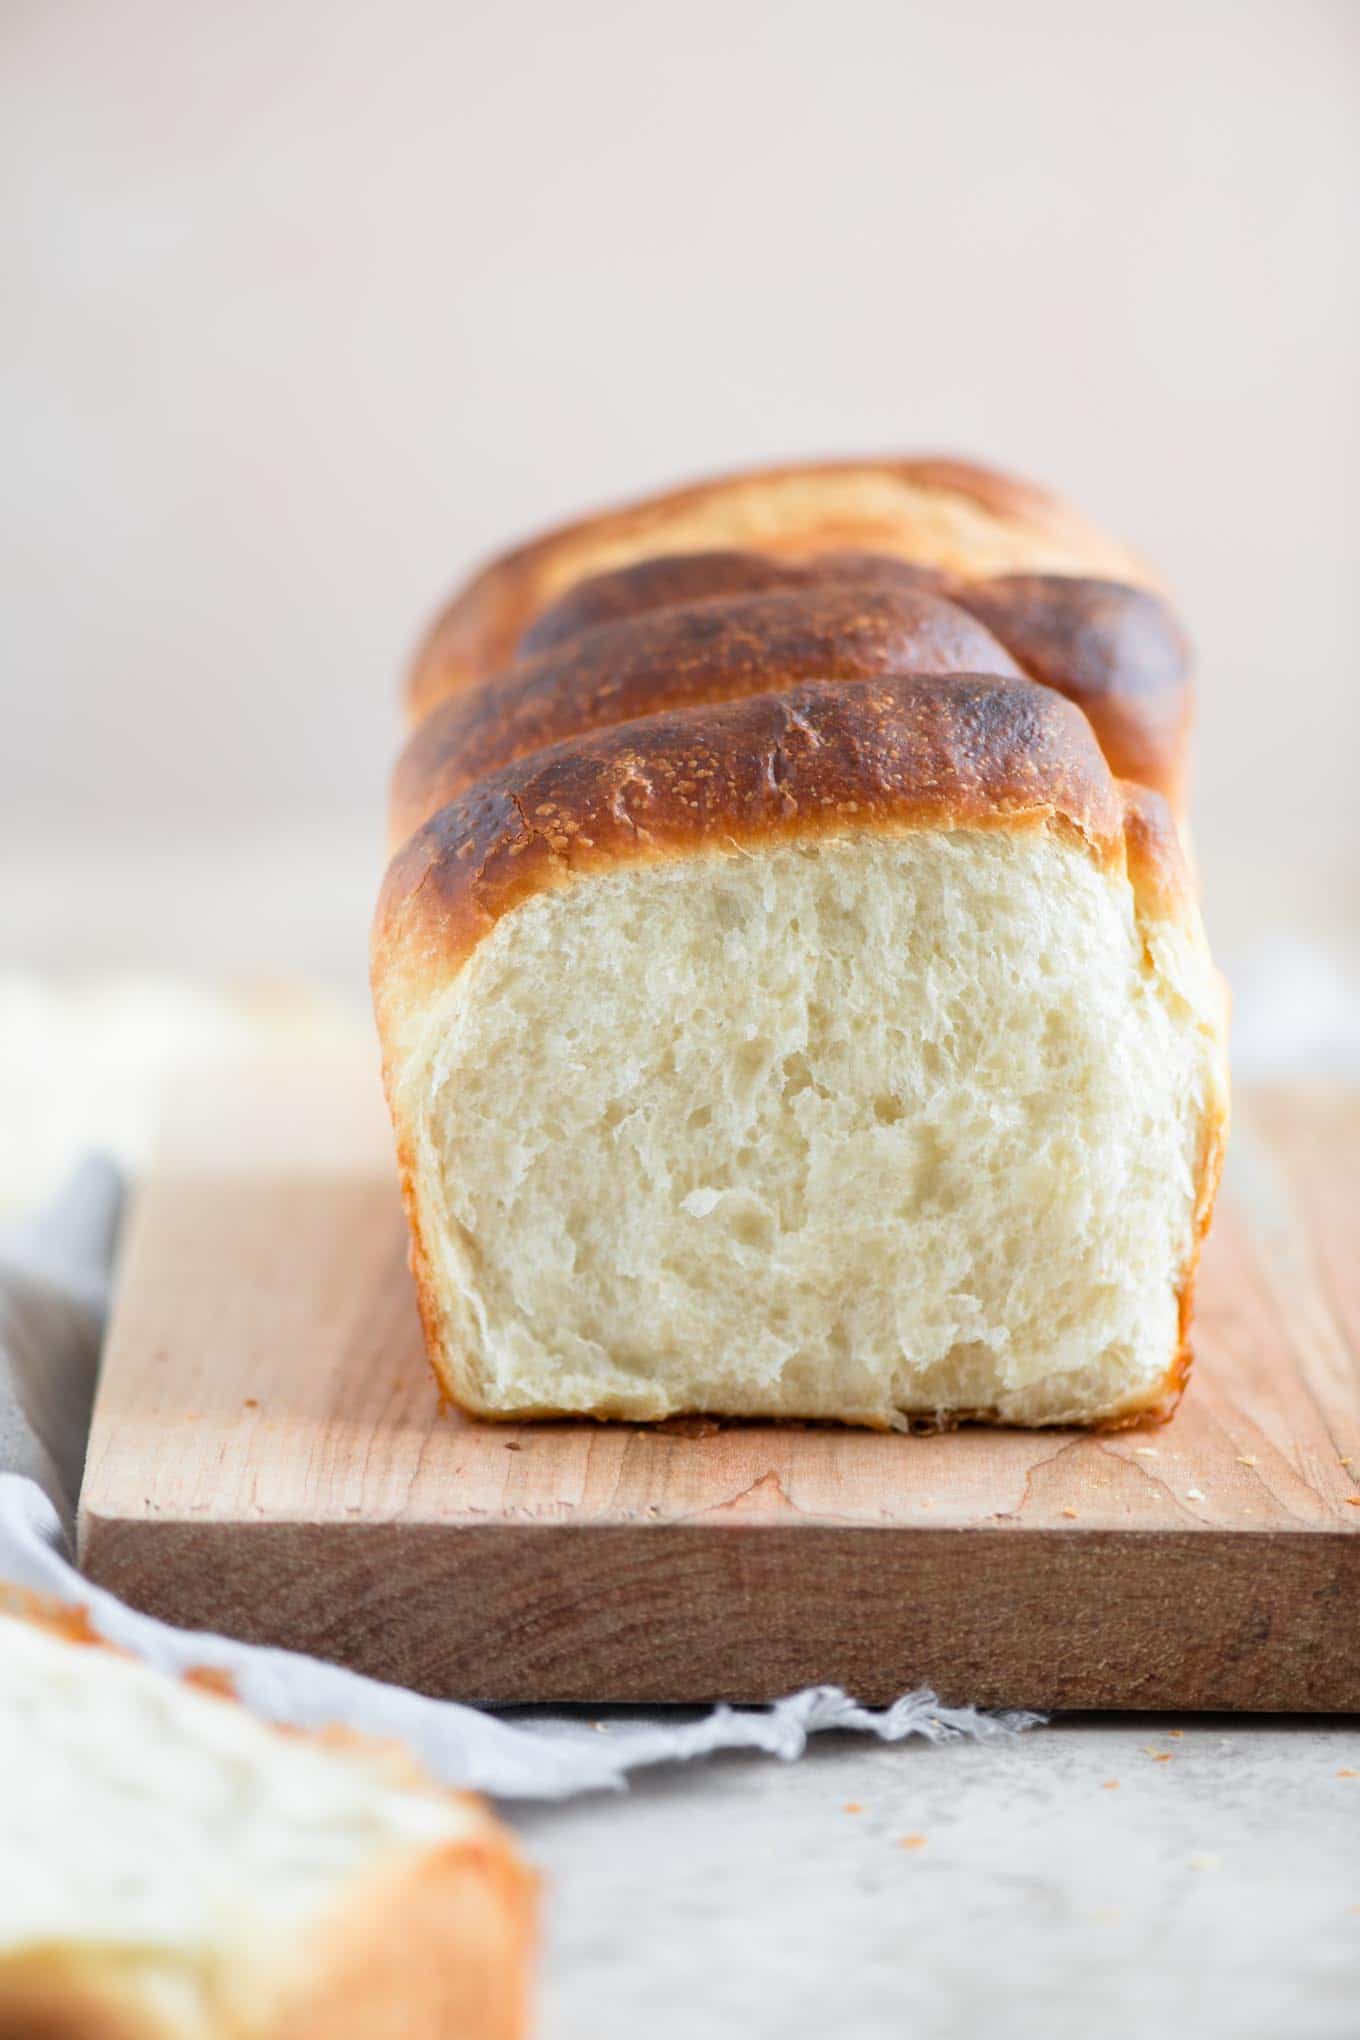
Learn how to make your own artisan style bread at home with this overnight walnut bread. The crispy, crackly crust and soft open crumb make for the perfect loaf.
Ingredients
- 375g (2 ¾ cup + 2 tbsp) all purpose flour
- 125g (¾ cup + 3 tbsp) whole wheat flour*
- 400g (1 ¾ cup) water, lukewarm, 90-95 ºF
- 12g (2 tsp) fine sea salt
- 2.0g (½ tsp) instant yeast
- 95g (1 cup) walnut halves
Instructions
- Preheat the oven to 350 ºF.
- When the oven is hot, roast the walnuts for 15-20 minutes in a small baking sheet, stirring halfway through, until the walnuts are lightly browned and smell toasty. Set aside to cool.
- In a large mixing bowl, mix together the all purpose flour and whole wheat flour. Add the water and mix together with a wooden spoon or by hand until shaggy. Cover and let sit for 20 minutes.
- Sprinkle the salt and yeast over the top of the dough. Using wet hands, incorporate the salt and yeast by reaching under the edges of the dough and gently pulling it up and away from the sides of the bowl, then folding the dough to rest on top of salt mixture. Give the bowl ¼ turn and repeat, until you've pulled and folded the dough over all the salt and yeast to cover. Next, pinch the dough into several segments between your first finger and thumb. Then repeat the folding process to bring the dough back together to one piece. Repeat this segmenting and folding a couple more times until the salt is well distributed. Rewet your hands as necessary to prevent the dough from sticking. All in all, this process will only take 1-2 minutes. Leave the dough to rest for around 10 minutes, covered.
- After ~10 minutes, sprinkle the toasted walnuts overtop, and incorporate with wet hands using the same method you used to add the salt and yeast. When the walnuts are well distributed with the final folding of the dough, turn the dough ball so the seam is face down in the bowl. Leave to rest for 20 minutes, covered.
- {You will be leaving the dough to rise for a total of 2 to 2 ½ hours at room temperature. During this time you will apply 3 folds to the dough every 30 minutes for the first 1 ½ hours, and then leave it to rise untouched an additional 30-60 minutes.}
- After incorporating the walnuts and letting the dough rest for 20 minutes you will apply the first fold. Using wet hands and the same process you did to fold dough over the salt and nuts, you will reach your hands under a section of the dough, lift gently so not to tear the dough, and place it over top the rest of the dough. Turn the bowl slightly and repeat around 4 times until you have a nice ball in the bowl. Rotate the ball so the seam is touching the bowl. Let rest for 30 minutes. Repeat the folding. Rest another 30 minutes and fold for the last time. Leaving the seam down, let the dough rise at room temperature at least another 30 minutes (no longer if your kitchen is much warmer than 70 ºF).
- Move the dough to the fridge and leave overnight, or no longer than 36 hours.
- One hour before you are ready to bake the bread, preheat the oven to 475 ºF with your high heat safe dutch oven inside.
- While the oven is preheating, shape your bread.
- First prepare either a proofing basket or a large mixing bowl. If using a proofing basket, simply generously flour the basket and use your hands to distribute the flour around the bowl. If using a large mixing bowl, line it with a lint free towel, and then generously sprinkle flour onto the towel.
- Lightly flour a clean work surface, and gently ease the dough (so not to allow the gases formed to escape) onto the counter. Gently ease the dough into a large rough circle (the shape isn't important), being careful not to tear the dough. To shape the dough, you will begin with the same folding technique (this time with dry or lightly floured hands). Take a section of the dough and gently stretch it up until you feel resistance, then fold over the middle. Take the next section and repeat, and move around the dough until you have created a tight ball.
- Take the ball of dough and move over to an unfloured section of the counter. With the dough sitting on the counter seam side down, cup the dough ball between your hands with your pinky fingers resting on the counter behind it. Pull the dough towards you, allowing the friction between the dough and counter to pull the dough underneath itself, and using your pinky fingers to prevent the dough from simply rolling. Turn the dough about a quarter turn and repeat. Do this until you've gone in a full circle and the skin around the dough ball is taught. Sprinkle flour over the dough and spread it around with your hands until the dough is not sticky to touch. Then place the ball of dough into the prepared proofing basket or mixing bowl seam side down. Dust a little extra flour over top, then cover with a towel and leave to rise for ~60 minutes (If your kitchen is very warm you may only leave it for 45 minutes).
- To check the dough is ready for the oven, dip your finger first in a little flour, then poke the dough about ¾". If the indentation springs up slightly but then stops, leaving a smaller indentation, the dough is ready to bake. If it springs up almost 100% right away then it needs more time. If the dough doesn't spring back at all, it is overproofed, but that's ok, still bake it, just get it to the oven as quickly as possible.
- When the dough passes the indentation test, it's time to bake. Using oven mitts, carefully remove the dutch oven and take the lid off. Turn the proofing basket upside down on to a floured surface and tap the basket to release the dough. You should see some cracks on the top of the dough (where the seams were), this is where the dough will expand and crack and where the height of the loaf comes from.
- Using two hands, carefully lift the dough and drop it into the dutch oven (be careful of burning yourself!). Cover the pot and place it into the oven. Bake for 30 minutes covered. After 30 minutes, carefully remove the lid, turn the heat down to 450 ºF and bake an additional 20 minutes. You can bake longer for a darker crust, or slightly less time for a lighter crust.
- When you have reached your desired crust, remove the pot from the oven and turn the bread out. Place it on a cooling rack and allow to cool for at least 20-30 minutes before slicing into. It finishes baking outside of the oven in these last minutes.
- Enjoy your bread!
- To store, place cut side down on a cutting board, never place it in fridge, and do not put in a plastic bag. If it is going to take you more than 3 days to eat the bread, slice it and transfer it to a freezer bag, with pieces of parchment or wax paper between the slices. Keep frozen and toast as needed.
Notes
*I often use whole wheat white flour (and did in these photos)
*Recipe adapted from methods in Flour Water Salt Yeast by Ken Forkish

Bread turned out great! I made it without walnuts but will try them next time. The bottom got a little crispy, I think I should've put it on a higher rack. I cooked it for 5 minutes less than the recipe called for as I saw the top getting overly brown on the ridges.
Hello Eva,
I tried your recipe and it works very well.. It tastes fantastic .I made it with hazelnuts
Thanks for that
Greetings from Vienna
That’s great! Hazelnut bread sounds incredible...
Hi Eva,
Would it be okay to use Bread Flour instead of All-Purpose?
Thank you,
Elsa
Hi Elsa, you can use bread flour if you prefer.
Thanks Eva. I did and it comes out great. I love it! Thank you.
A couple of questions:
- I use Active Dry Yeast. I’m wondering if I should use it differently from the Instant Yeast in your recipe. So far I’ve weighed it to be sure I have enough...
- I’d like to make a version with olive and rosemary. Have you experimented with those? Do you have any recommendations for me?
Thank you
Hi Elsa, for active dry yeast the main difference is the time it takes for the yeast to get active (so rising times are likely to take longer). It's also recommended that the yeast is proved in warm water before being mixed in, but this isn't always necessary, particularly if you know you have a fresh batch of yeast. Here's a good primer on the differences in yeast from King Arthur Flour: https://www.kingarthurflour.com/blog/2016/01/29/yeast-use
For your second question, yes! I used to make a polenta, pepita, and rosemary loaf regularly. I'd take precooked polenta and crumble it up and add some rosemary and pepitas and oh wow it is heavenly! If you're adding oil to the dough you can add it with the water, and I would start with 2 tablespoons and see how that goes. For the rosemary, mix it in at the same time as you'd add walnuts! In general this bread is going to be flexible about which mix-ins you want to add, the only one I'd say to really watch out for is garlic as garlic can inhibit the yeast.
OMG, the best bread!!! We all love it in our house, I keep making it.
Thank you for sharing the correct recipe and all very helpful details.
So glad you like the recipe Bianca! Once you start baking bread it's hard to go back to store bought ?
Thanks Eva
Great recipe. I have tried the bread and it turned out great except a bit softer inside. Is it normal ? I did not have a Dutch oven and thus cooked in a open casserole with aluminum foil on top. Is that ok or will Baking in Dutch oven give more texture to bread?
Priya
Hi Priya, by softer inside do you mean it was undercooked? The bread does have quite a squishy and soft crumb, especially on that first day! If it was undercooked, then you should just cook it a bit longer. The internal temperature should reach 190 ºF when it's done cooking, so if you have a thermometer you can always stick it in through the bottom to check! It's ok if it's a bit hotter, which it may be if you wait to let the crust brown further.
The dutch oven does help saturate the bread with heat right away but it should cook fully with or without it!
Thanks Eva for your response
Yes, I had a soft feeling on Day 1 . Enjoying this bread every moment. No more going back to store brought bread and I have ordered Dutch oven. Will explore more with different combinations.
Wonderful and healthy recipe - thanks again for sharing with all of us 🙂
Thanks for the recipe, it looks amazing! Do you let the dough get to room temperature before shaping in one last time before baking? Or you shape and let rest while still cold from the fridge?
Hi Helene, no you shape it while cold! Then let it do the final rise at room temperature.
Thank you for the reply! The bread turned out amazing 🙂 Also, do you have a video or pictures showing the pinching-process? I tried that method, but am unsure if I did it correctly..!
Hi Eva,
Loved how your video started with that incredible sound from the crust!
Would like to add dried cranberries, walnuts and honey to the bread. Is there a need to tweak the recipe and measurements?
Does the honey cause the bread crust to burn easier?
Is it possible to score the bread or is the dough to wet for this?
Thank you for your time!
Hi Audrey, adding those extra goodies sounds delicious! I would soak the cranberries for a bit before adding so that they 1) don't absorb moisture from the dough and 2) don't burn as easily for ones that end up on the crust. As far as how honey will affect it I can't say because I haven't tried adding sweetener to this dough. I think it'll be fine though, just keep an eye on it during baking, particularly towards the end. This is also a style of bread that does well for being a little over done, as the crust will just develop extra notes of flavor that way.
If you want to score the bread you certainly can, if you want to do an intricate design then you'll want to refrigerate the dough after shaping it (and then it will need to do the second proof for longer because it will go slower at colder temperatures. The crust dries out a little and it holds its shape better for scoring. However if you just want to do some quick slashes then it's fine to do the recipe as is. And either way I recommend putting the dough seam side up when placing it in the proofing basket so you have the smooth surface to work with.
HI Eva,
Everyone in my house loves this recipe in this site!! I am venturing into sourdough starter and I tried several recipe online but the bread didn't rise as well as this recipe and it's usually dense and gummy. So I am thinking of adapting this recipe for the sourdough. Do you have any idea how much sourdough starter I should use here and do I keep to the same folding techinique as you have mentioned in this recipe?
Thank you for posting this. What do you think about using an enameled alumunium dutch oven to bake this? I am afraid that a 5qt cast iron dutch oven would be too heavy for me to lift and I might burn myself.
Hi Hina, I would just make sure to check that the pot you're planning on using is safe to use at that temperature, a lot of times the main pan is ok, but the knobs/handles might not be rated to use as hot. Make sure to check for your specific pot before using! And definitely use oven mitts when lifting and handling these, I find that a lot safer than hot pads!
Where is the VIDEO?
@2tattered, Took me awhile, but I found it - you can either click on follow at YouTube on the right at the upper part of the screen, or use this link:
https://www.youtube.com/watch?v=2r2Xx8JU77U
We love this bread!! My family, my friends all love your recipe!!! The flavor is delicious, the crust crispy and the crumb lightly airy. As a result of all the delish, crusty, airiness I think I need to increase the recipe at least by half if not double it. Do you have any advice? Will I be okay just increasing the ingredients, except the yeast, by the proportional amount or does that not work?
I don’t see in the recipe, when to add the water?
I also couldn't find when to add the water...?
@Christina, sorry about that! It gets added at the beginning of the recipe along with the flour. I've fixed the mistake.
Your receipt is absolutely fantastic. For a beginner I was so proud of my sourdough. Now, since I love to try different methods, I wonder if you have used sour dough starter (homemade) instead. I have made the sourdough starter but do not know how much to use for your recipe which requires 1/2 tsp of dry yeast.
My second question is about the amount of dough. My Dutch oven is not very deep and I noticed even though my bread turned out great, with maybe 1/2 the flower amount it would rise higher.
I do make a similar bread with my sourdough starter. Essentially you want to figure out the amount of water and flour in the yeasted dough, then substitute 10-15% flour by weight with the starter (measuring the starter by the flour content). Then calculate how much water is in starter and then adjust the water in the final dough by that amount less. This is confusing so let's use some numbers as an example: You use 1000g flour and 700g water in a yeasted bread recipe, and then you'll want to use 125g worth of flour in the starter instead of the main dough. Your starter is a 1:1 ratio of flour to water. So the final dough would have 250g starter, 875g flour, 575g water.
Hands down - my favorite bread recipe to make and to eat. I love everything about this.